Cutting meshes in MeshMixer
Důležité:
This page is outdated. We will make it up to date soon.
Installation
You’ll find MeshMixer on meshmixer.com. It comes in versions for Windows and Mac OS X. On Linux, it is possible to run the Windows version in wine, but you’ll need to put mfc110u.dll and prntvpt.dll into the folder with Meshmixer.exe (usually ~/.wine/drive_c/Program Files/Autodesk/Meshmixer/).

Slice the mesh
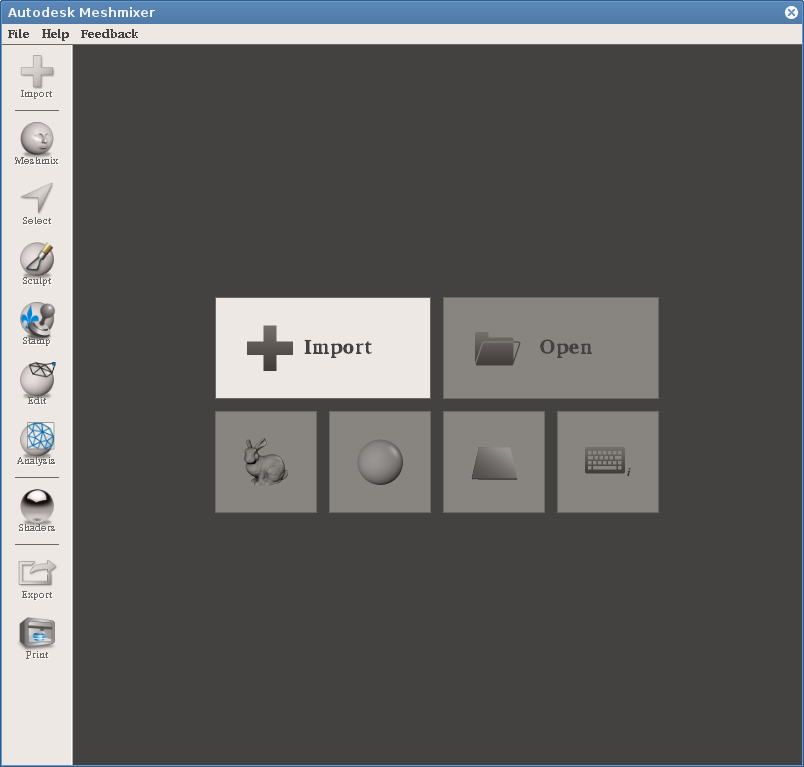
Firt thing: import your STL file using Import.
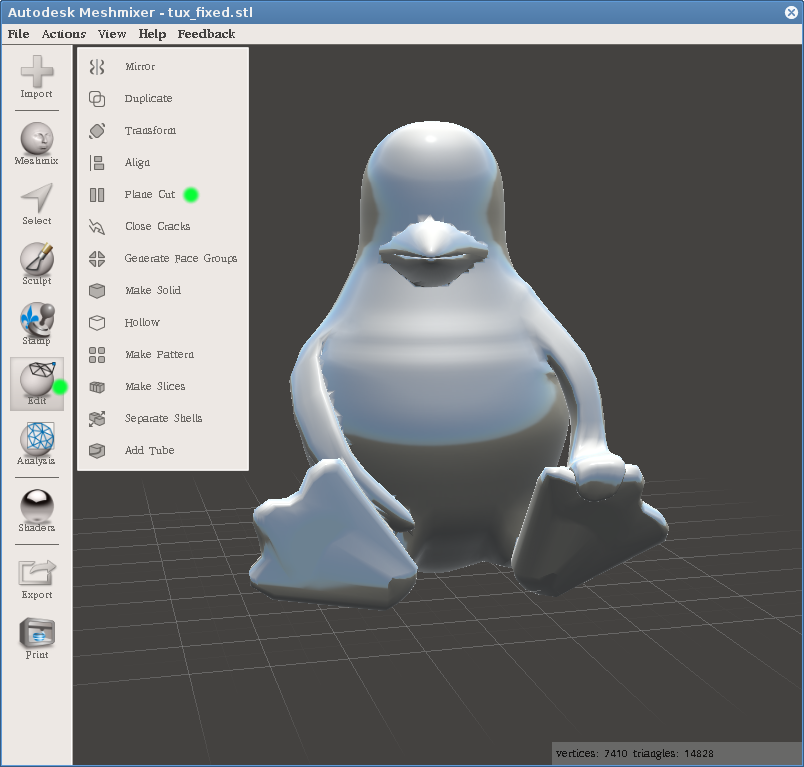
Select Edit → Plane Cut.
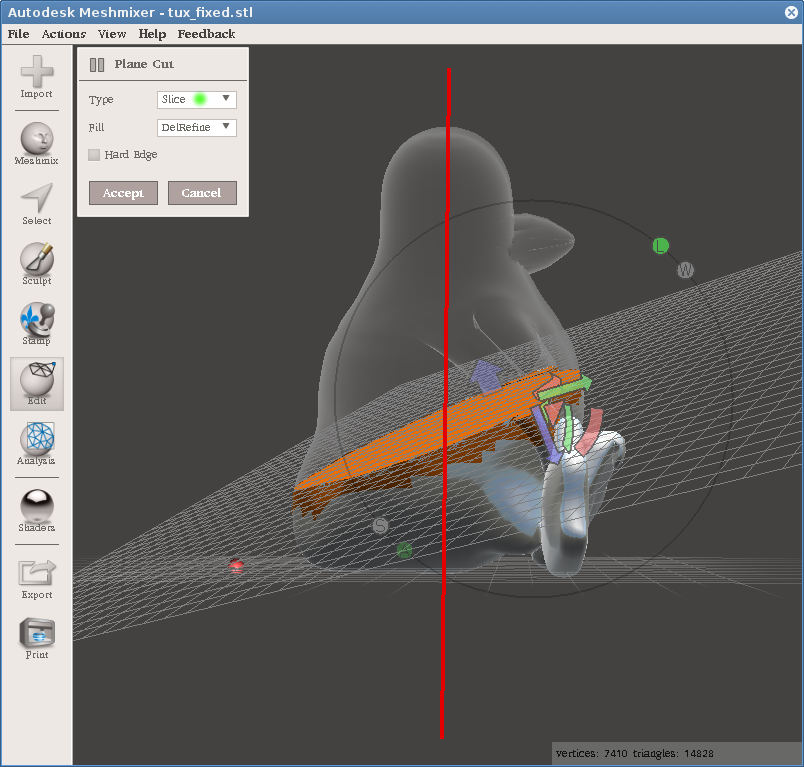
Using all the arrows manipulate the plane. You can also drag and drop with mouse to draw a line (red on the pic), that will define the cut. Rotate the object by right mouse button to manipulate it. Make sure you’ve selcted Type: Slice before you press the Accept button, otherwise you’ll loose one part of the object.
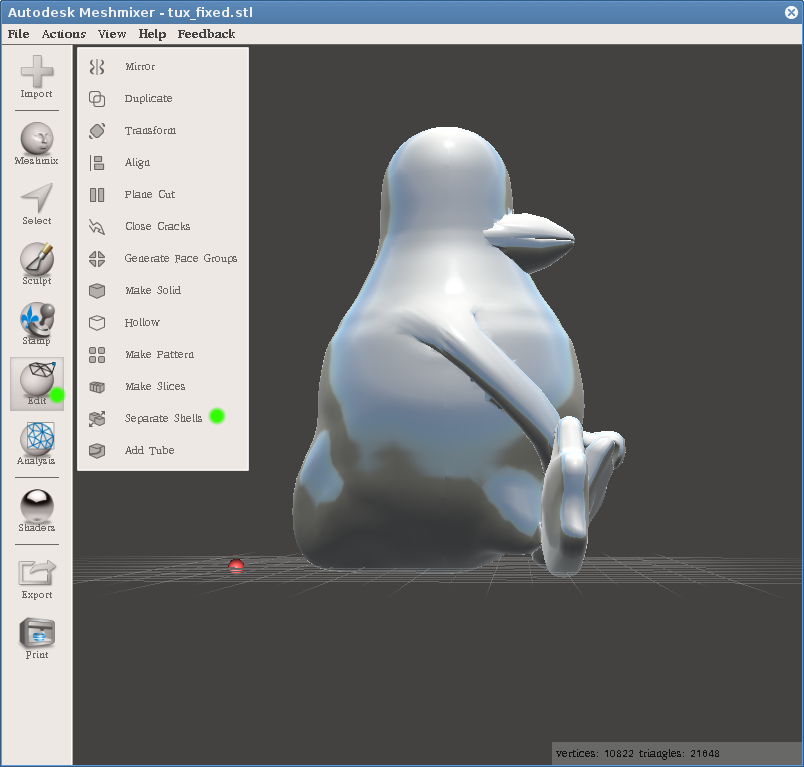
After the cut is done, you’ll see no difference. You have to use Edit → Separate Shells.
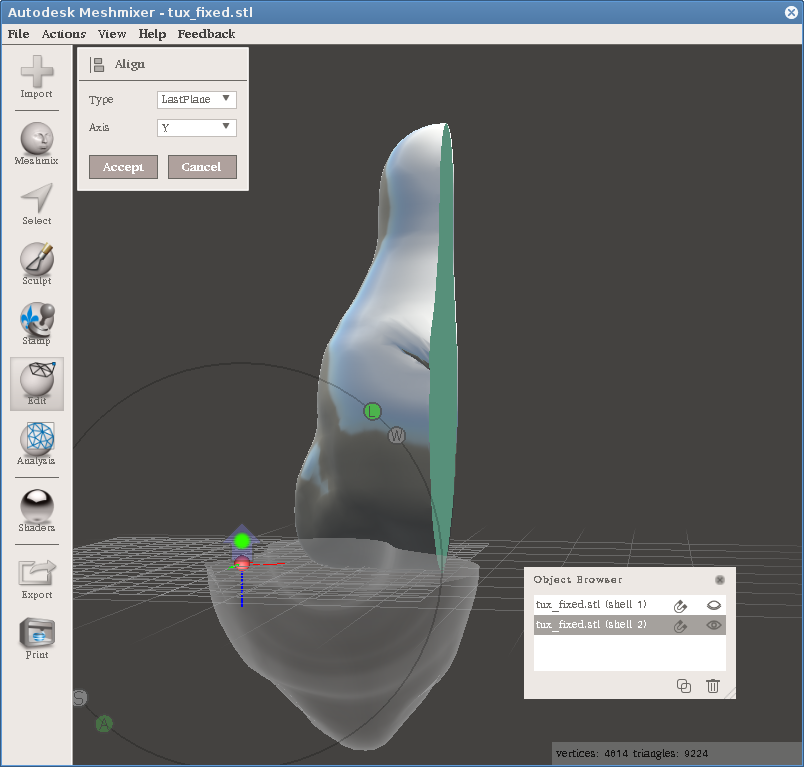
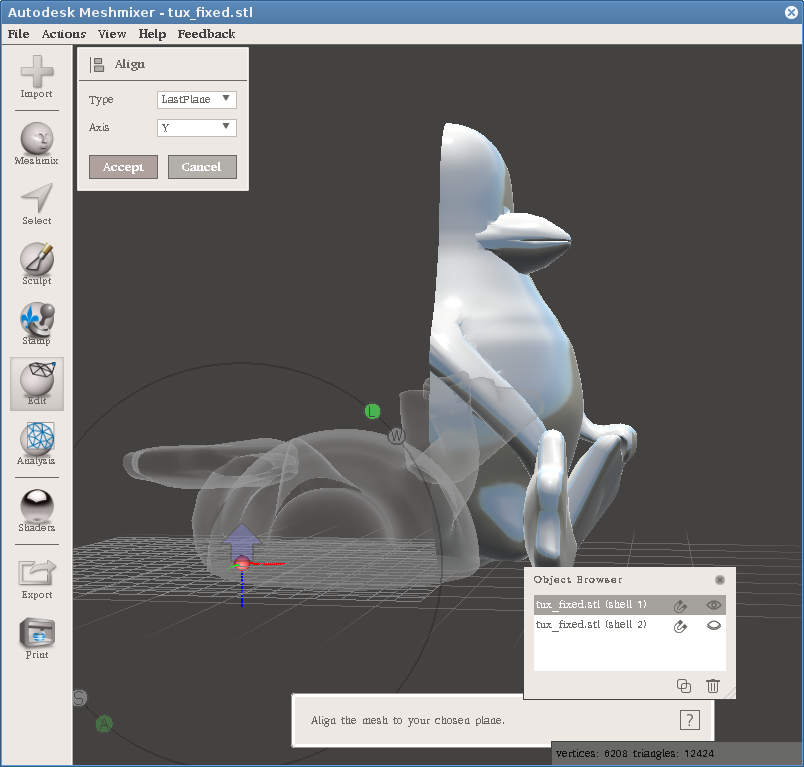
Select one shell and use Edit → Align to lay the object flat on the surface.
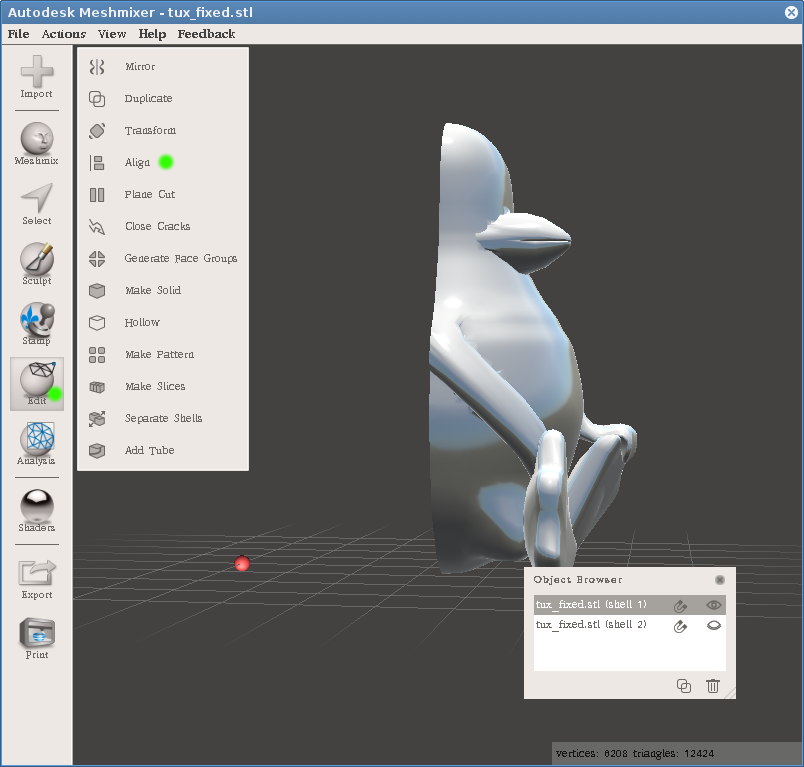
In the Align dialog, Y axis is pre-selected. That should work (maybe the object will be upside down, we’ll ge tot that), so just press Accept.
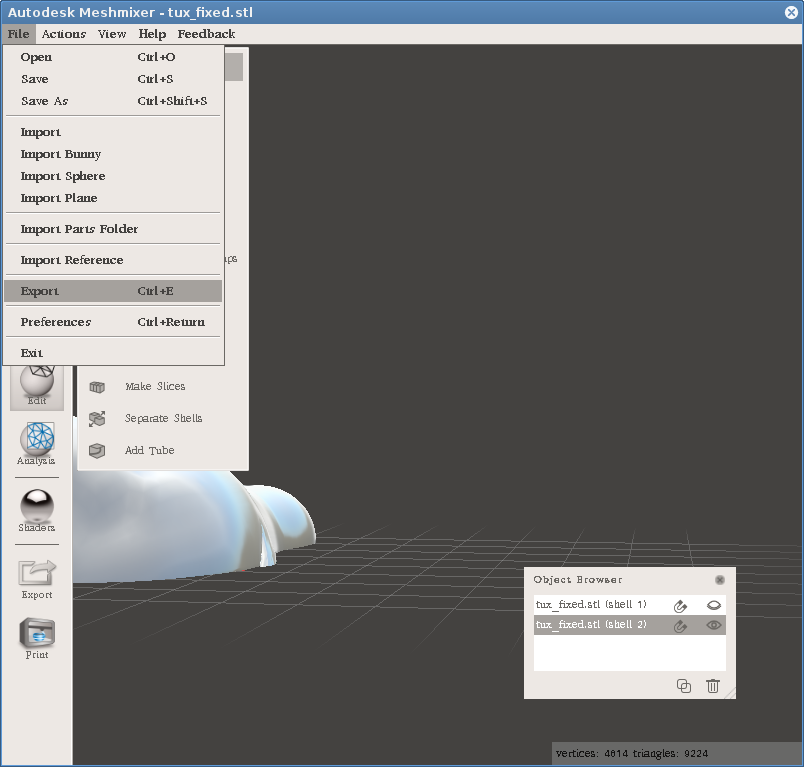
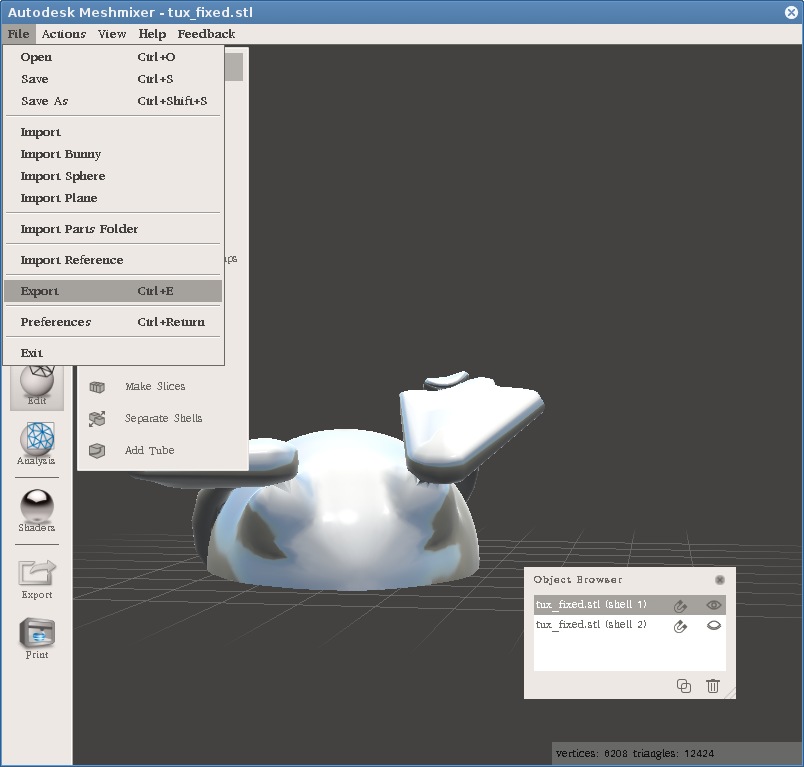
Use File → Export and save that part as STL. Examine the results in different app to see if everything is OK.
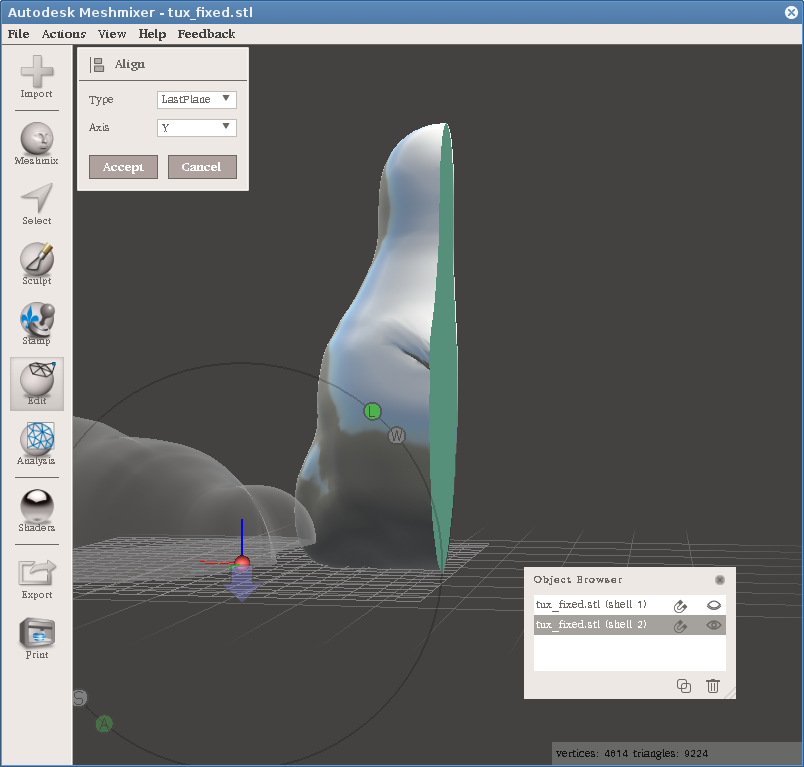
Use the same procedure to Align the second part. Here the part is upside down and all you need is to click the arrow (marked by green point in the pic).