English summary
This is a quick summary created for the purposes of occasional intensive English courses. It focuses merely on printing rather than other topics of the regular 3D printing class at FIT.
Safety rules
- Do not operate the printer or interact with it unless you are explicitly allowed to do so by the teacher.
- Do not leave the printer running unattended; if you need to leave, always ask somebody nearby to watch it for you.
- If the printer is doing something strange (including but not limited to: unexpected noise, smoke, fire) summon the teacher immediately by whatever means necessary (shout HELP or FIRE if you must).
- Beware that the printer is dangerous at least in 3 ways: moving mechanical parts, heat and electricity.
- Pay extra attention when using tools or interacting with chemicals.
- Do not drink or eat directly by the printer, do not keep open containers with liquids nearby either.
Varování:
Chances are, you already know how to operate a 3D printer, maybe you even have your own. However, the teacher is not able to differentiate those who already have the necessary skills from those who only like to experiment. Hence, the rules above apply to all students, unconditionally.
Anatomy of a printer
Důležité:
The photo is outdated, but the shape of our printers is similar.
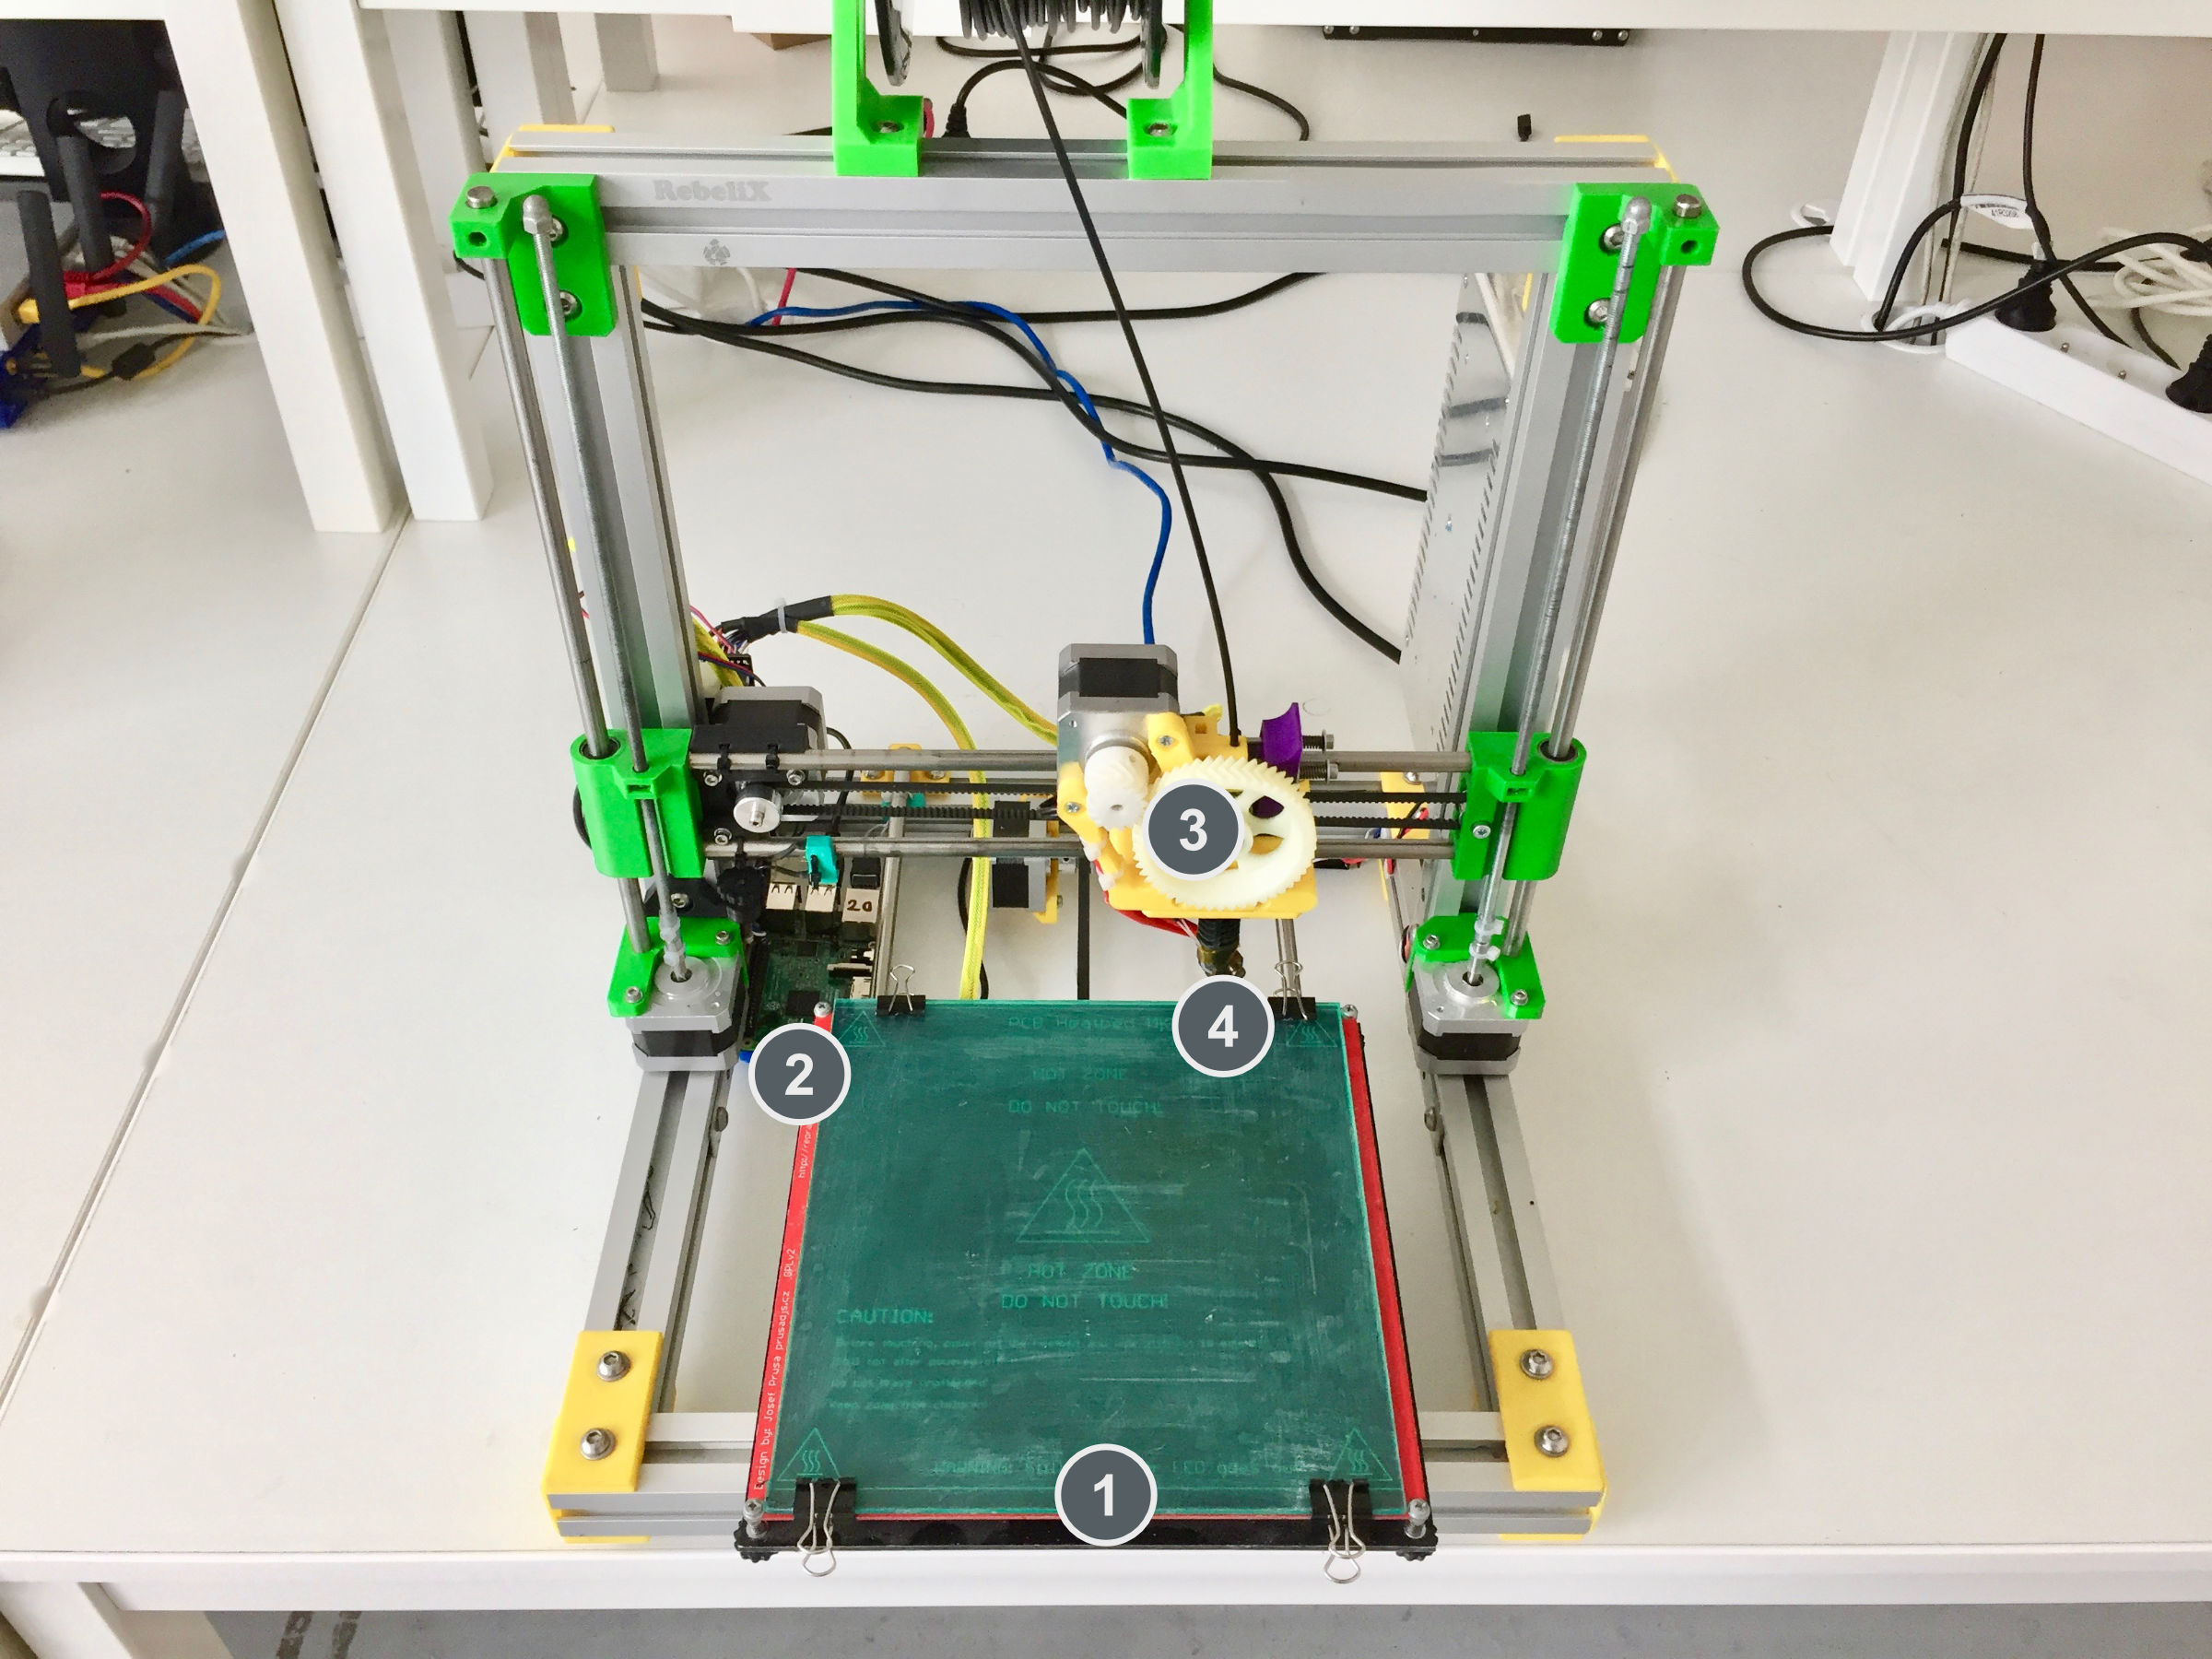
- Heatbed (or simply the bed)
- (ignore this, our printers don’t have it)
- Extruder
- Hotend (or nozzle)
Plugging the printer
Each printer needs to be plugged into electricity and network. The necessary cables are either available at your desk or in the cable compartment accessible form the rear end.
The printers are equipped with an electrical ON/OFF switch. Only (dis)connect the power cord when the printer is turned OFF.
When in danger, use the ON/OFF switch to power of the printer, or pull out the power cord if the switch is already melted or otherwise inaccessible.
Unless in danger, do not power off a printer that is still hot. The teacher will explain.
Connecting to the printer
Each printer is equipped with a label. Use a computer in the classroom to access the URL printed on that label.
The URL looks like this:
Where XX is a uniq number of your printer (from 00 to 14).
To log in to your computer, use Linux and log in with the following credentials:
- Username
fit-guestXX- Password
FIT-GUESTXX
Where XX is any number from 00 to 25.
To avoid collisions with others, we recommend using the same number your printer has.
Upozornění:
Do not connect to printer that is not on your desk. It may seem fun to operate a printer remotely for others unless you accidentally harm them.
Printing
Prepare the printer
- Check the condition of the printer, make sure it’s not damaged or crooked and that there is enough space around it to move freely without hitting obstacles.
- Remove remains of previous prints from the heatbed. If the bed is greasy, clean it with the cleaning spray and a sheet of paper towel.
- Make sure you have enough printing material and check the filament (the plastic wire) is properly loaded.
Unloading the filament
- Preheat the nozzle to the melting temperature of the material you are about to remove (at least 240˚C for PET).
- Hold the filament above the extruded. Don’t let go until securely attached to the spool.
- Click the Unload filament macro.
- The printer will push the filament upwards, guide it with your hand and pull it out when it’s possible (force is not required).
- Secure the end of the unloaded filament to a hole located at the filament spool, make sure it has no tendency to unroll.
- Unhook the spool and put it on your desk or to the storage.
Loading the filament

- Preheat the nozzle to the melting temperature of the material you are about to remove (at least 240˚C for PET).
- Unload previously loaded filament if necessary.
- Release the end of the filament from the hole on the spool and hold it. Don’t let go until securely loaded to the extruded.
- Check the shape of the end: use pillars if necessary to correct it.
- Insert the end to the extruder (from the top).
- Click the Load filament macro.
- The printer will pull the filament downwards, guide it with your hand and push it slightly until you feel the pull (force is not required).
- If not already hooked, hook the spool to the spool holder on the right side of your printer.
Printing
Load a .gcode file and print it with Upload & Start.
To produce a .gcode file, use Slic3r on the class computer.
You will need this config bundle and load it via Load Config Bundle… in the File menu.
Upozornění:
Printing from a .gcode that was generated using incorrect config will result in fatal errors.
The teacher will explain how to use Slic3r.
When the print is finished
- Remove the magnetic plate from the heatbed.
- Let it cool down.
- Bend it to remove the print.
- Use your nails or a spatula to remove flat prints that bend together with the plate.
- Clean the plate if greasy.
- Put it back.
You can preheat the printer for the next print or let it cool down if you plan to power it off.
Files to print
- 20×20×10 mm cube
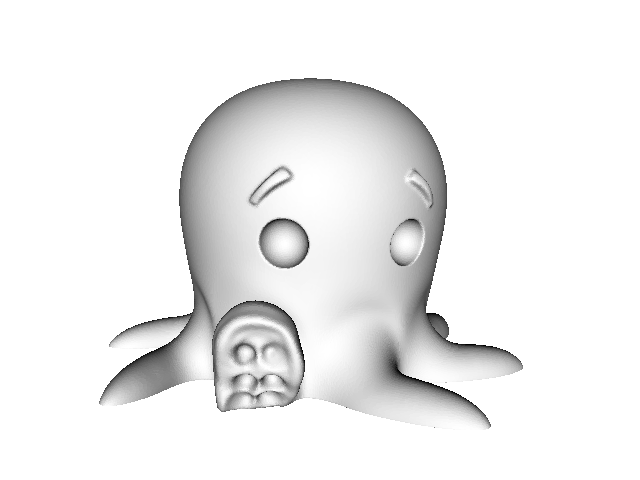
- Cute Octopus Says Hello (CC BY 3.0 by MakerBot)
- parametric bridge model for OpenSCAD
- Overhang Test (CC BY 3.0 by Knickohr)
- bear (CC BY-NC 4.0 by Christophe Caranchini)
- our 3D lab logo