Printing: Bridges
In previous exercises we explained that classic FDM printers cannot print into thin air for physical reasons and thus it’s necessary to have either the print bed or an already printed part of the object under the currently printed part. We showed how to add supports for parts of the model that would require printing into empty space.
However, not all situations require wasting material and time on printing supports. If you examined what the infill looks like and what happens after printing the infill, you surely noticed that sometimes printing into thin air does occur. If we have 15% infill and want to cover it from above, then logically we’re printing into thin air 85% of the time. How can this work?
Varování:
Follow all safety rules from the previous exercise. Especially don’t stab anyone with a screwdriver and don’t drink chemical cleaning agents.
Bridges
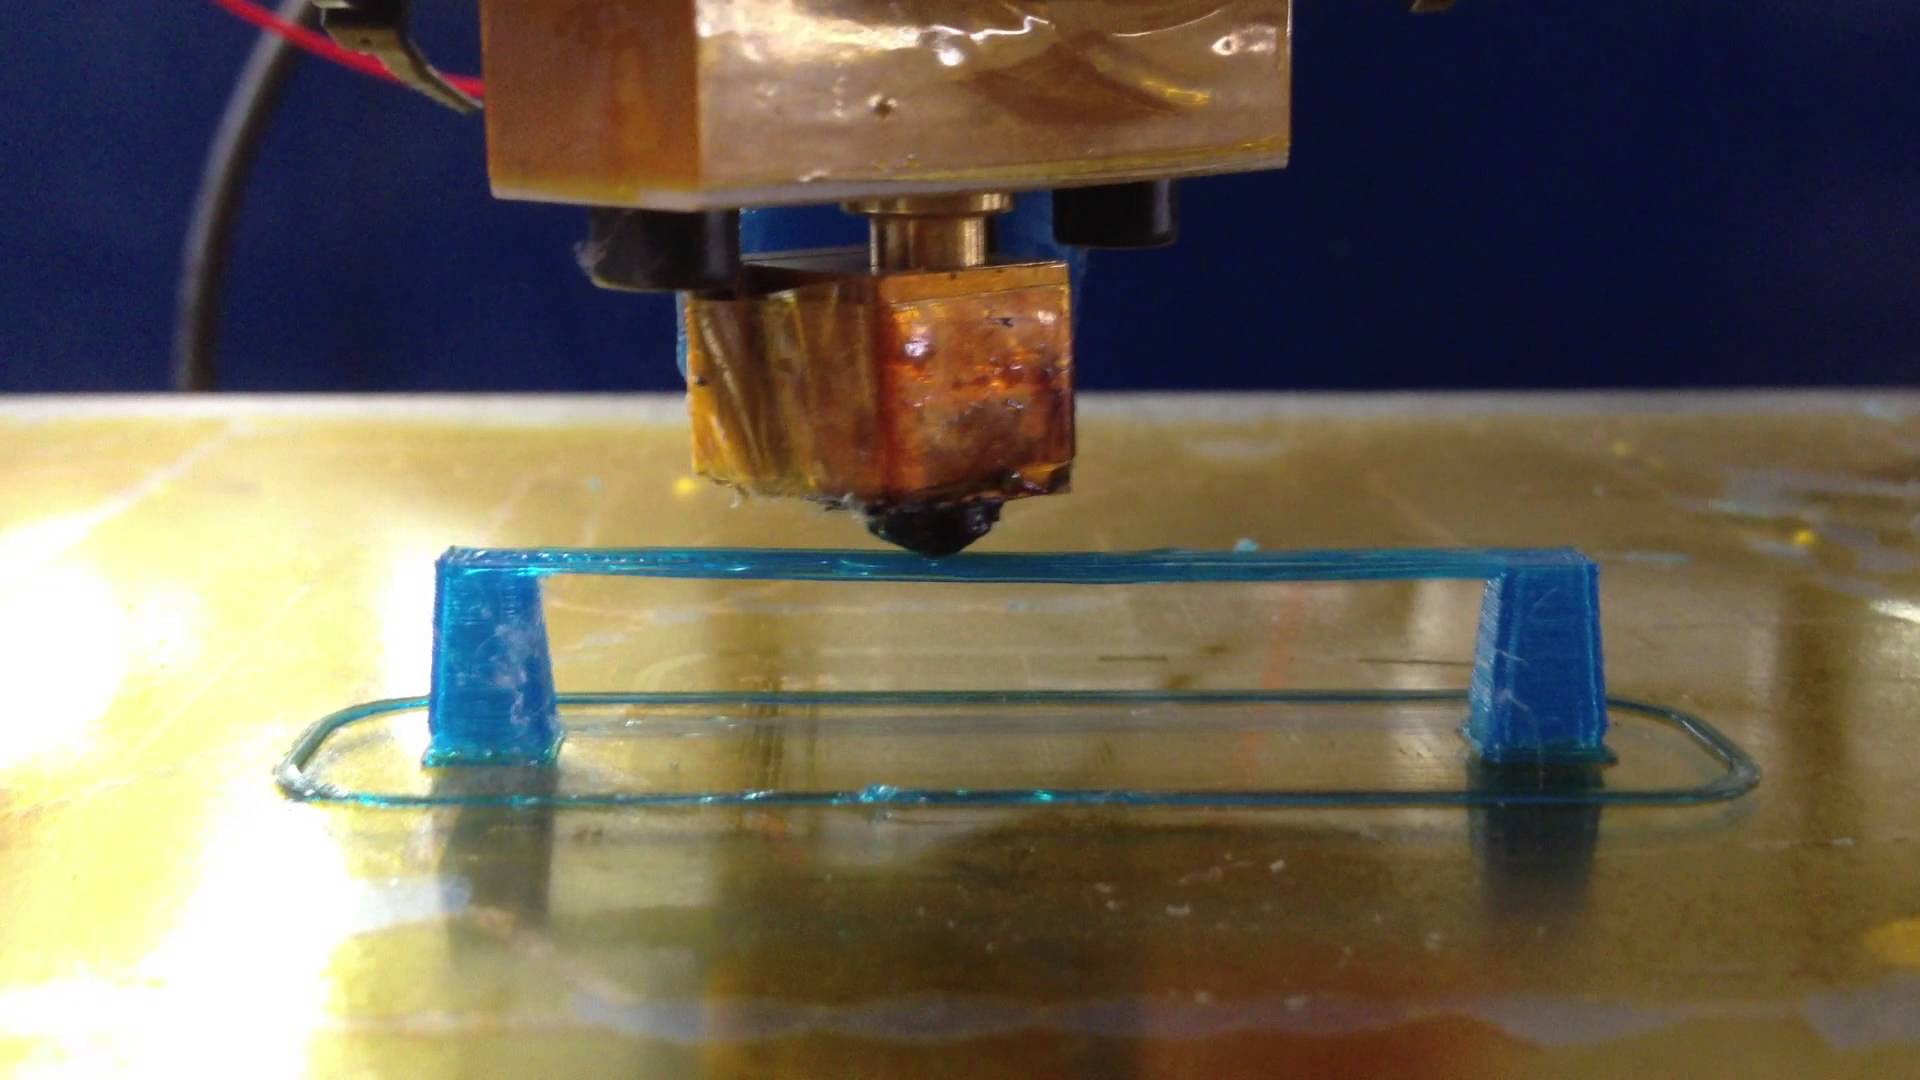
A situation where we print from one fixed point to another ("from shore to shore") with a fast simple linear "stroke" is called bridging.
During bridging we rely on the fact that the plastic filament still flows out of the nozzle (it "hangs") and during the time that the filament holds onto the nozzle, the nozzle manages to move to the second fixed point (to the "opposite shore"), where the filament attaches. The solidification and shrinking of the plastic then ensures that the given filament is taut and straight.
The fan, nozzle movement speed, and amount of extruded plastic play a big role in printing bridges. If the speed is too low, the filament will sag down or fall off the nozzle. High speed can break the filament before it reaches the second point. By blowing on some types of materials (PLA, PET) we can speed up the cooling process.
Logically, it’s not desirable for the bridge to be sagging or have broken filaments.
Bridge Settings in OrcaSlicer
For bridge calibration, values are adjusted in the OrcaSlicer application in the sections:
- Speed → Overhang speed → Bridge
- Quality → Bridging → Bridge flow ratio
- Filament Settings → Cooling
Assignment
During the terraforming of Mars, mission command has assigned you the task of printing a bridge on a 3D printer. At our base we have a scaled-down copy of a 3D printer, which will later print real bridges on Mars.
Use the file bridge.scad to generate the bridge STL in OpenSCAD. You may change the bridge dimensions for testing purposes, but only bridges with the default dimensions (12.5 mm wide, 100 mm long, 10 mm high) or bigger are graded. The default bridge might need to be placed diagonally (rotated 45°) on the print bed to fit.
Your task is to calibrate the bridge settings in OrcaSlicer and print a bridge that is as clean and nice-looking as possible. The bottom of the bridge should not sag and the filament strands should not be broken.
Grading
- 1 point for printing a really ugly sagging bridge
- 2 points for printing an ugly bridge
- 3 points for printing a nice bridge
The above points are not cumulative. Those who don’t clean up after themselves don’t get any points.
Bridges from ABS
If you want, you can also try printing bridges from ABS. ABS has greater thermal expansion and is harder to blow on. The bridge pillars have a greater tendency to detach from the bed during printing. If you’re otherwise done and want to print from ABS, ask the instructors for details.