Fusion 360
Registration
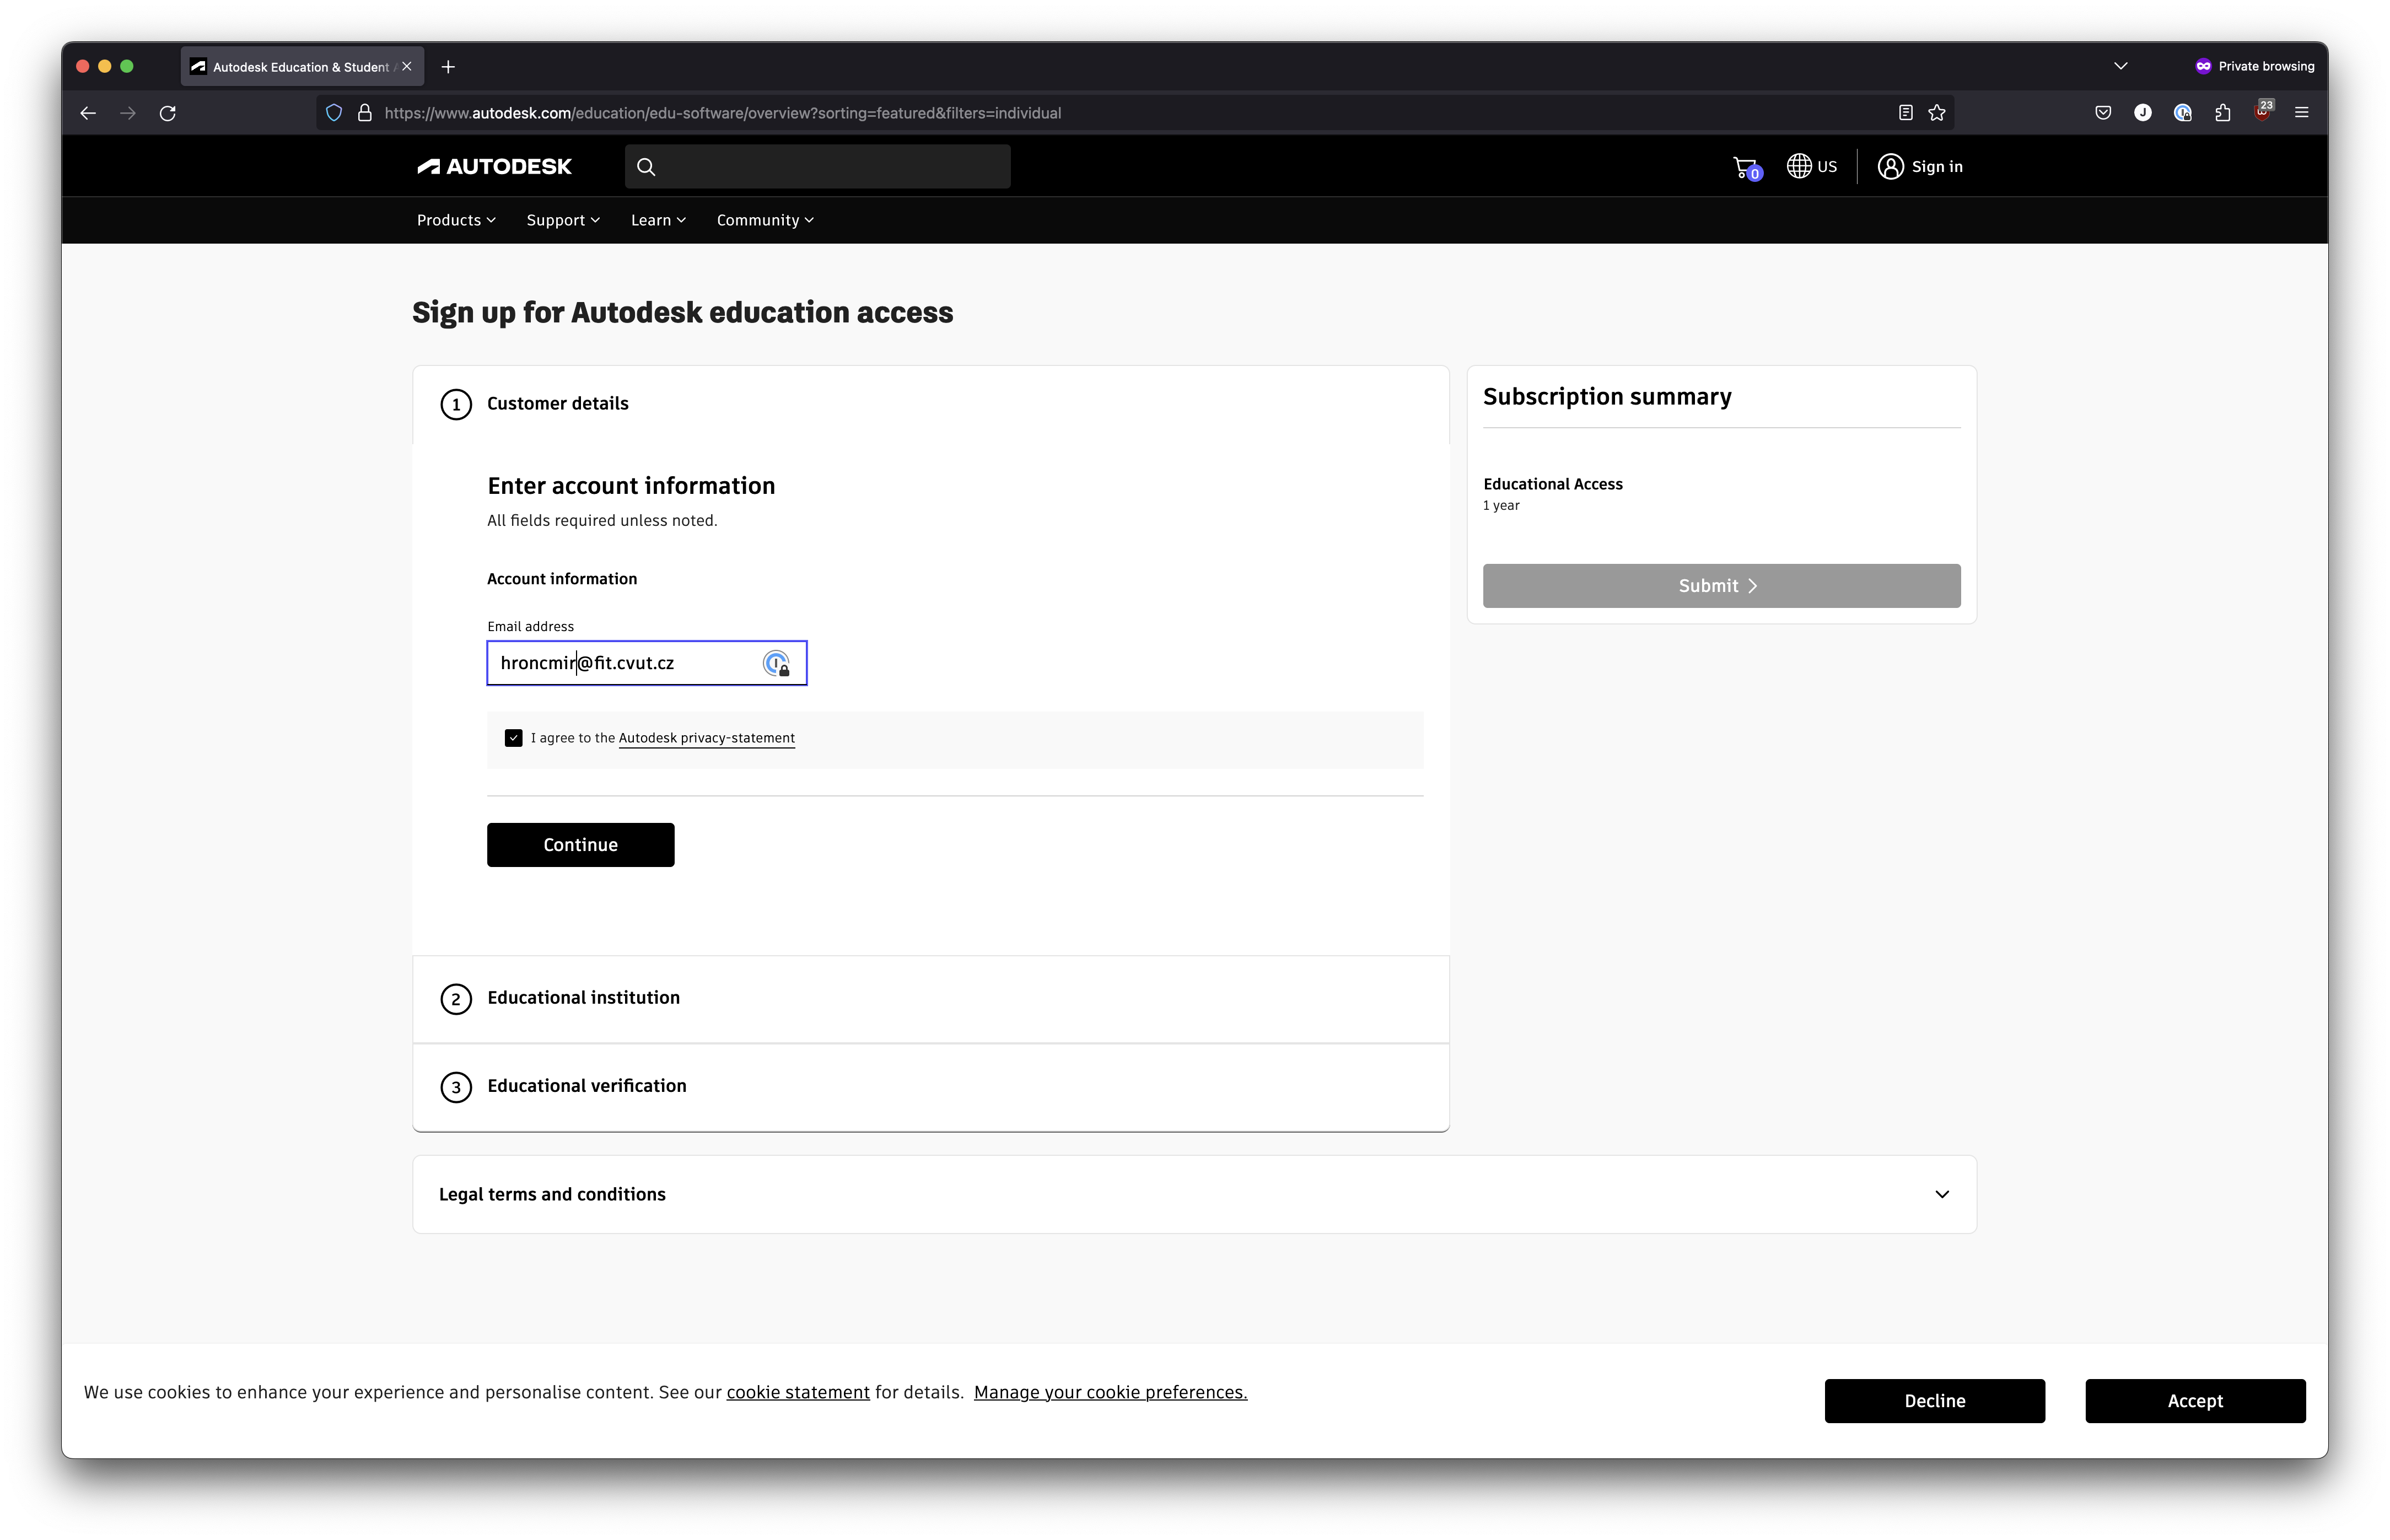
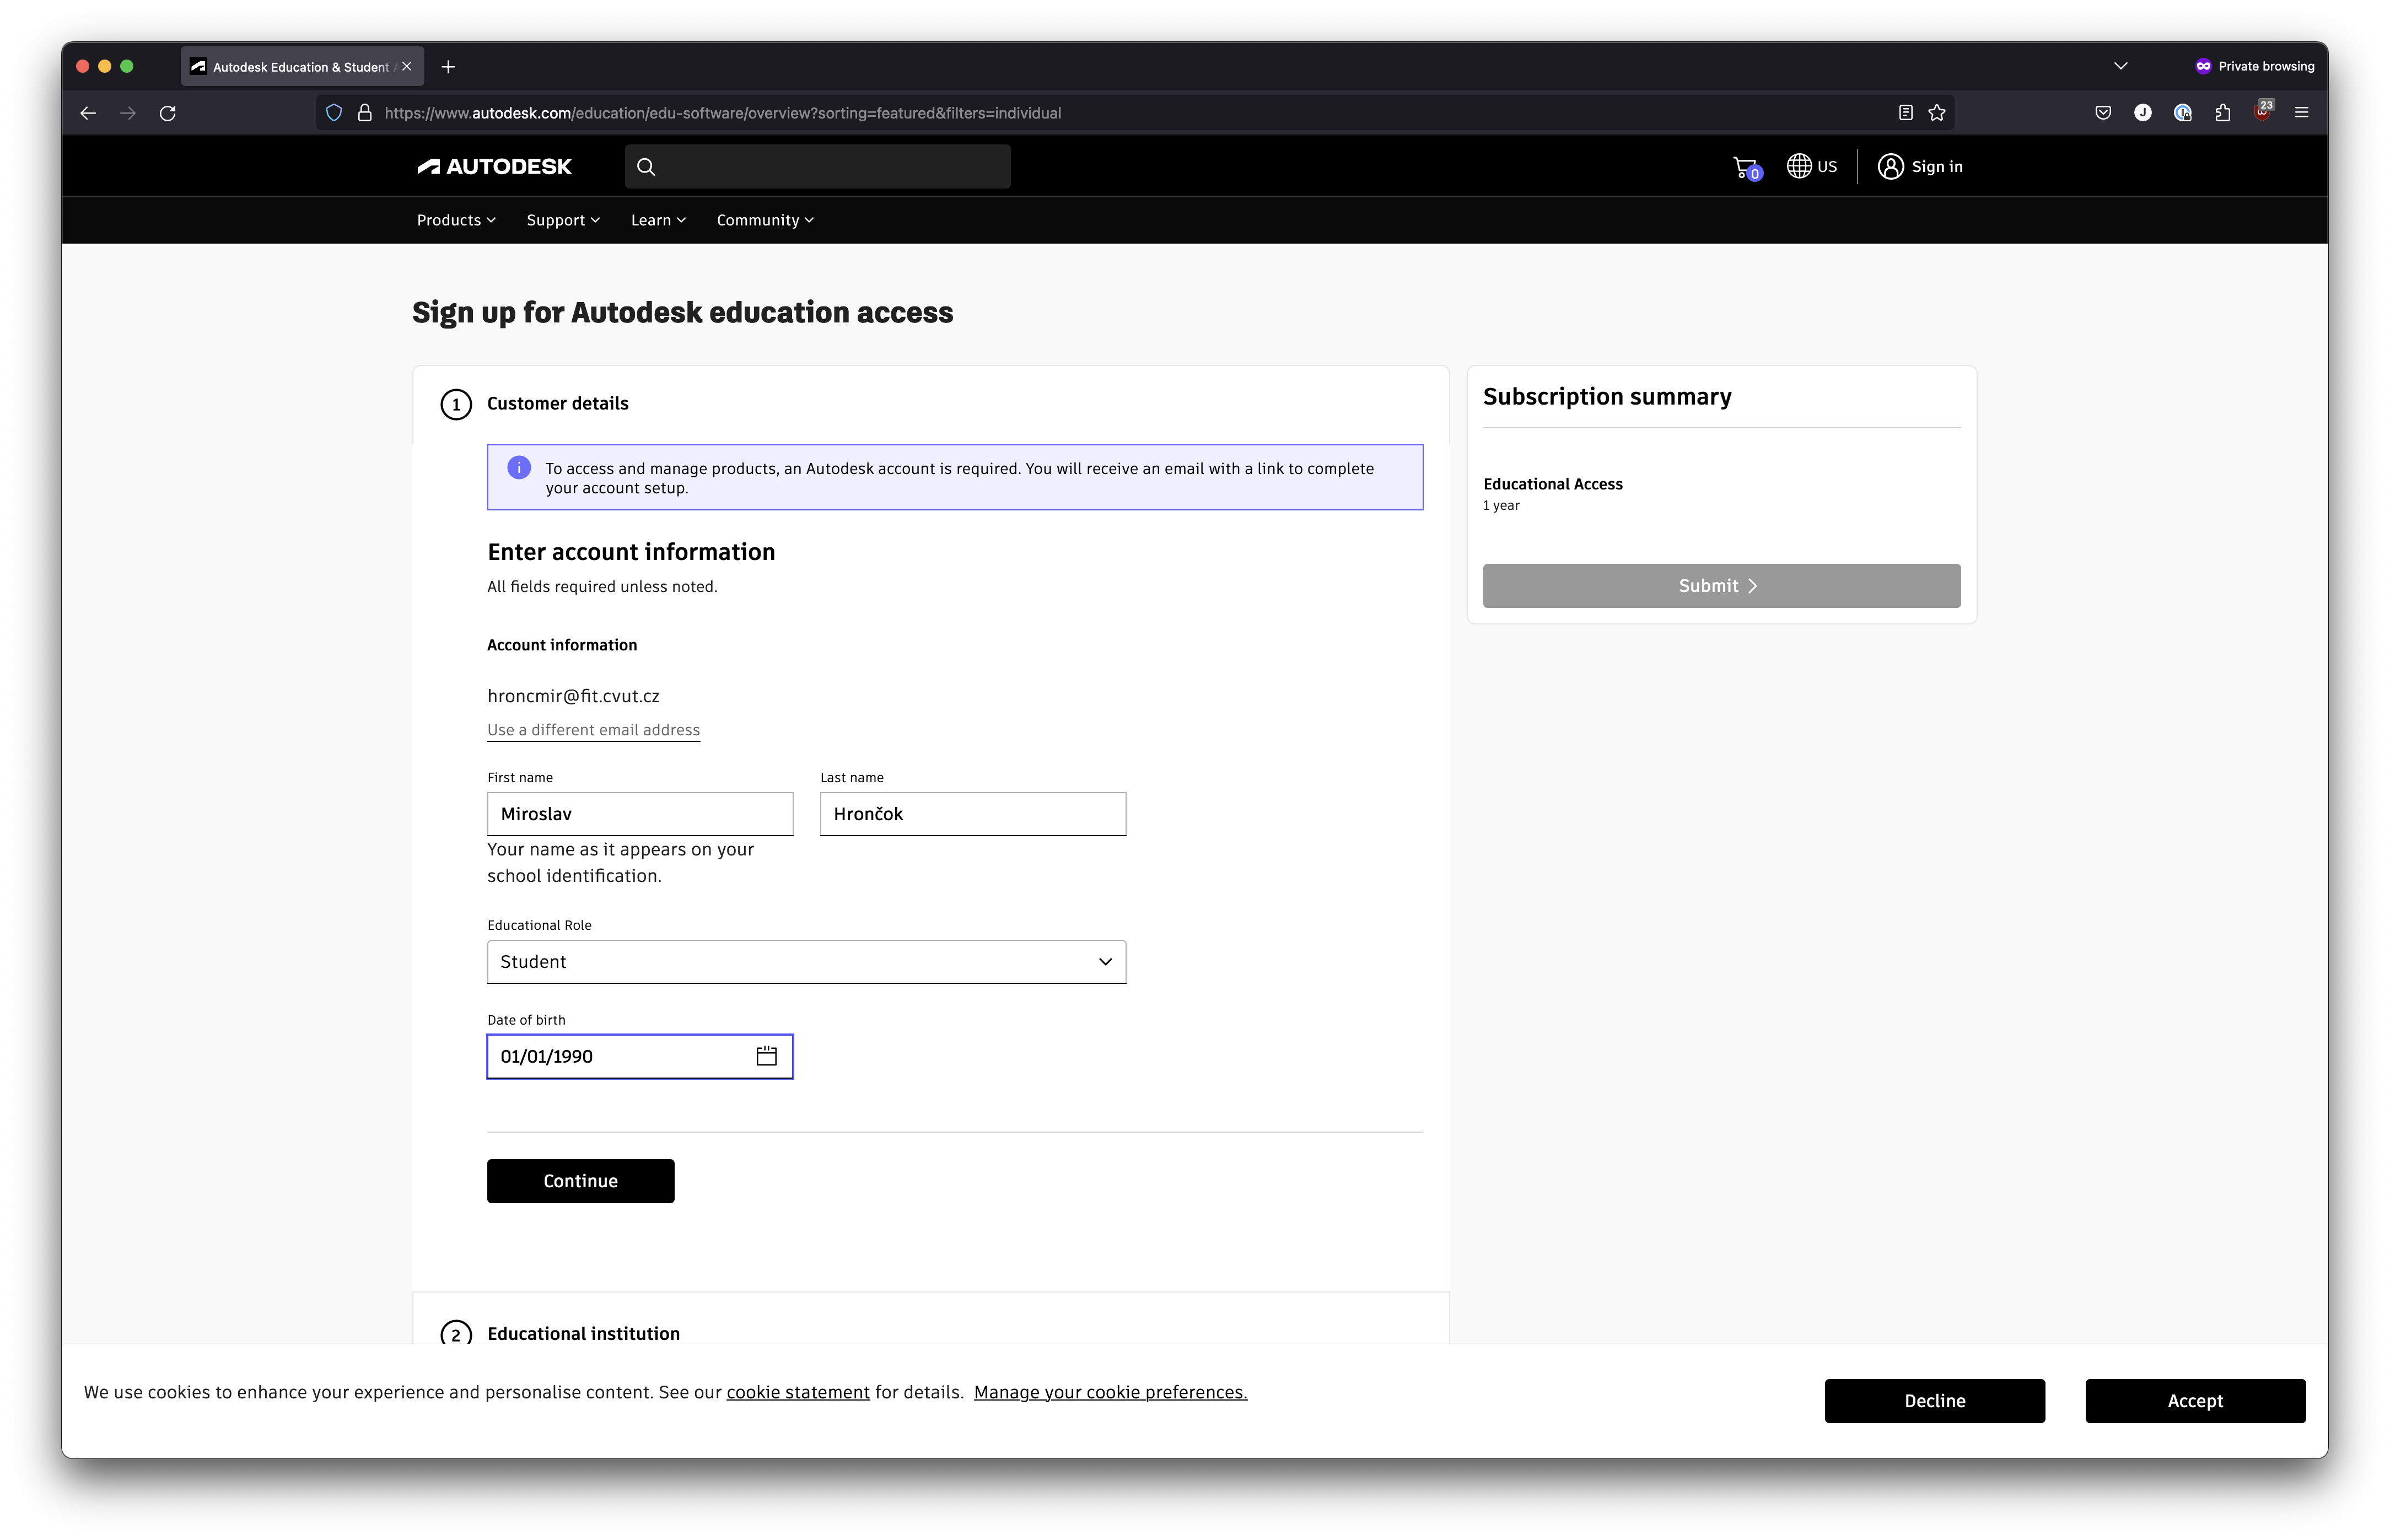
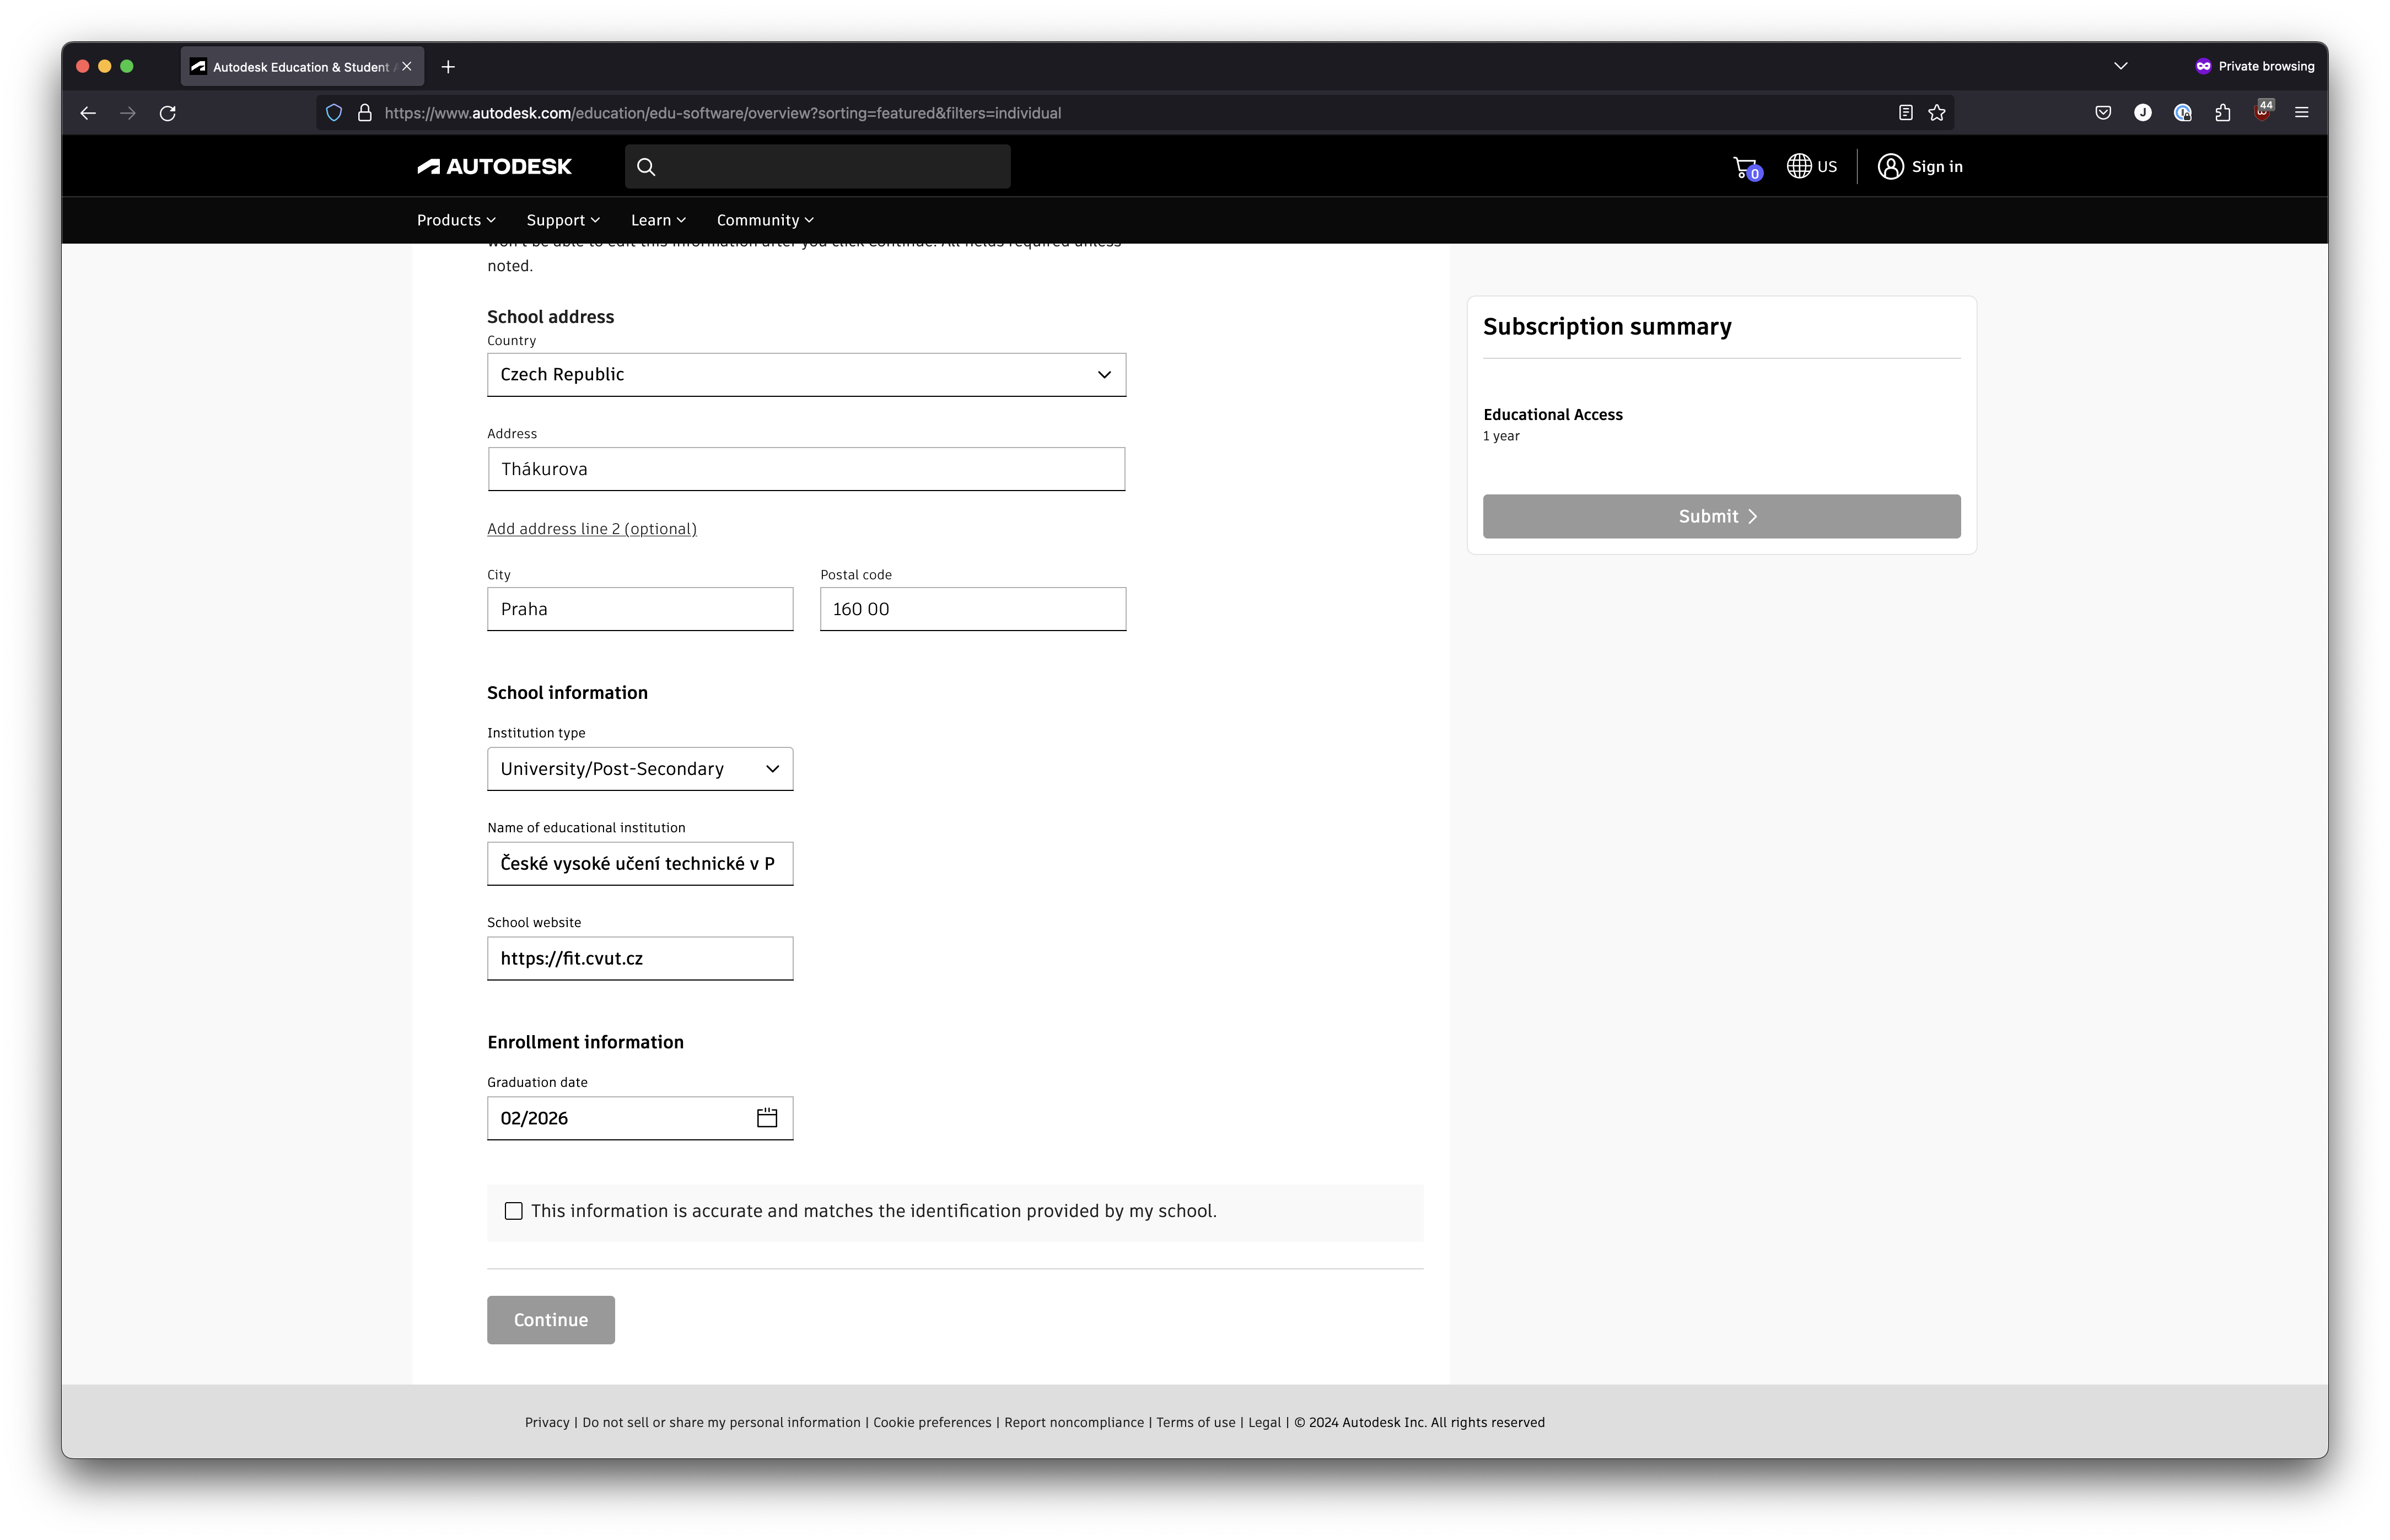
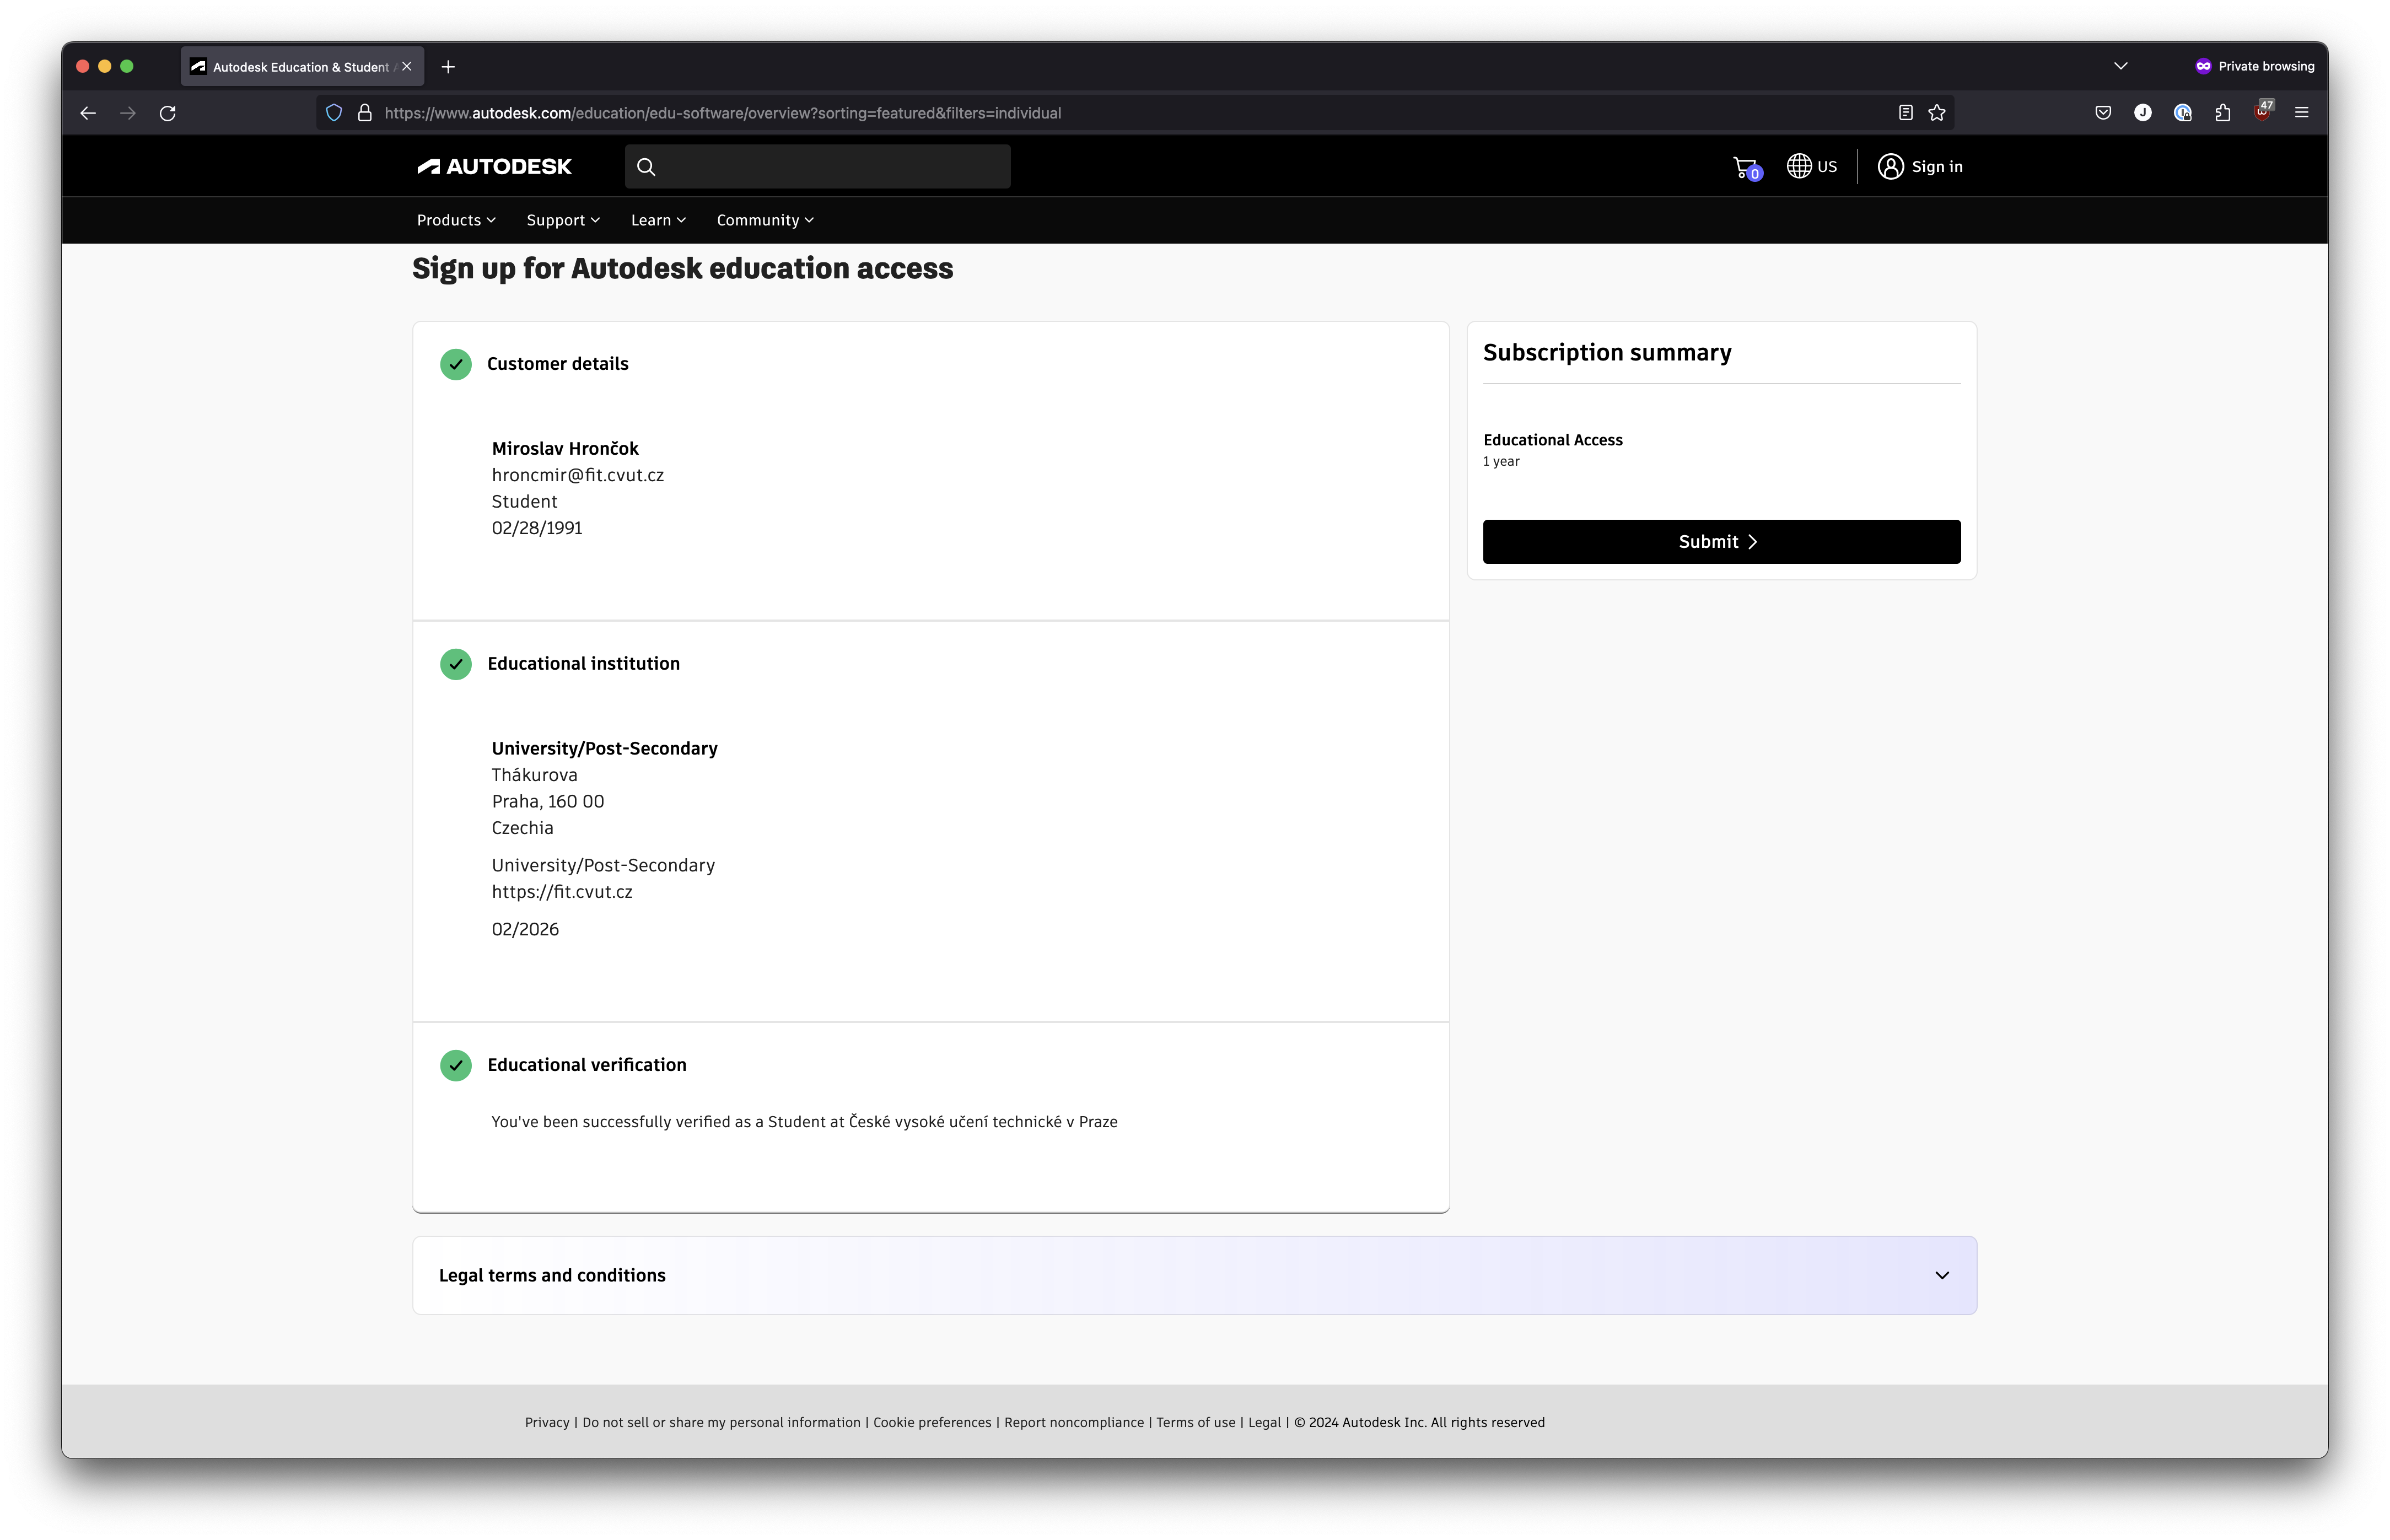
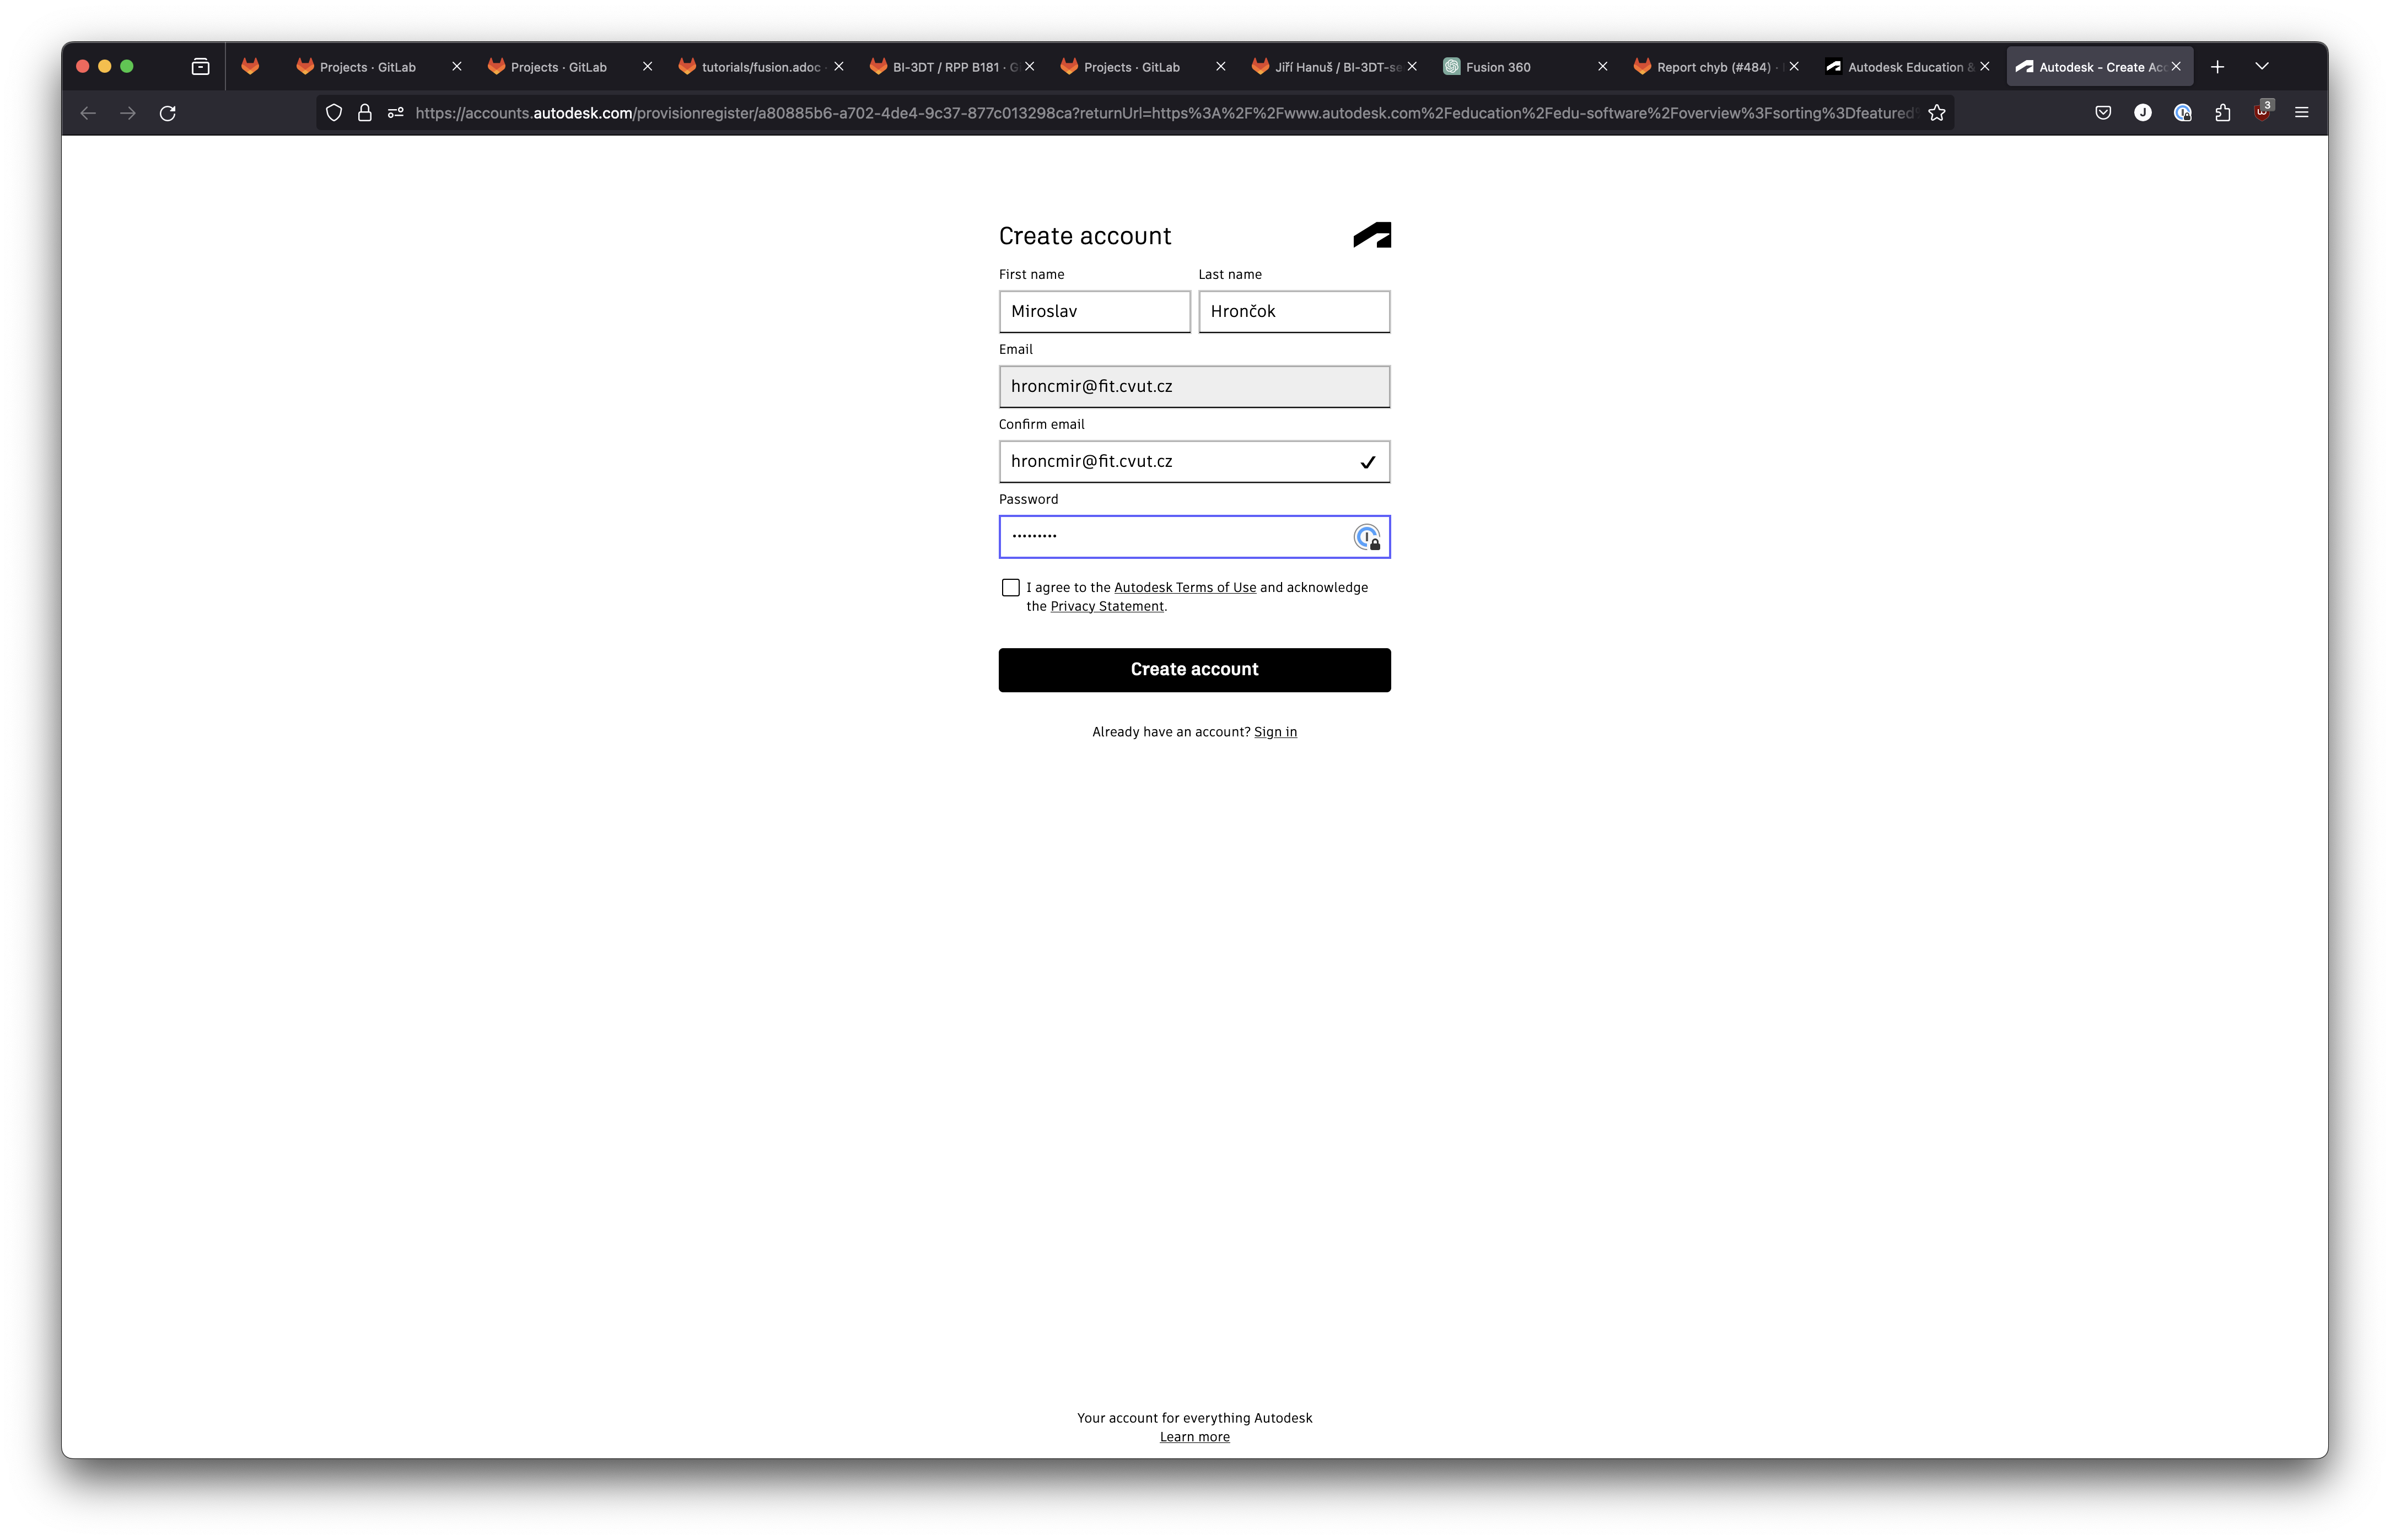
You need to register with Autodesk using your faculty email and enroll in a student license.
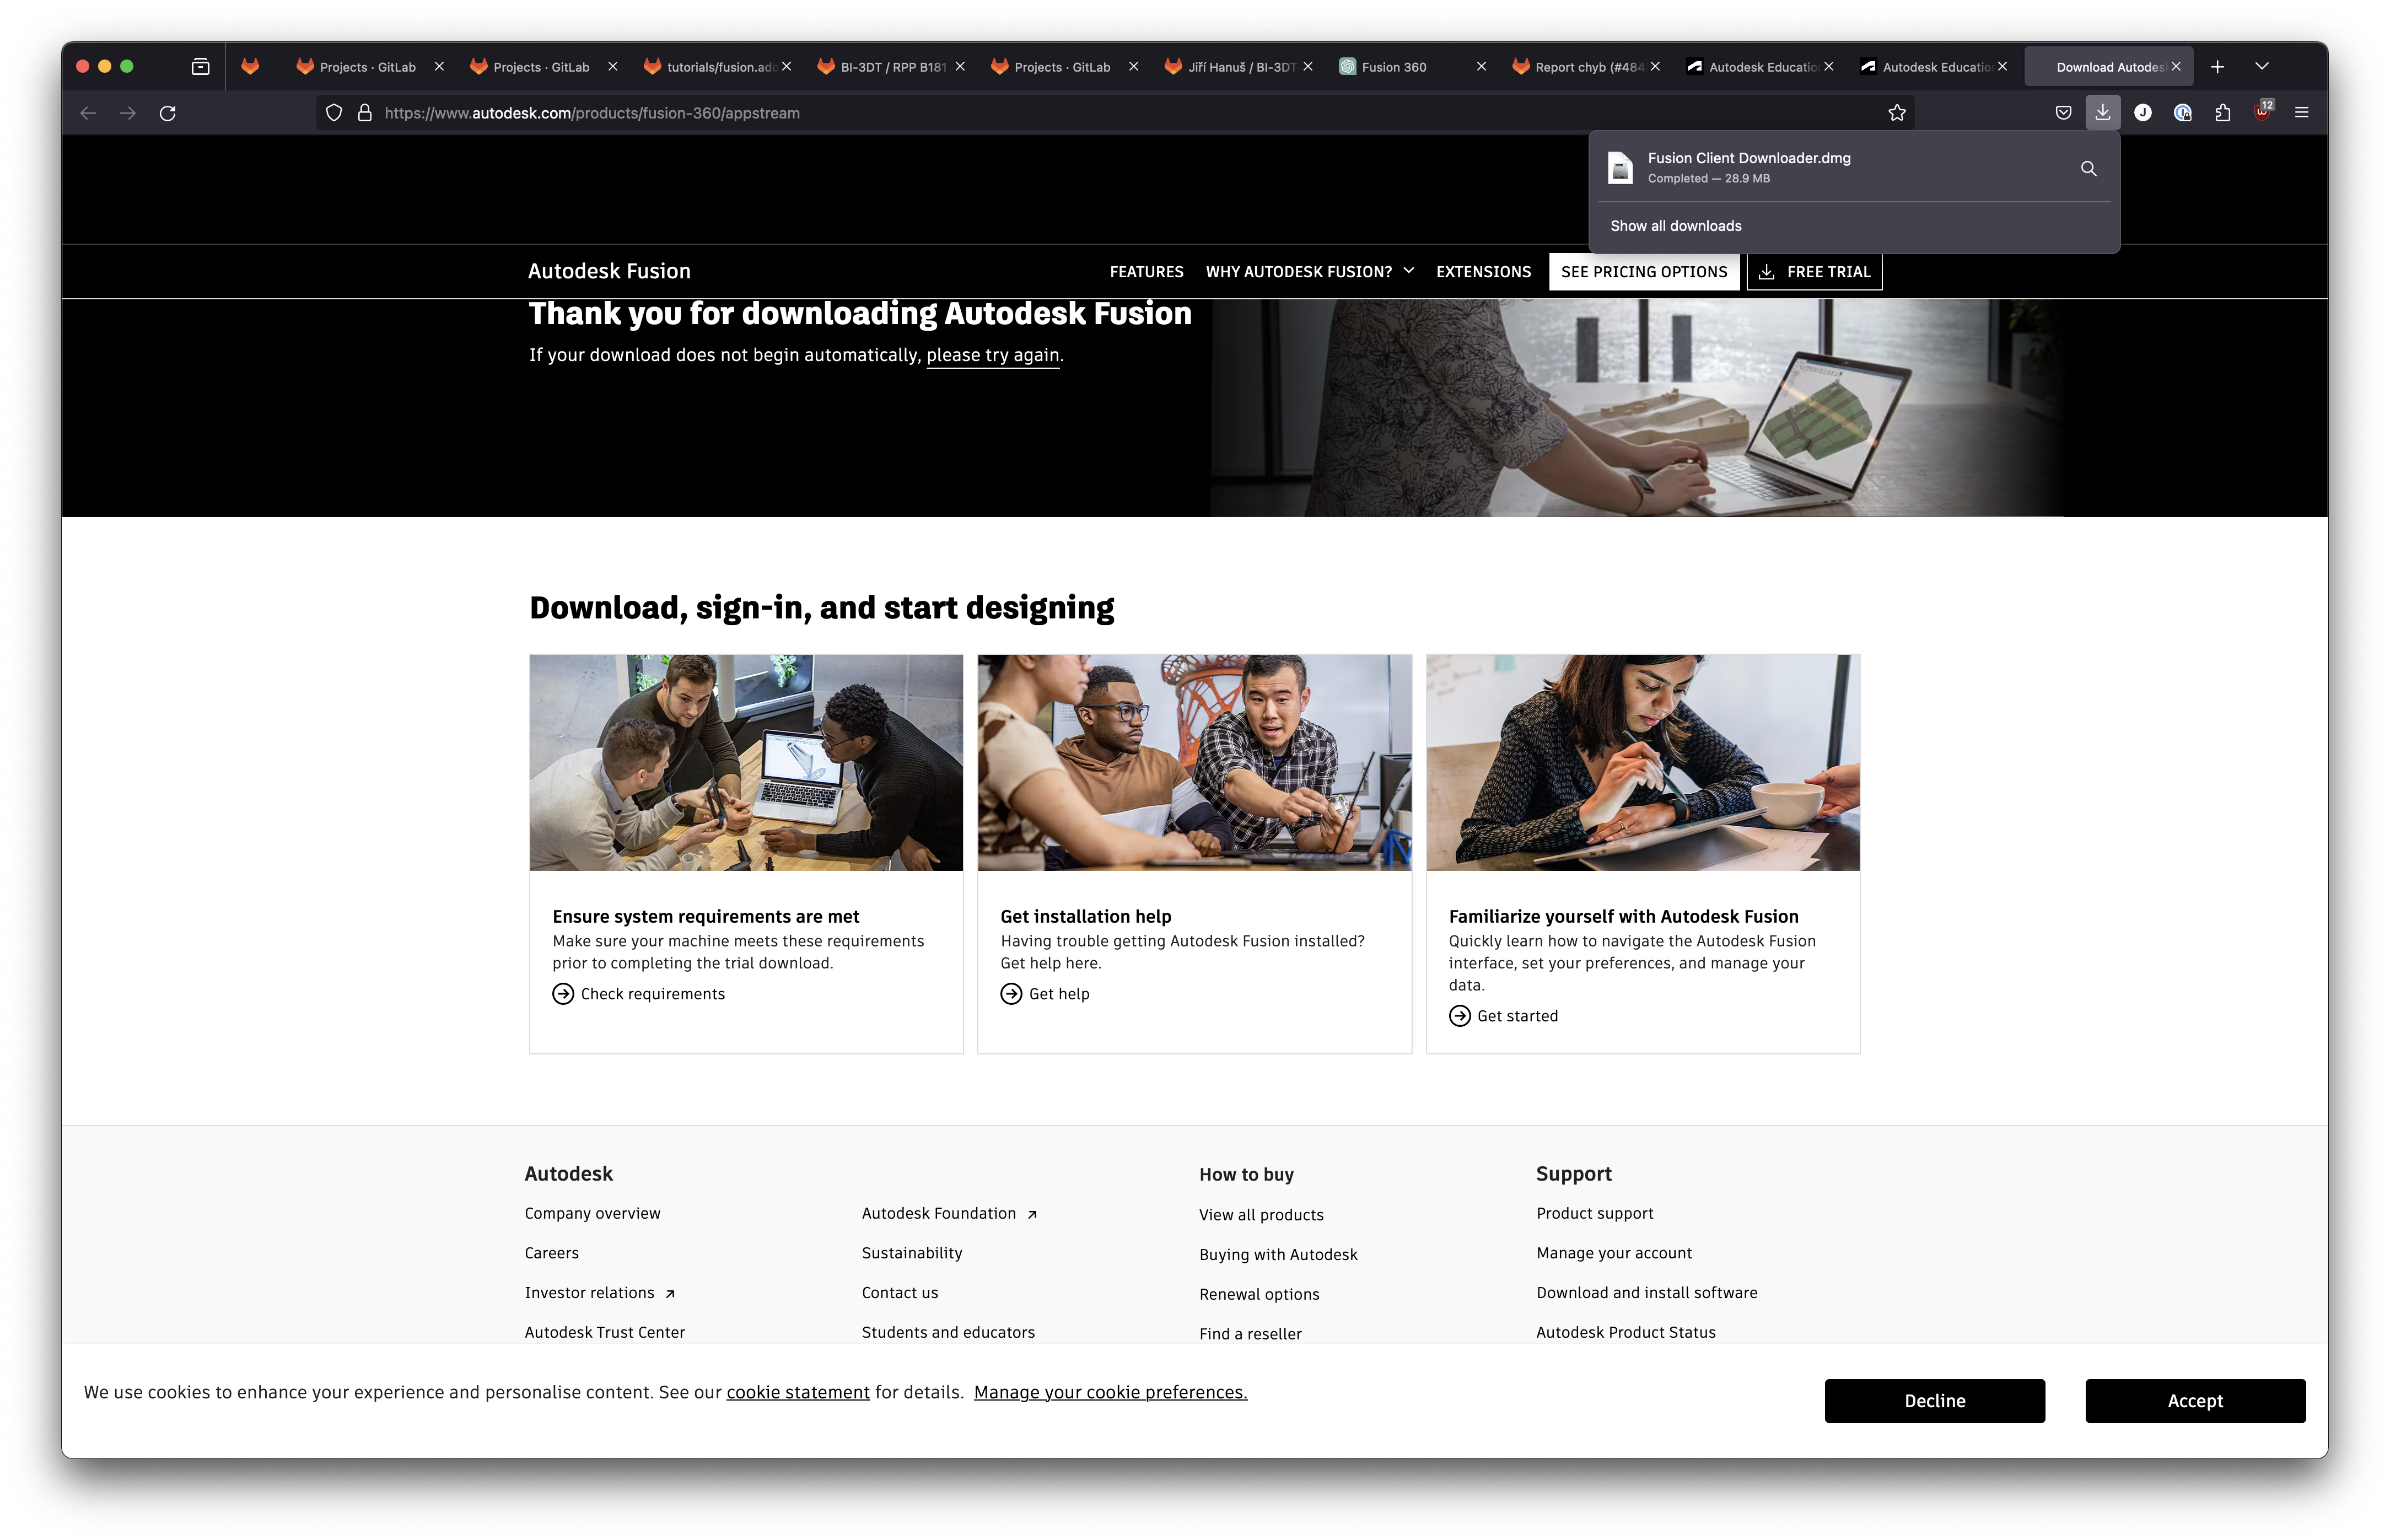
Download
What is FUSION?
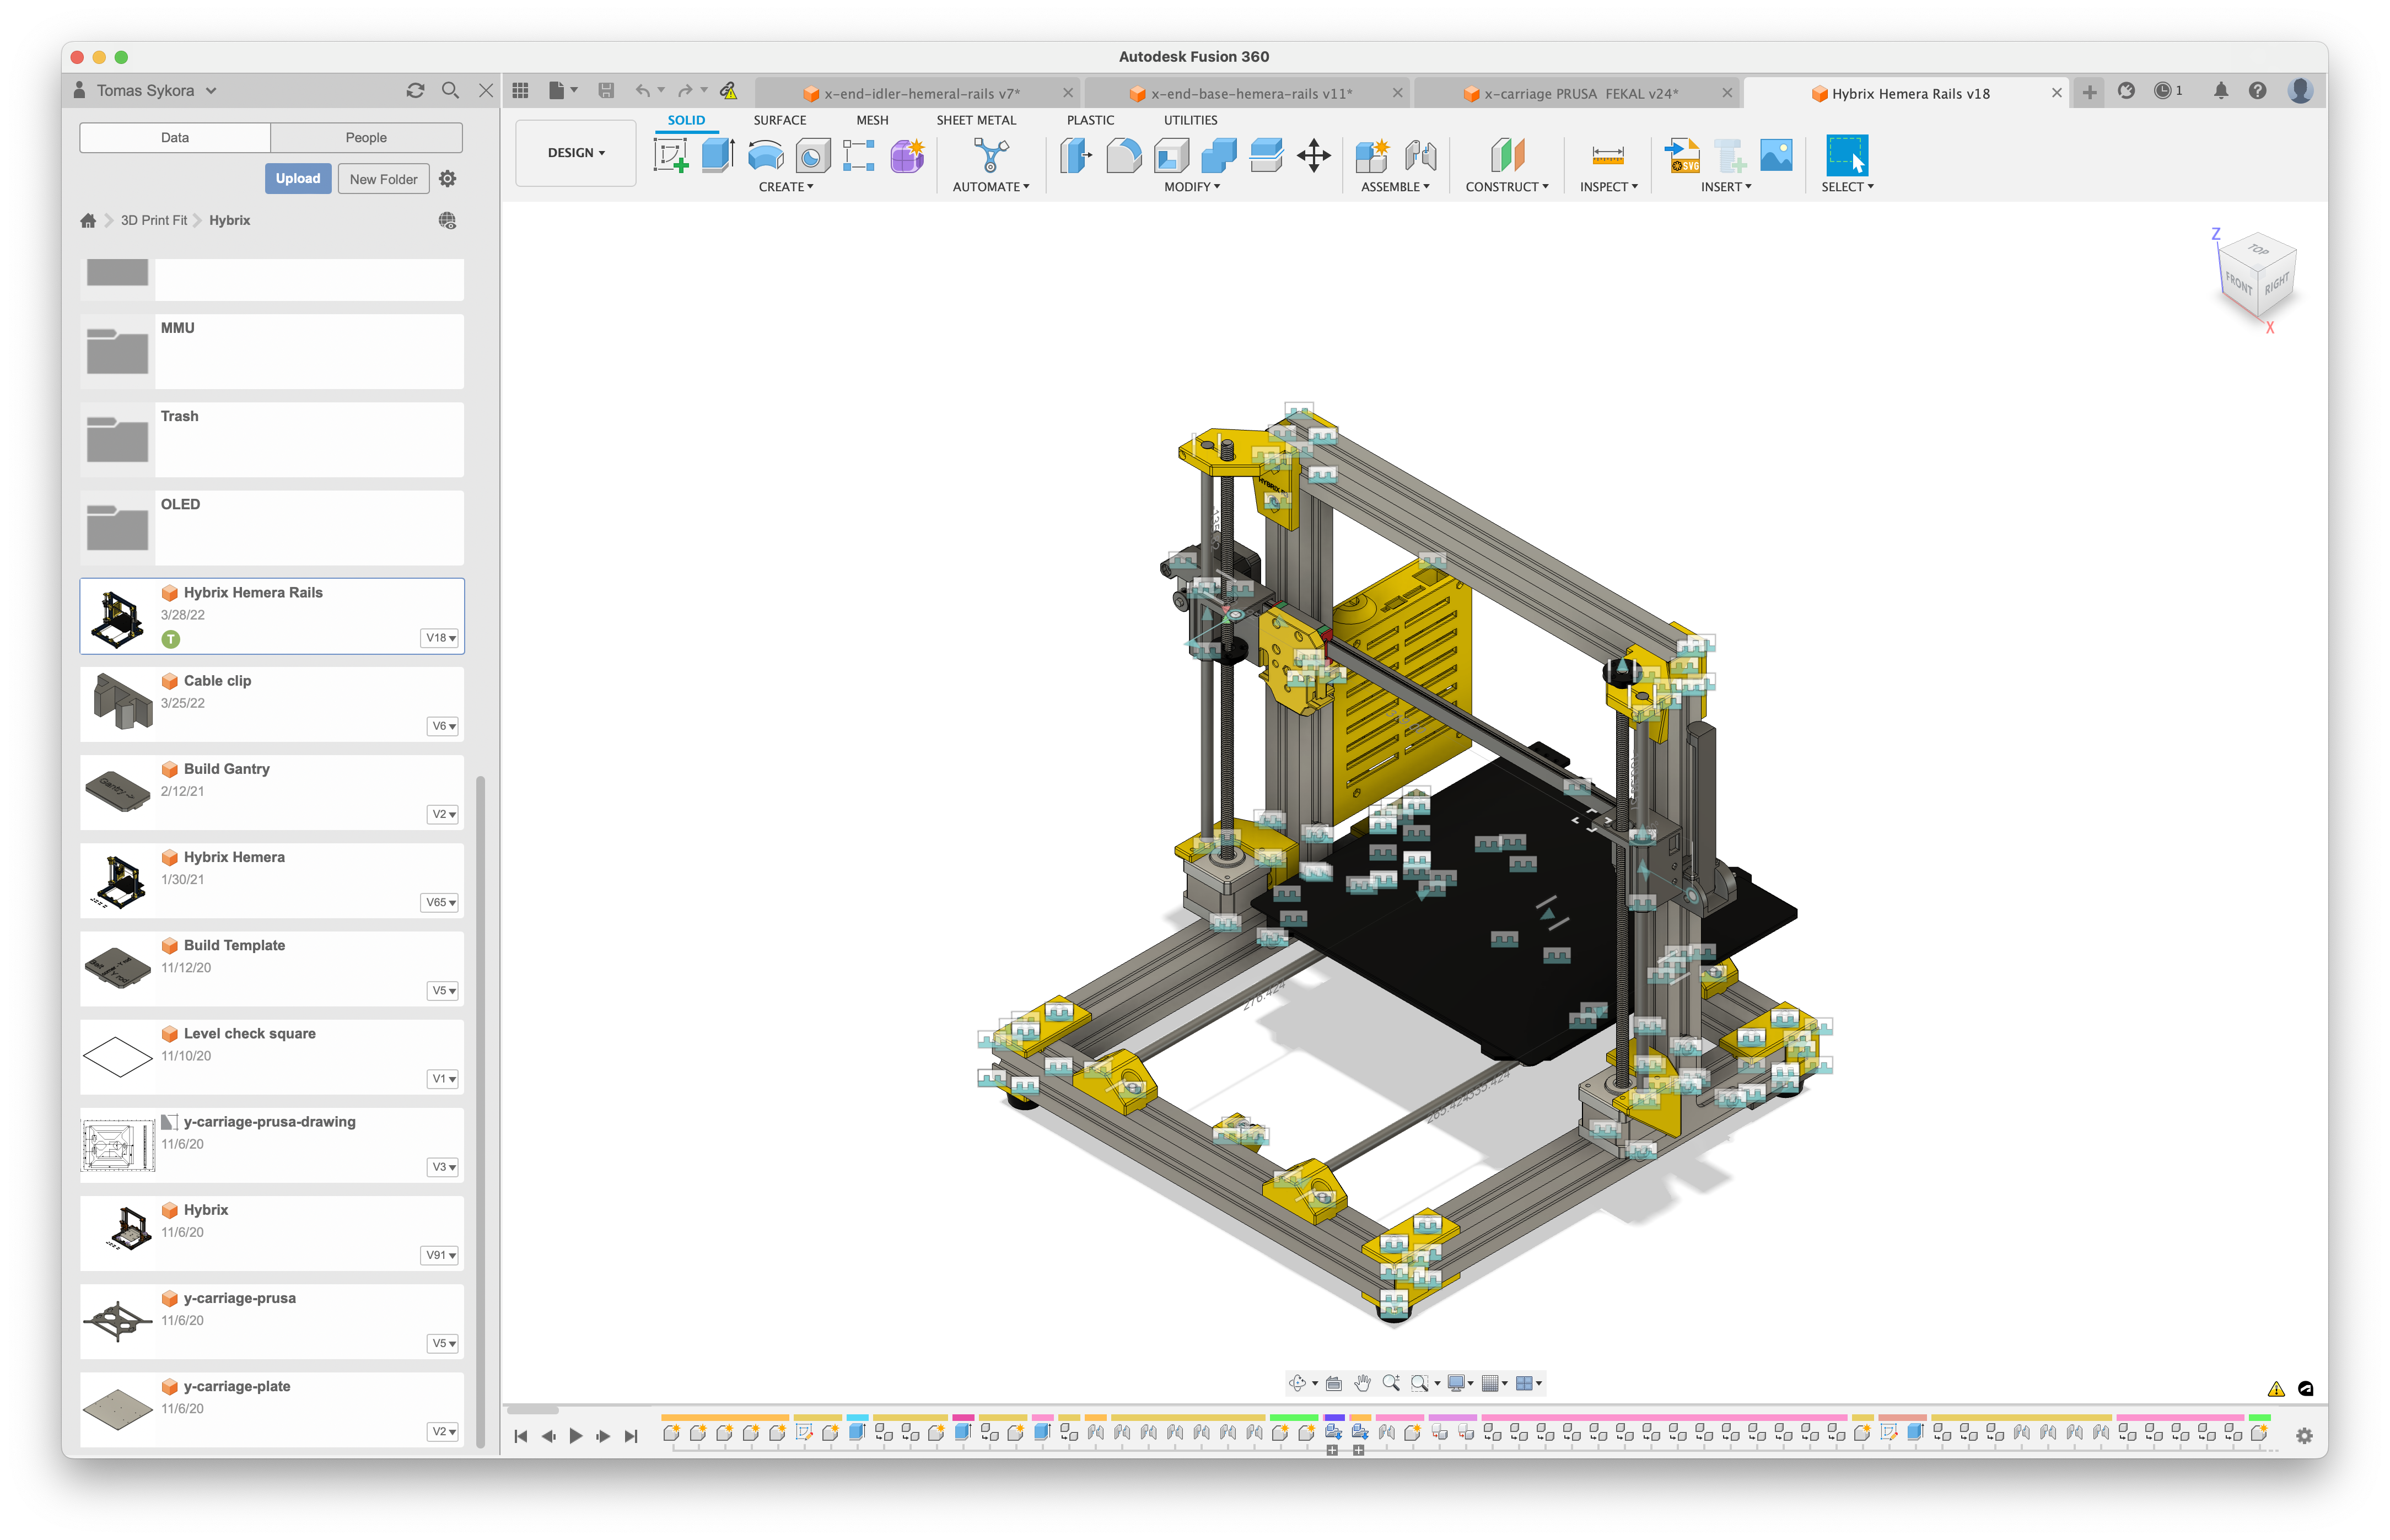
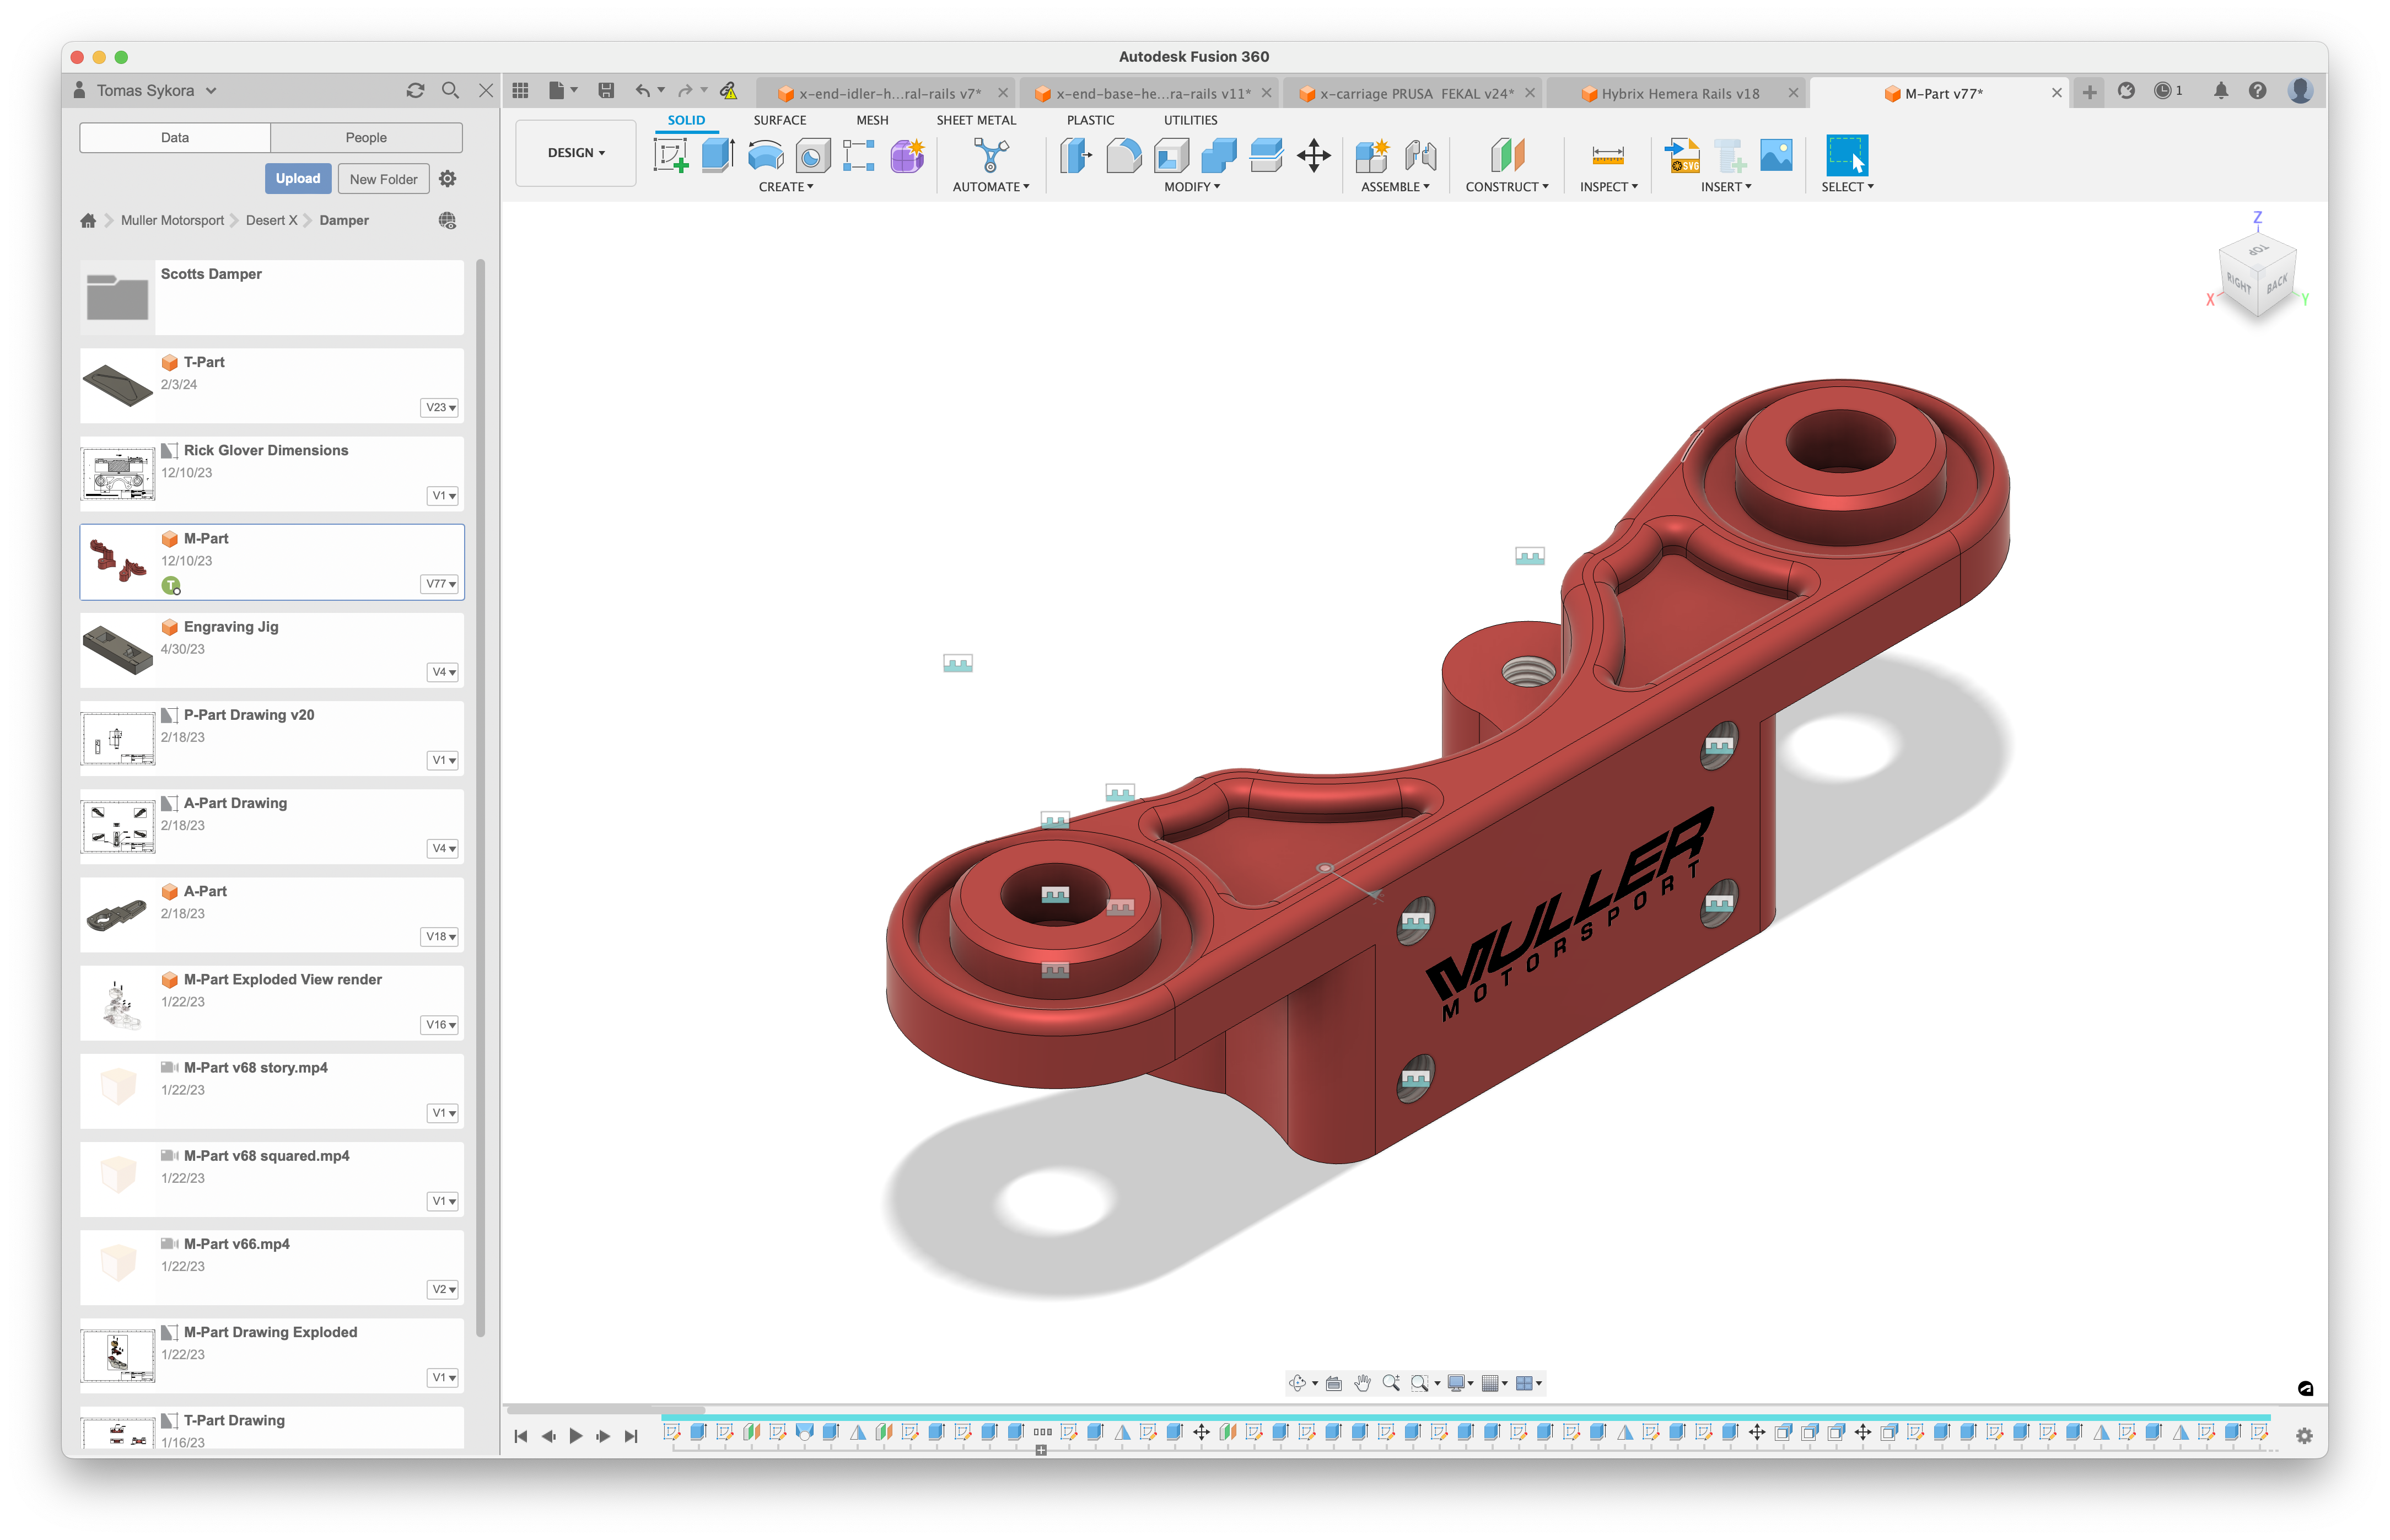
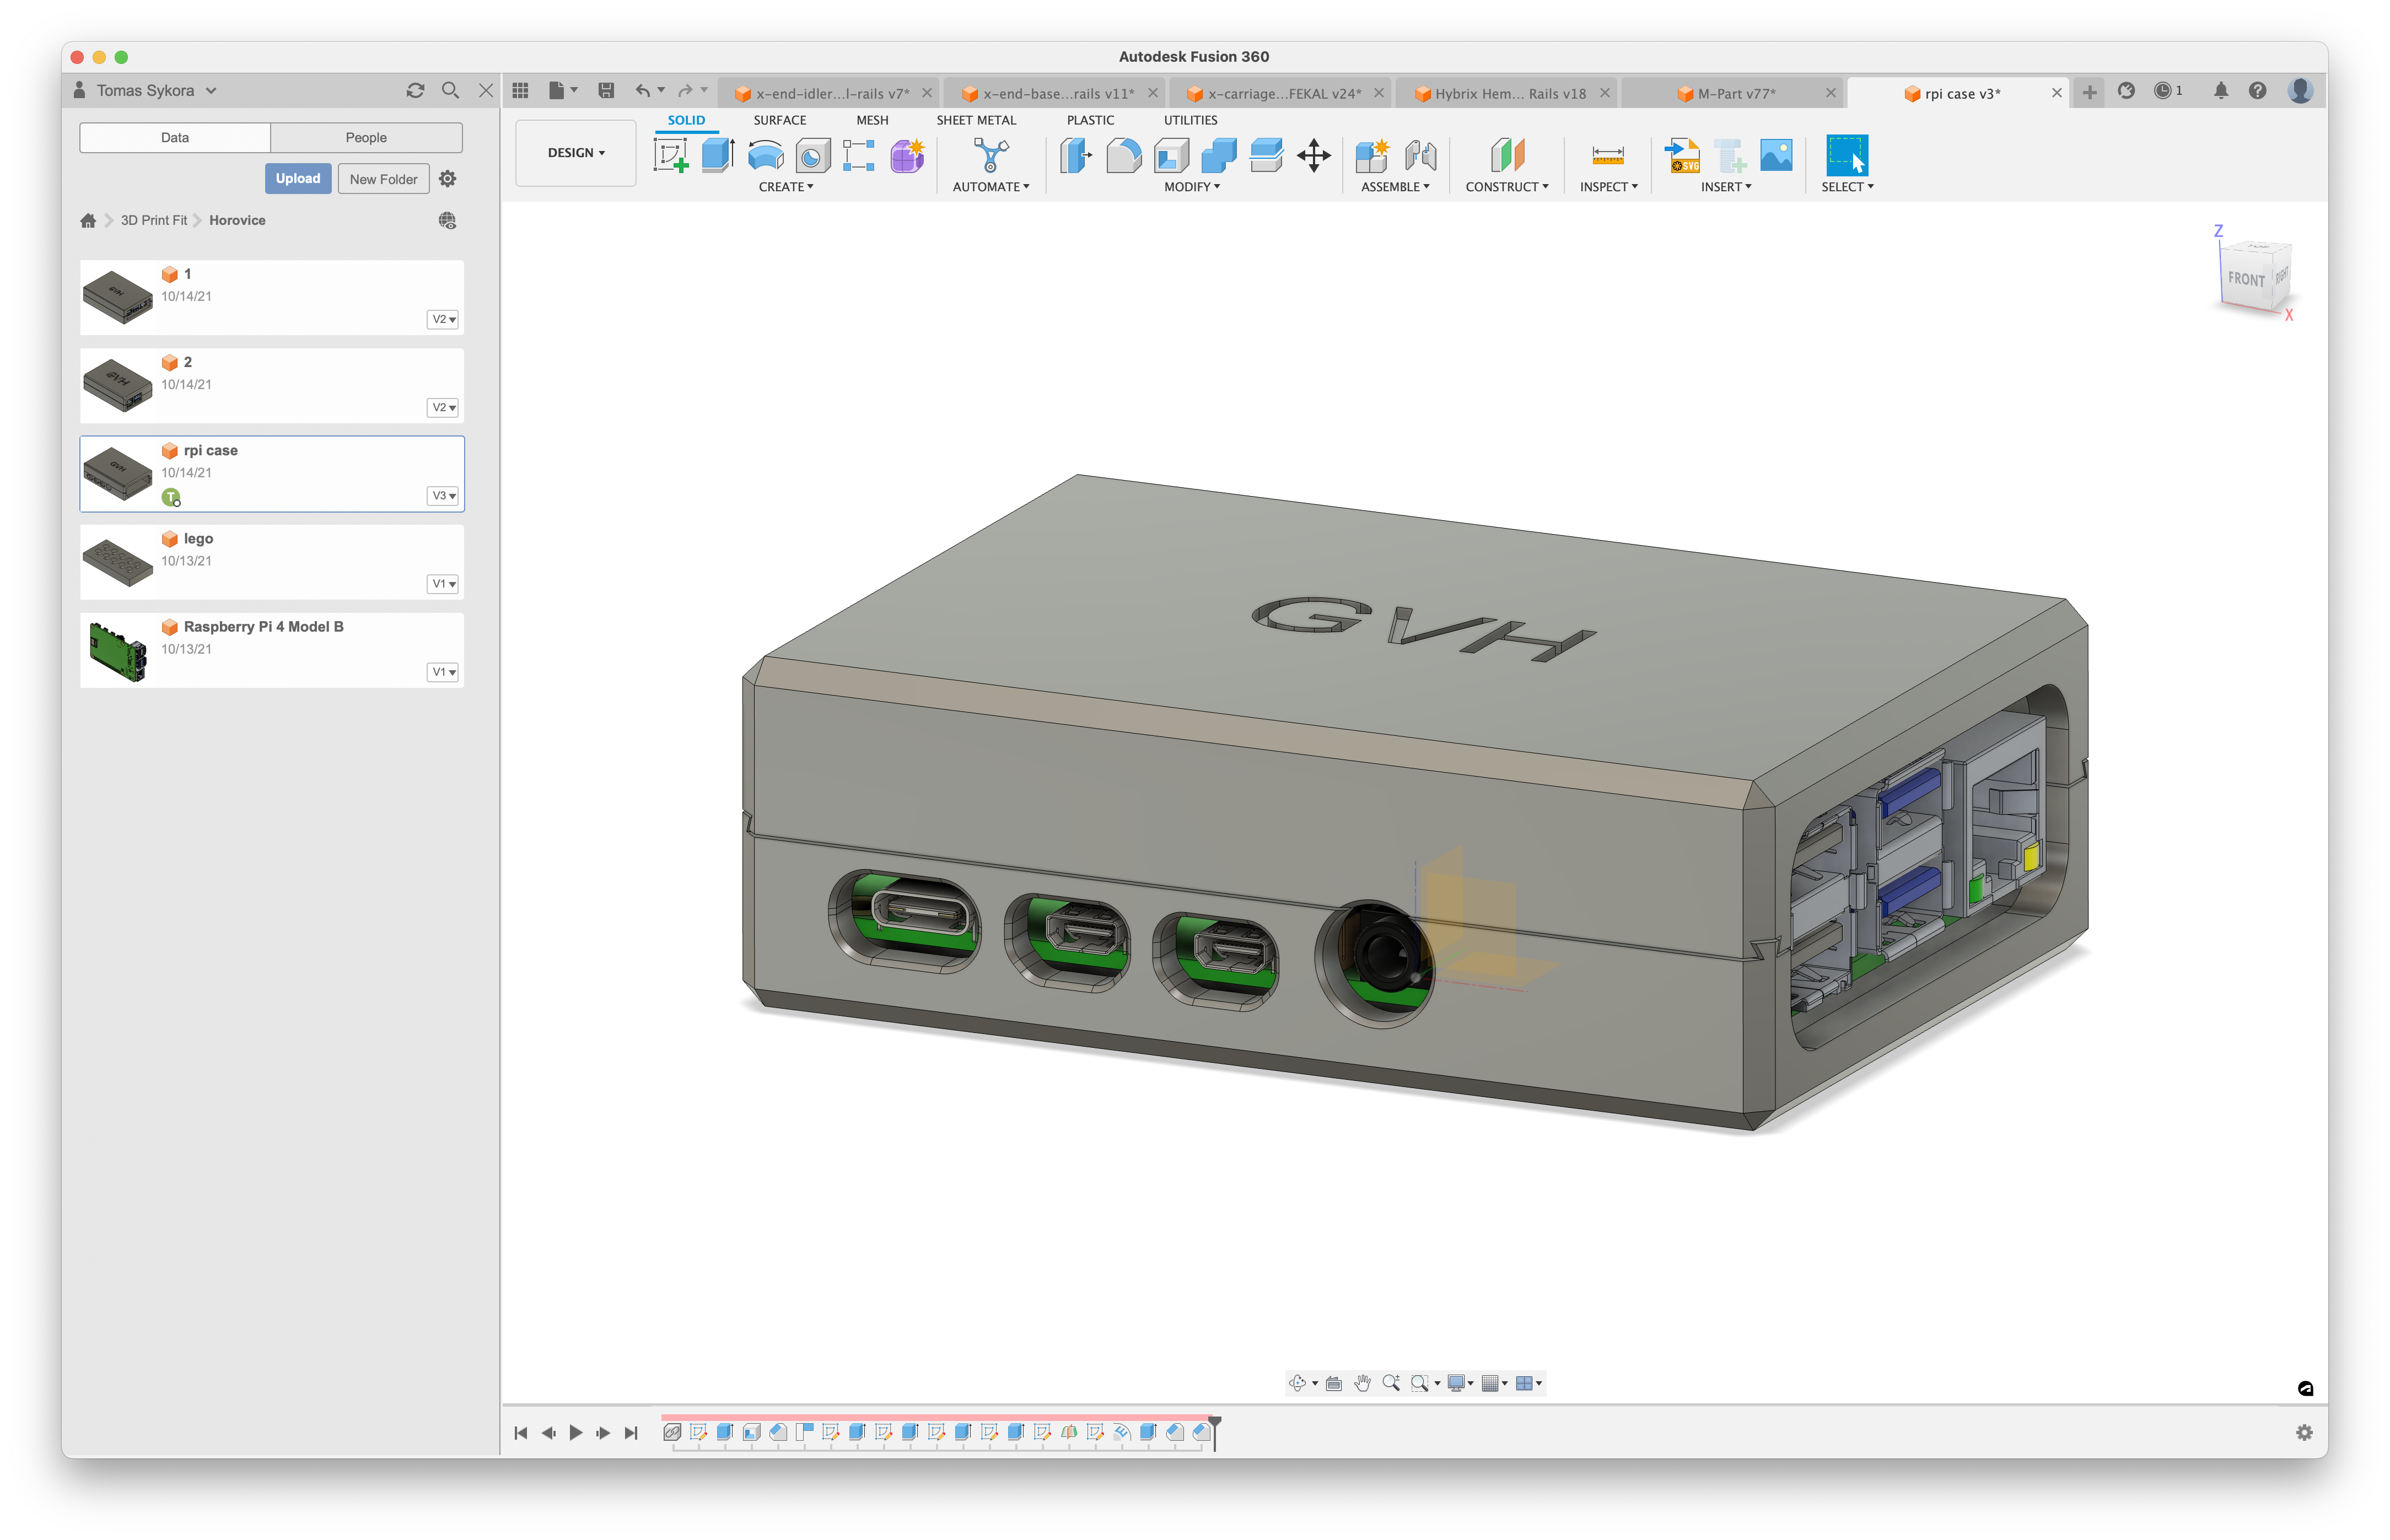
Fusion 360 is an integrated software tool designed for 3D modeling, simulation, and manufacturing (CAD/CAM/CAE), developed by Autodesk. It is a cloud-based platform that allows users to design and create 3D models, perform analyses and simulations, and also directly generate instructions for manufacturing. CAD (Computer-Aided Design) focuses on creating digital models and drawing, CAM (Computer-Aided Manufacturing) deals with the manufacturing process and generating control programs for machines, while CAE (Computer-Aided Engineering) includes simulations and analyses for verifying functionality and performance of the designed product. Fusion 360 combines these three disciplines into one comprehensive environment, which allows users to completely integrate design, manufacturing and testing of products.
How to Model in Fusion
The basics of modeling in Fusion 360 include familiarization with tools for creating and editing geometry, such as extrude, revolve, cut, and merge, which allow creating 3D objects. It’s also important to understand the concepts of work planes (sketches), which serve as the basis for creating 3D models. In addition, it’s important to learn to use tools for editing shapes, such as folding, pulling, bending, and straightening, to be able to create more complex geometries. An important part is also understanding the concept of parametric modeling, which allows defining dimensions and properties of objects using parameters, which facilitates their editing and modification during the design process. These basics provide users with a solid foundation for creating and editing 3D models in Fusion 360.
Sketches
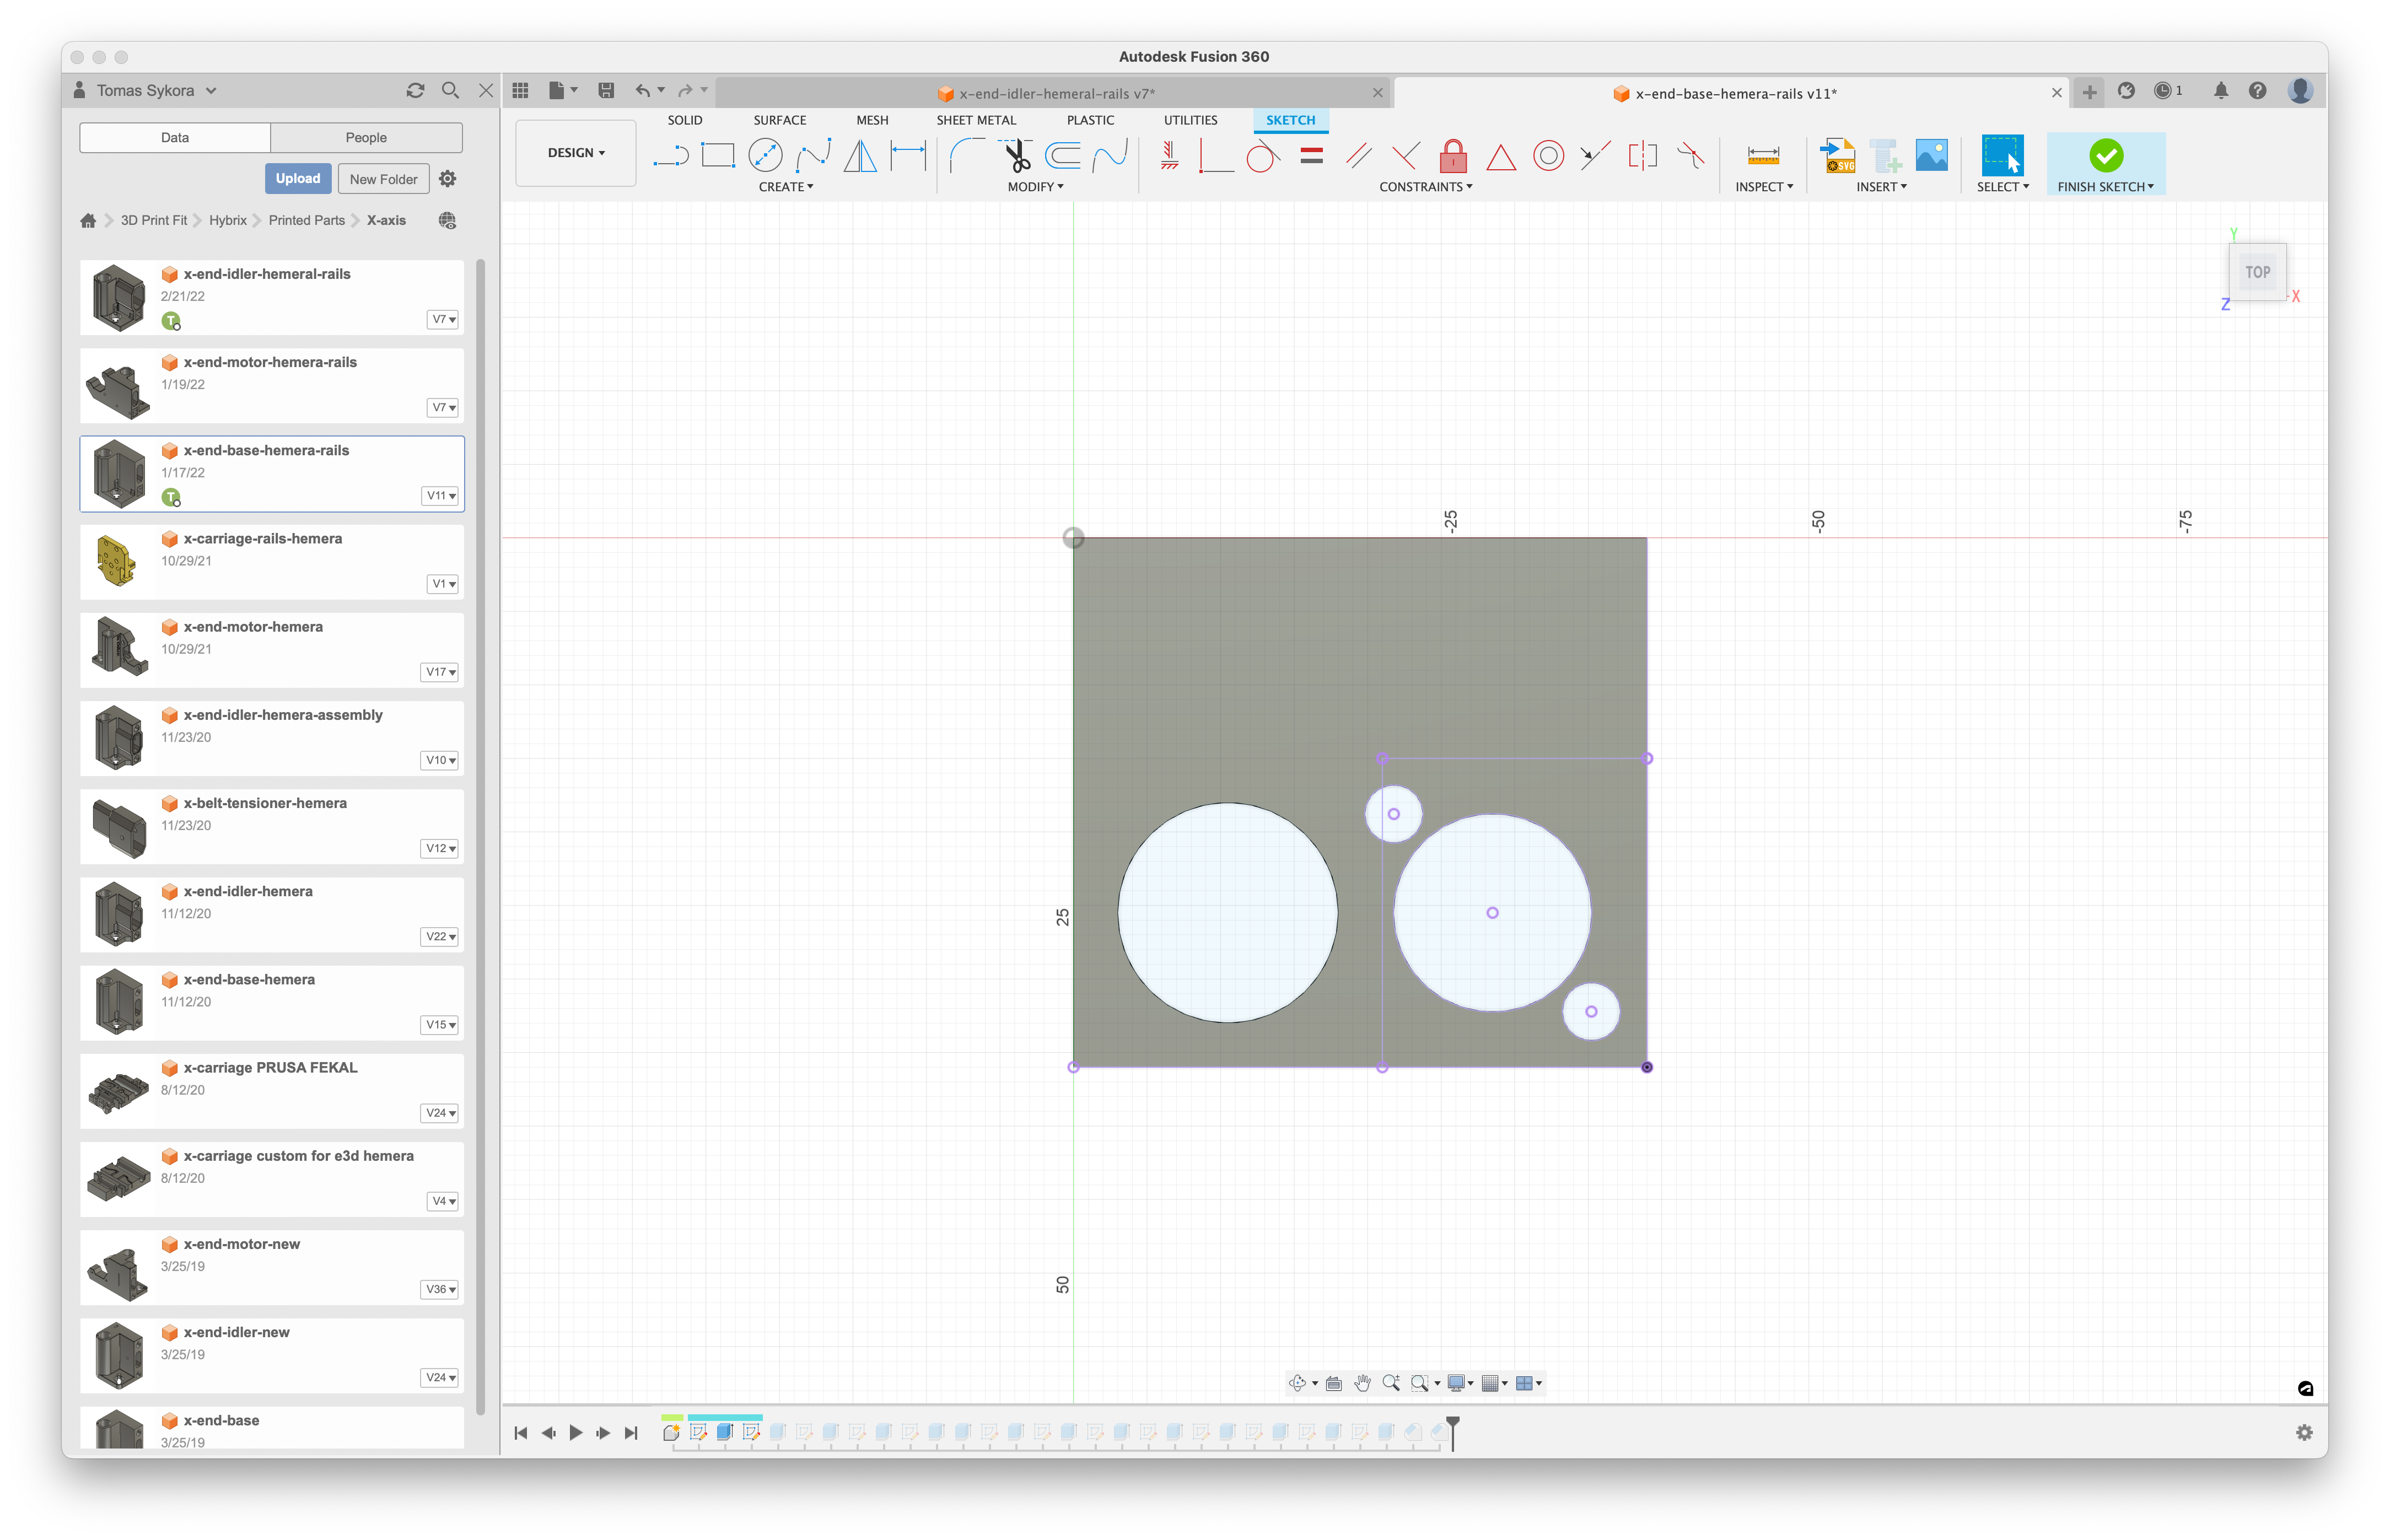
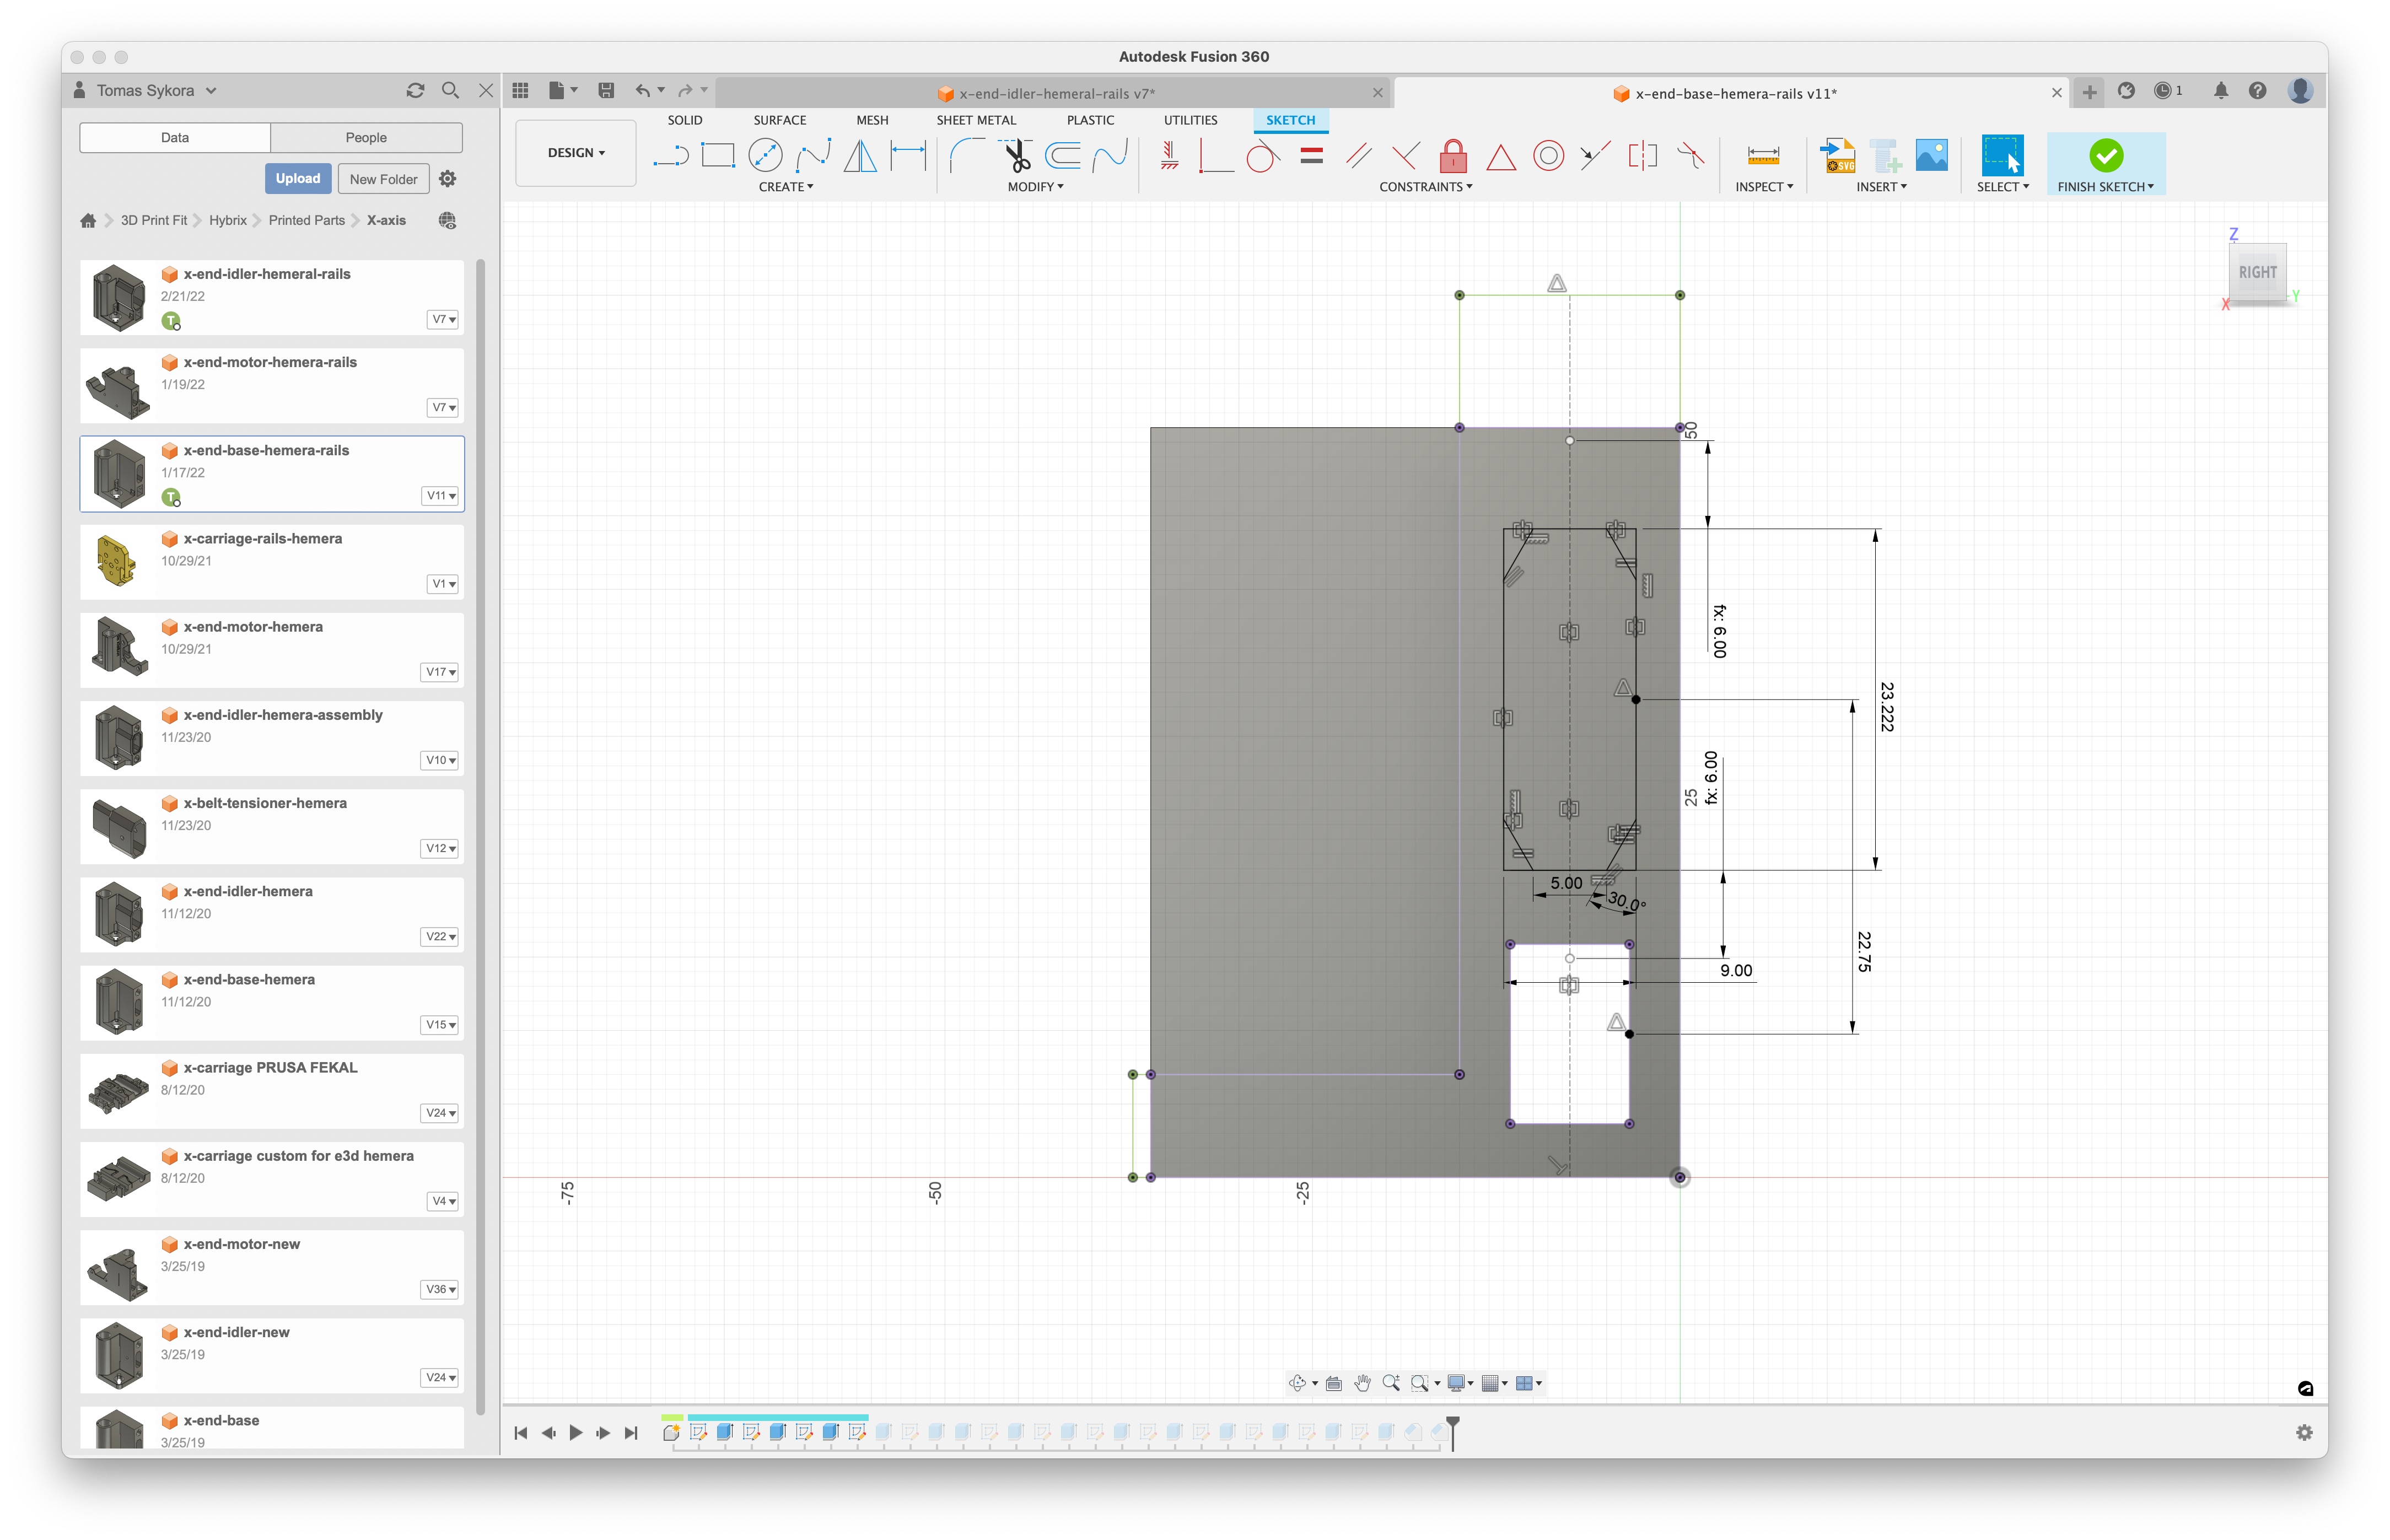
In Fusion 360, a "sketch" is the basic element for creating 3D models. A sketch is a 2D outline or plan that defines the shape and dimensions of a 3D object. Here’s a description of how sketches work in Fusion 360:
- Creating a new sketch: First select the plane on which you want to create a sketch. This can be, for example, the XY, YZ, or XZ plane. Then click on the appropriate tool for creating a new sketch.
- Drawing: After creating a sketch you can start drawing. Fusion 360 offers various drawing tools, such as lines, arcs, circles, ellipses, etc. You can also use construction tools, such as for example lines, circles, or point dimensions for defining relationships and dimensions.
- Editing and modification: After finishing drawing you can perform various edits and modifications. You can move, bend, trim, split, or join sketch elements. You can also use shape editing tools, such as "fillet" (rounding) or "chamfer" (beveling), for changing the shape of edges.
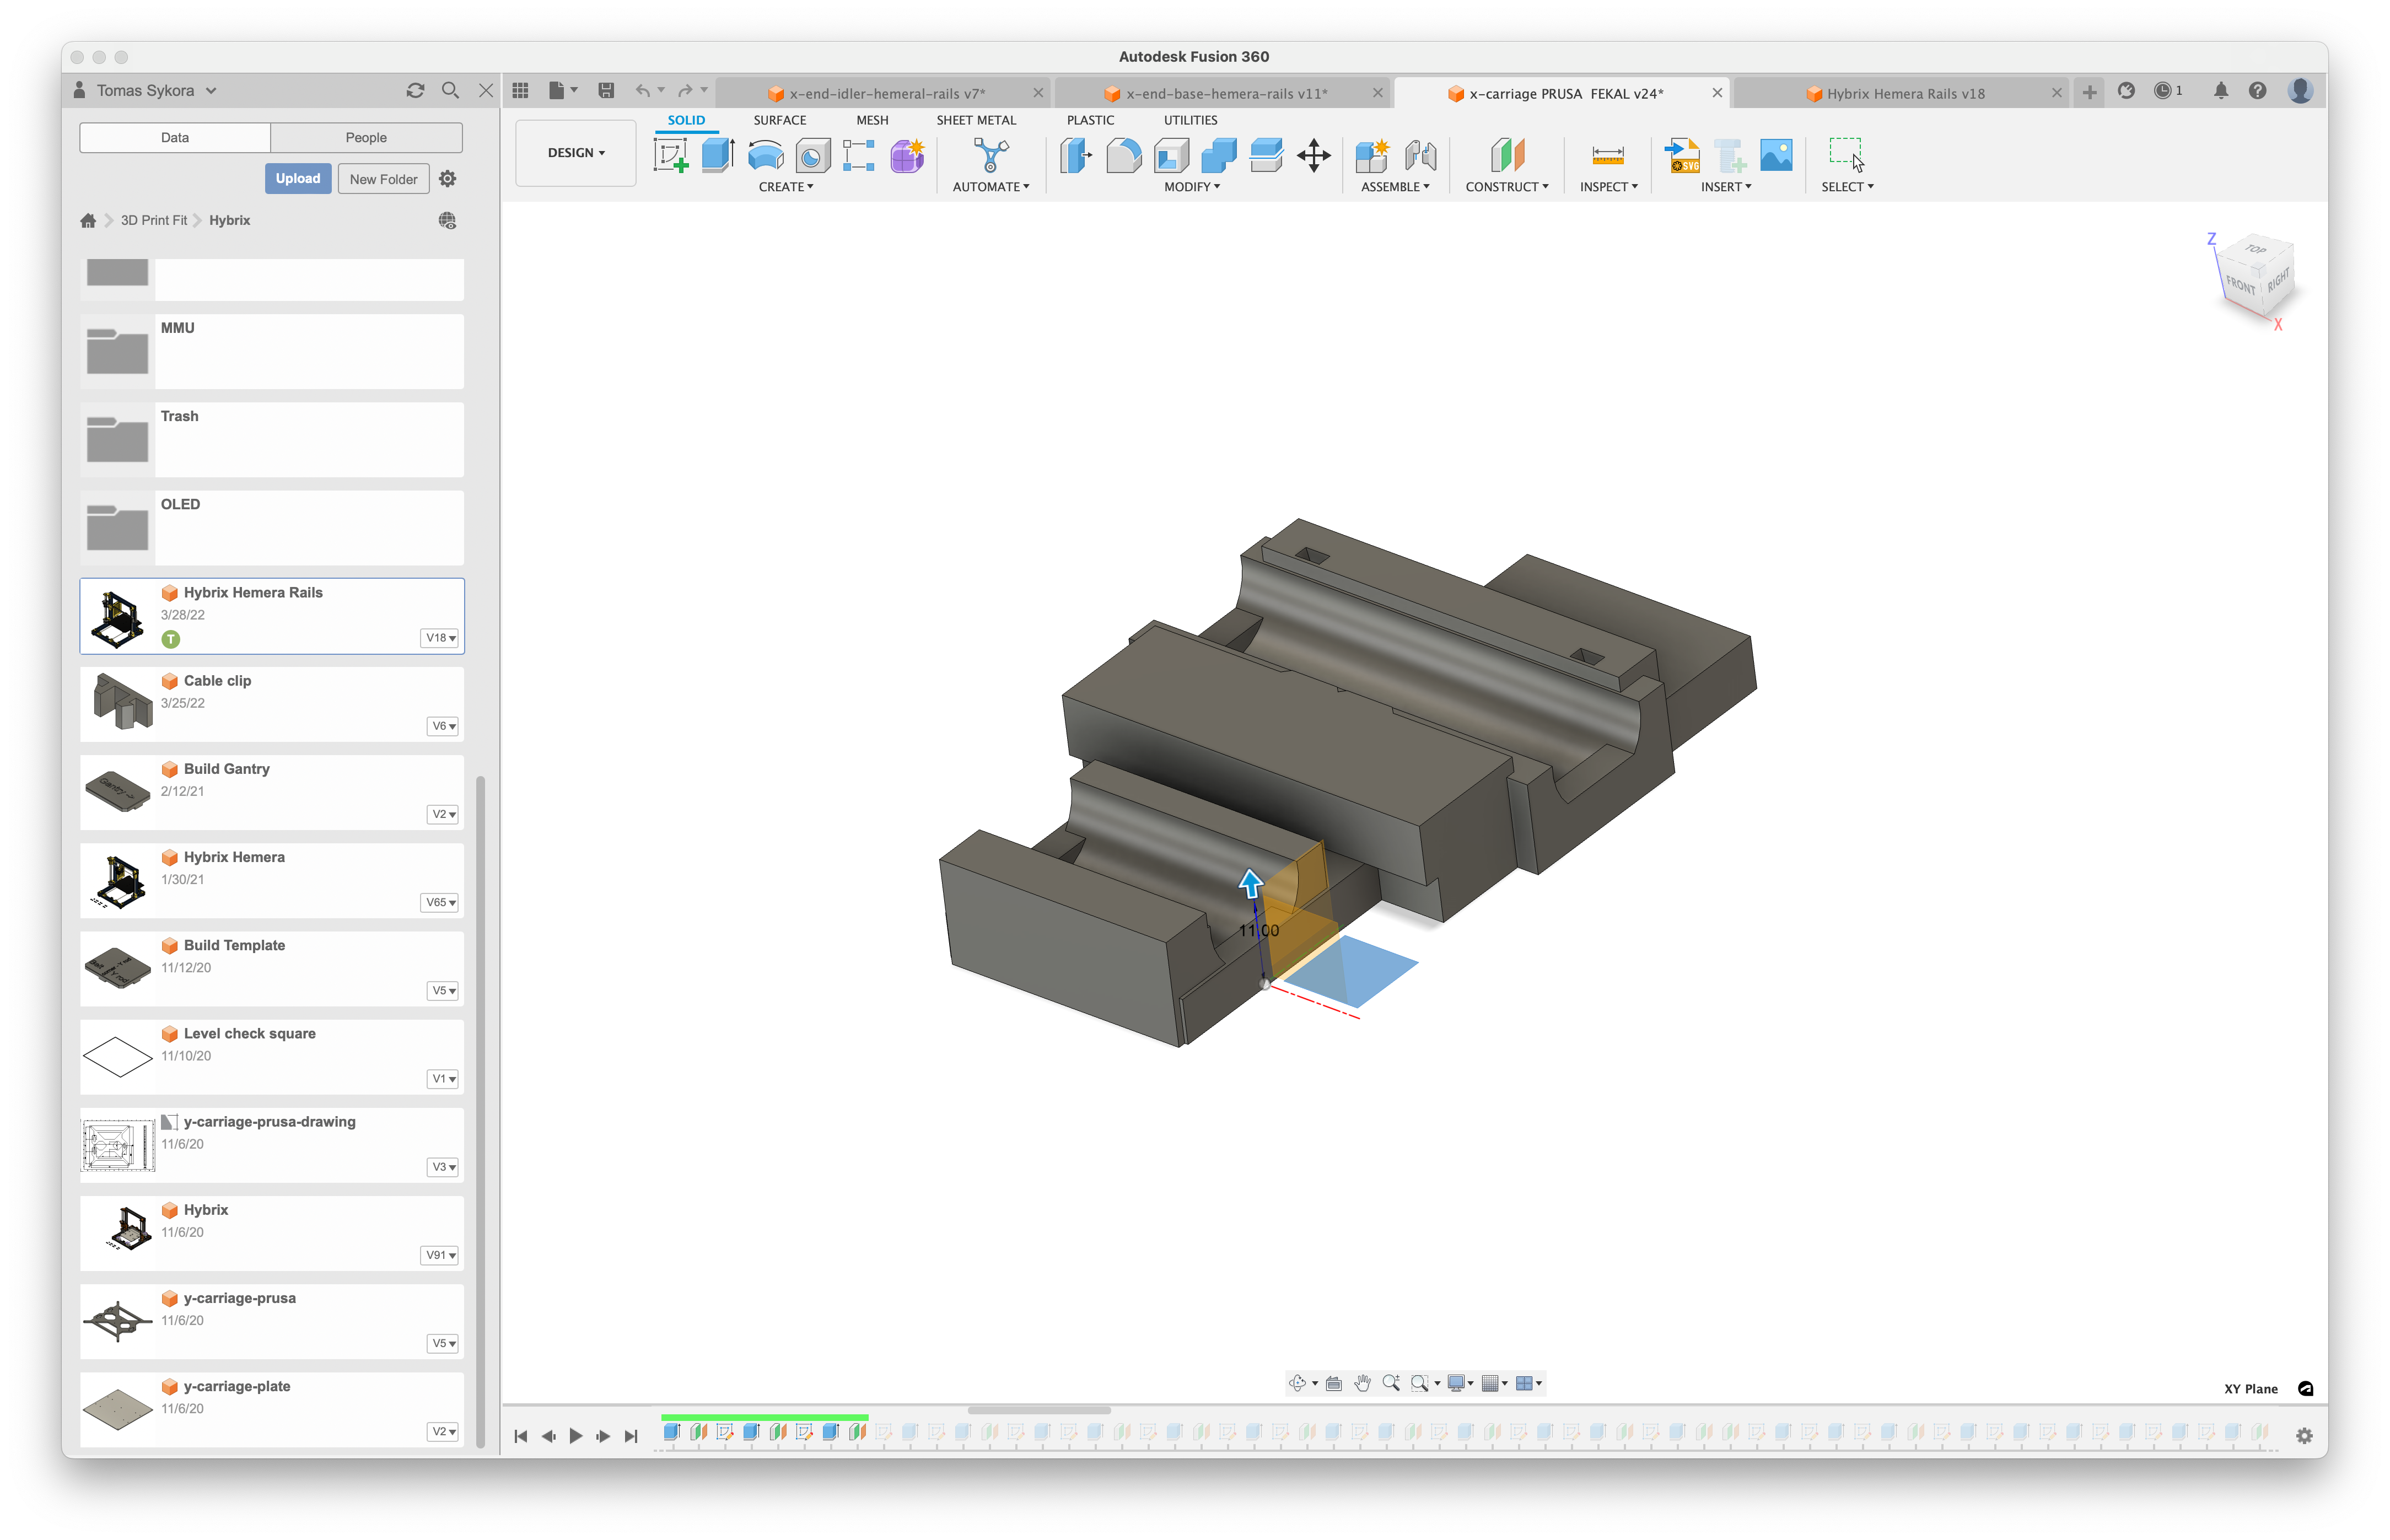
- Creating a 3D object: After finishing the sketch you can use various tools to transform the sketch into a 3D object. This can be for example extrude, revolve, or cut, which convert your 2D sketch into a 3D model.
- Editing: The sketch is still editable even after you’ve converted it to a 3D object. You can return to it at any time, edit it, and changes will automatically be reflected in the 3D model.
Overall, the sketch in Fusion 360 is a flexible and powerful tool that allows users to easily create and edit 3D models using simple 2D drawings.
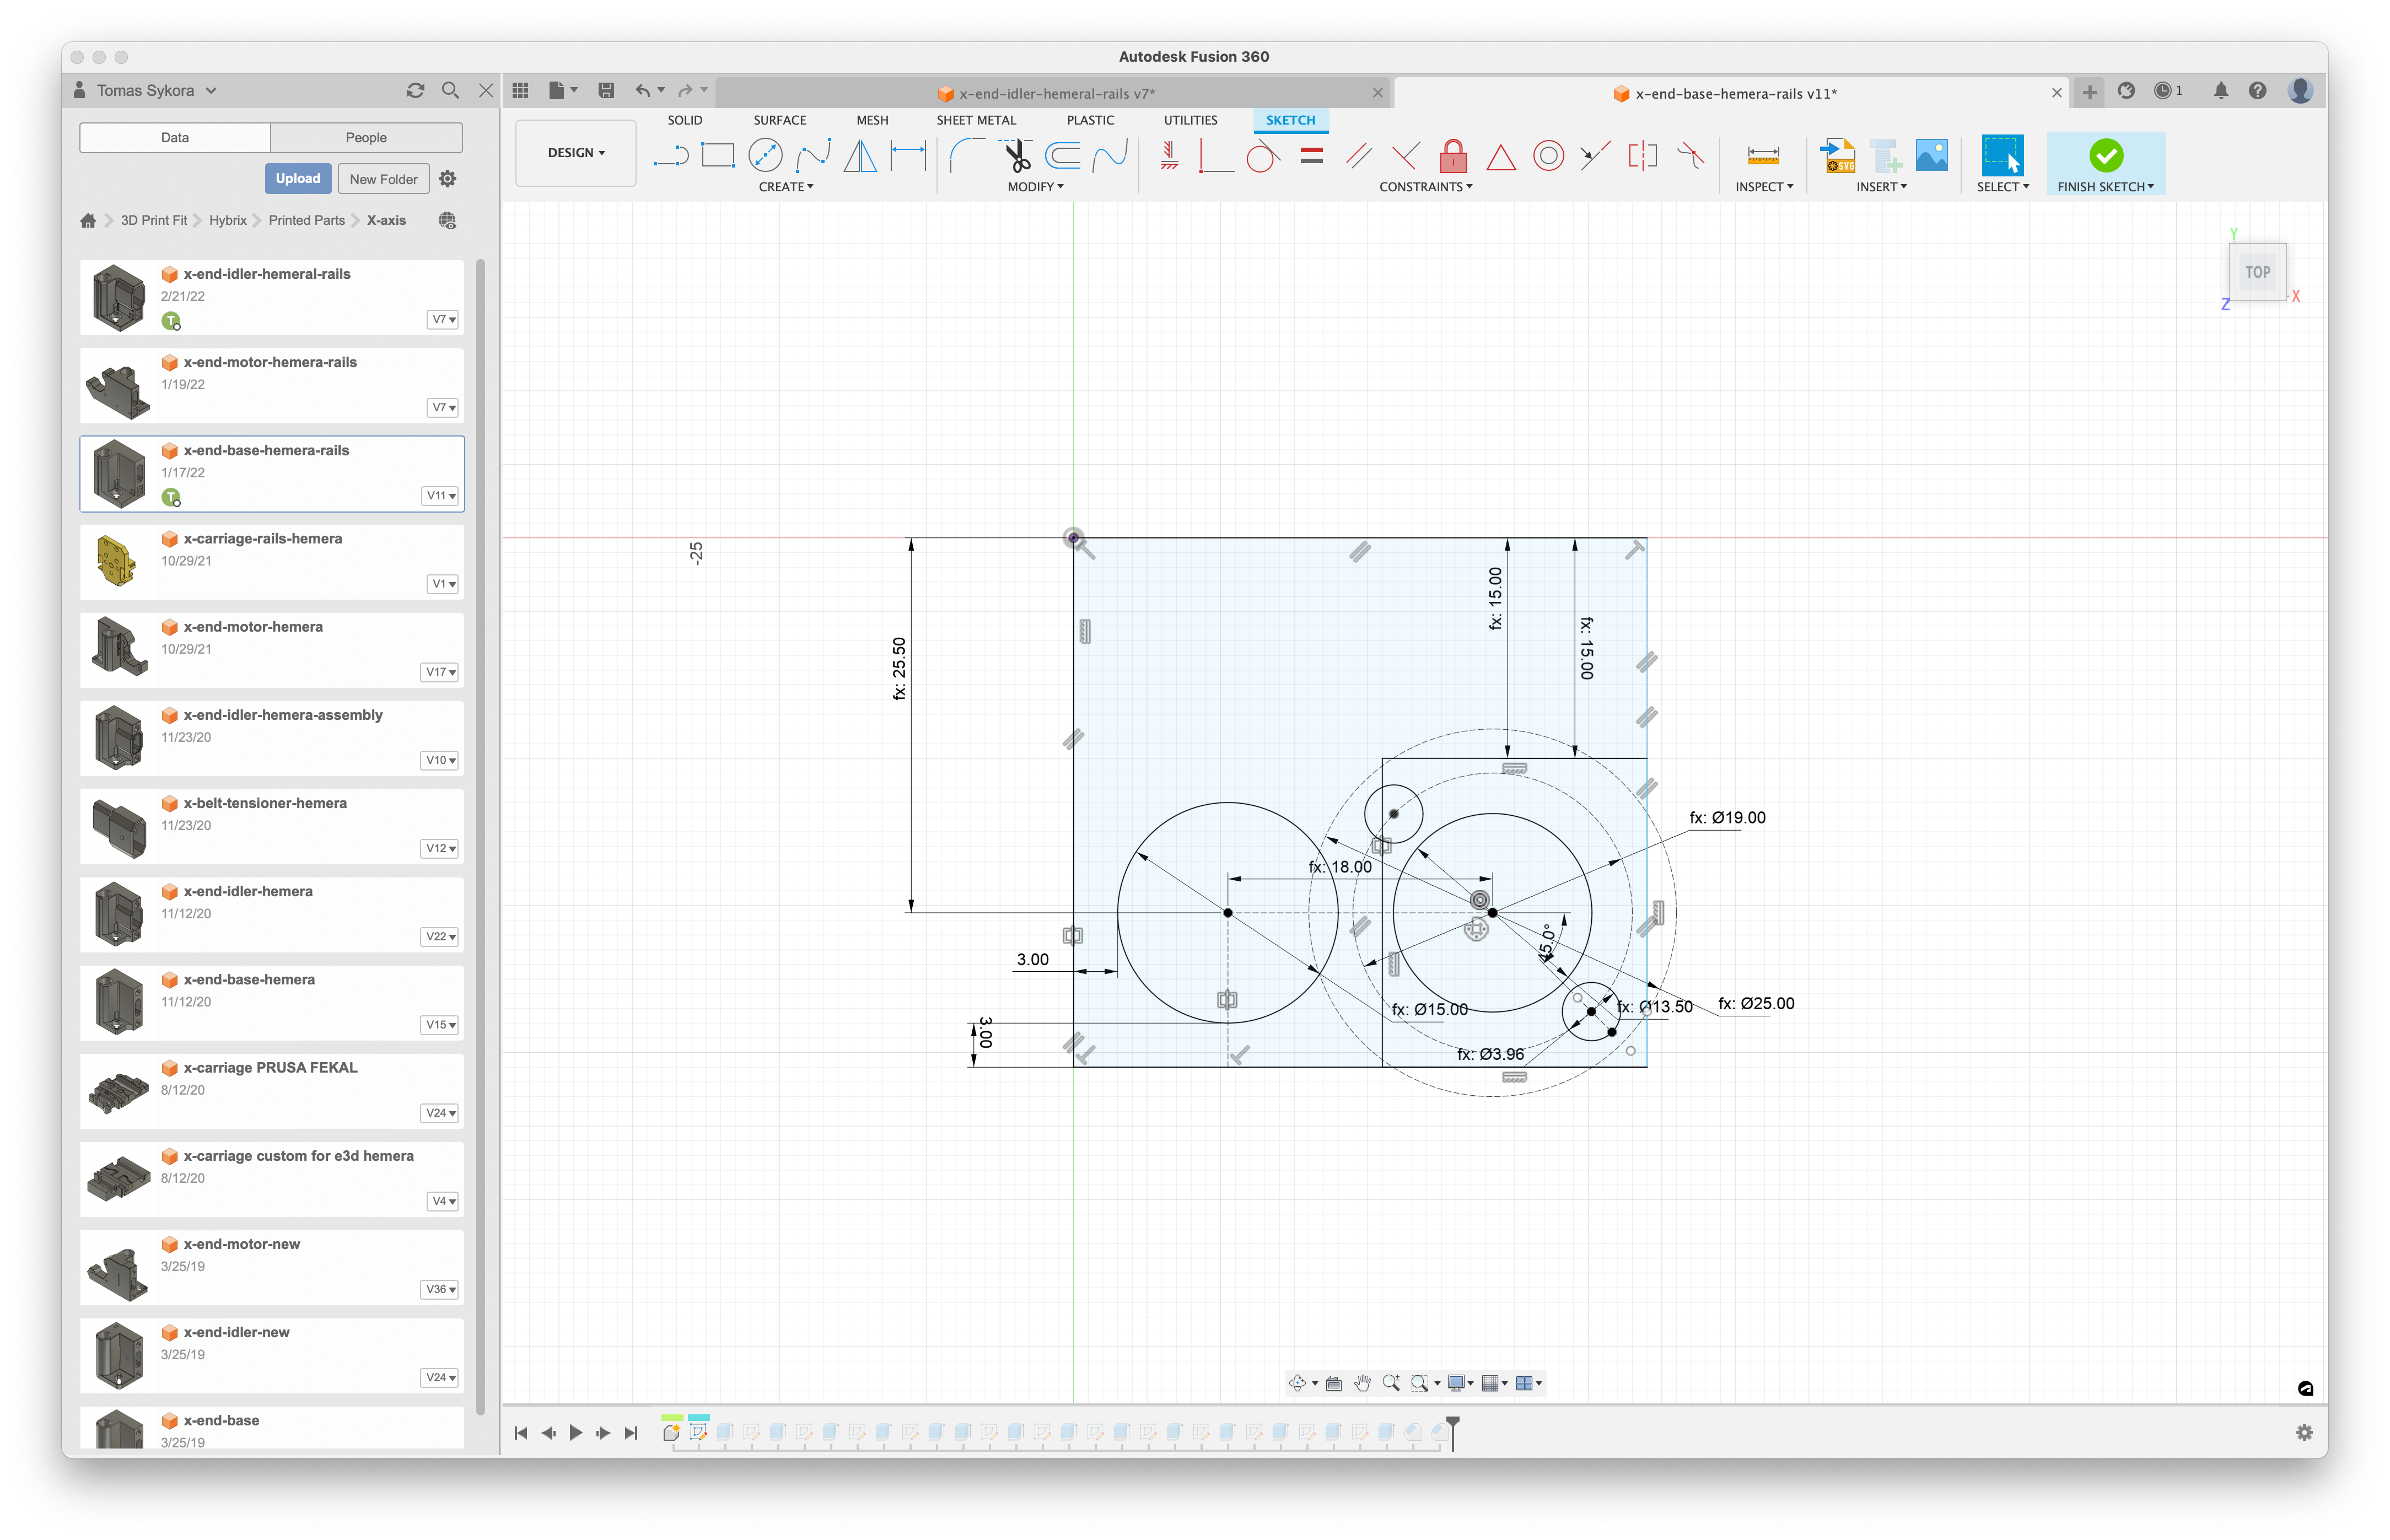
Constraints
In Fusion 360, blue and black constraints are important components of the sketch creation process. Here’s an explanation:
- Blue constraints (Constraints): Blue constraints in Fusion 360 indicate geometric constraints that are applied to elements in the sketch. This includes relationships between points, lines, arcs, and other elements. For example, a point can be placed at a certain location in relation to another point, a line can be perpendicular to another line, or an arc can be concentric with another arc. Blue constraints are important for maintaining geometric properties and correct behavior of the sketch.
- Black constraints (Constraints): Black constraints indicate dimensional constraints in the sketch. This means they determine precise dimensions and distances between elements in the sketch. For example, you can define the length of a line segment, the radius of an arc, or the distance between two points. Black constraints are key for ensuring precision and consistency of dimensions in your sketch.
Sketch on an Extruded Surface
Creating a sketch on an extruded surface in Fusion 360 is a common operation that allows creating additional geometry on an already existing 3D object. Here’s the procedure:
- Opening file and selecting surface: Open your project in Fusion 360 and find the object on which you want to create a sketch. This can be for example a cylinder, cuboid, or other 3D shape. Then select the surface of this object on which you want to create a new sketch.
- Creating a new sketch: After selecting the surface, press the "Create Sketch" button in the top panel. This creates a new sketch on the selected surface.
- Drawing: Now you can start drawing new elements in the sketch. You can use various drawing tools, such as lines, arcs, circles, and more, to create the desired geometry.
- Using constraints and dimensions: Apply blue and black constraints (constraints) to your drawing if needed to maintain precision and geometric properties. This can include specifying lengths, angles, relationships between elements, etc.
- Extrusion: Once you have a finished sketch, use the "Extrude" tool to convert the sketch into a 3D object. Press the "Extrude" button in the top panel, then select the area you want to extrude and set the desired extrusion depth.
This way you can create new geometry on an already existing 3D object in Fusion 360.
Projection
Projection in Fusion 360 is a process that allows importing geometry from one object into a sketch or into another 3D object. This process is useful for working with existing geometric elements or for copying their shape into a new context. Here’s a brief description of how projection works in Fusion 360:
- Selecting source geometry: First you need to select the object from which you want to perform projection. This can be an existing sketch, 3D body, or other element.
- Running the projection command: After you have the source object selected, run the projection command. In Fusion 360, this command is usually called "Project" or "Project/Include".
- Selecting projection target: Then select the plane or surface onto which you want to perform projection of the source geometry. This plane or surface will serve as the target for the imported geometry.
- Performing projection: After selecting the target surface or plane, run the projection. Fusion 360 imports contours and elements of the source geometry into the selected plane or surface. This creates new geometric elements that can be used within the sketch or another 3D object.
Planes
In Fusion 360, "planes" are reference surfaces that serve for placing and orienting sketches, models, and other elements in your design. Here are several important aspects of these planes:
- Default planes: Fusion 360 contains three default planes: XY plane, YZ, and XZ. These planes form the basic reference frame for creating your designs. The XY plane lies in the plane given by x and y axes, the YZ plane in the plane given by y and z axes, and the XZ plane in the plane given by x and z axes.
- Creating additional planes: In addition to default planes, you can in Fusion 360 create additional planes as needed. This can be for example a plane at a certain distance from existing elements, a plane at a certain angle, or a plane at a certain distance from a certain point.
- Use in modeling: Planes are used for placing sketches, extrusions, and other modeling operations. For example, you can create a sketch on the XY plane and then extrude this sketch into 3D shapes.
- Arranging elements: Planes allow precise arrangement of elements in your design and maintain consistency and precision of your model.
Components
A component in Fusion 360 is the basic building block of your design that serves for organization and management of your models. Here are key points regarding components in Fusion 360:
- Separation of design: Components allow logical separation of different parts of your model. This is useful for organizing complex designs because it allows easier management and editing.
- Independence: Each component has its own design space and its own set of operations. This means that changes made in one component don’t affect other components, which allows isolated work on different parts of the project.
- Convenient editing: Thanks to components you can easily edit and change different parts of your model without negative impact on the rest of the design. This simplifies the iterative design process and allows faster creation and testing of different variants.
- Organization and management: Components allow structuring your design and easy organization of files. For example, you can group related parts into one component, which facilitates tracking and project management.
- Export and sharing: Components also facilitate export and sharing of your design with other users. You can export individual components or the entire file and share them with colleagues or other users for collaboration or presentation.
Section Analysis
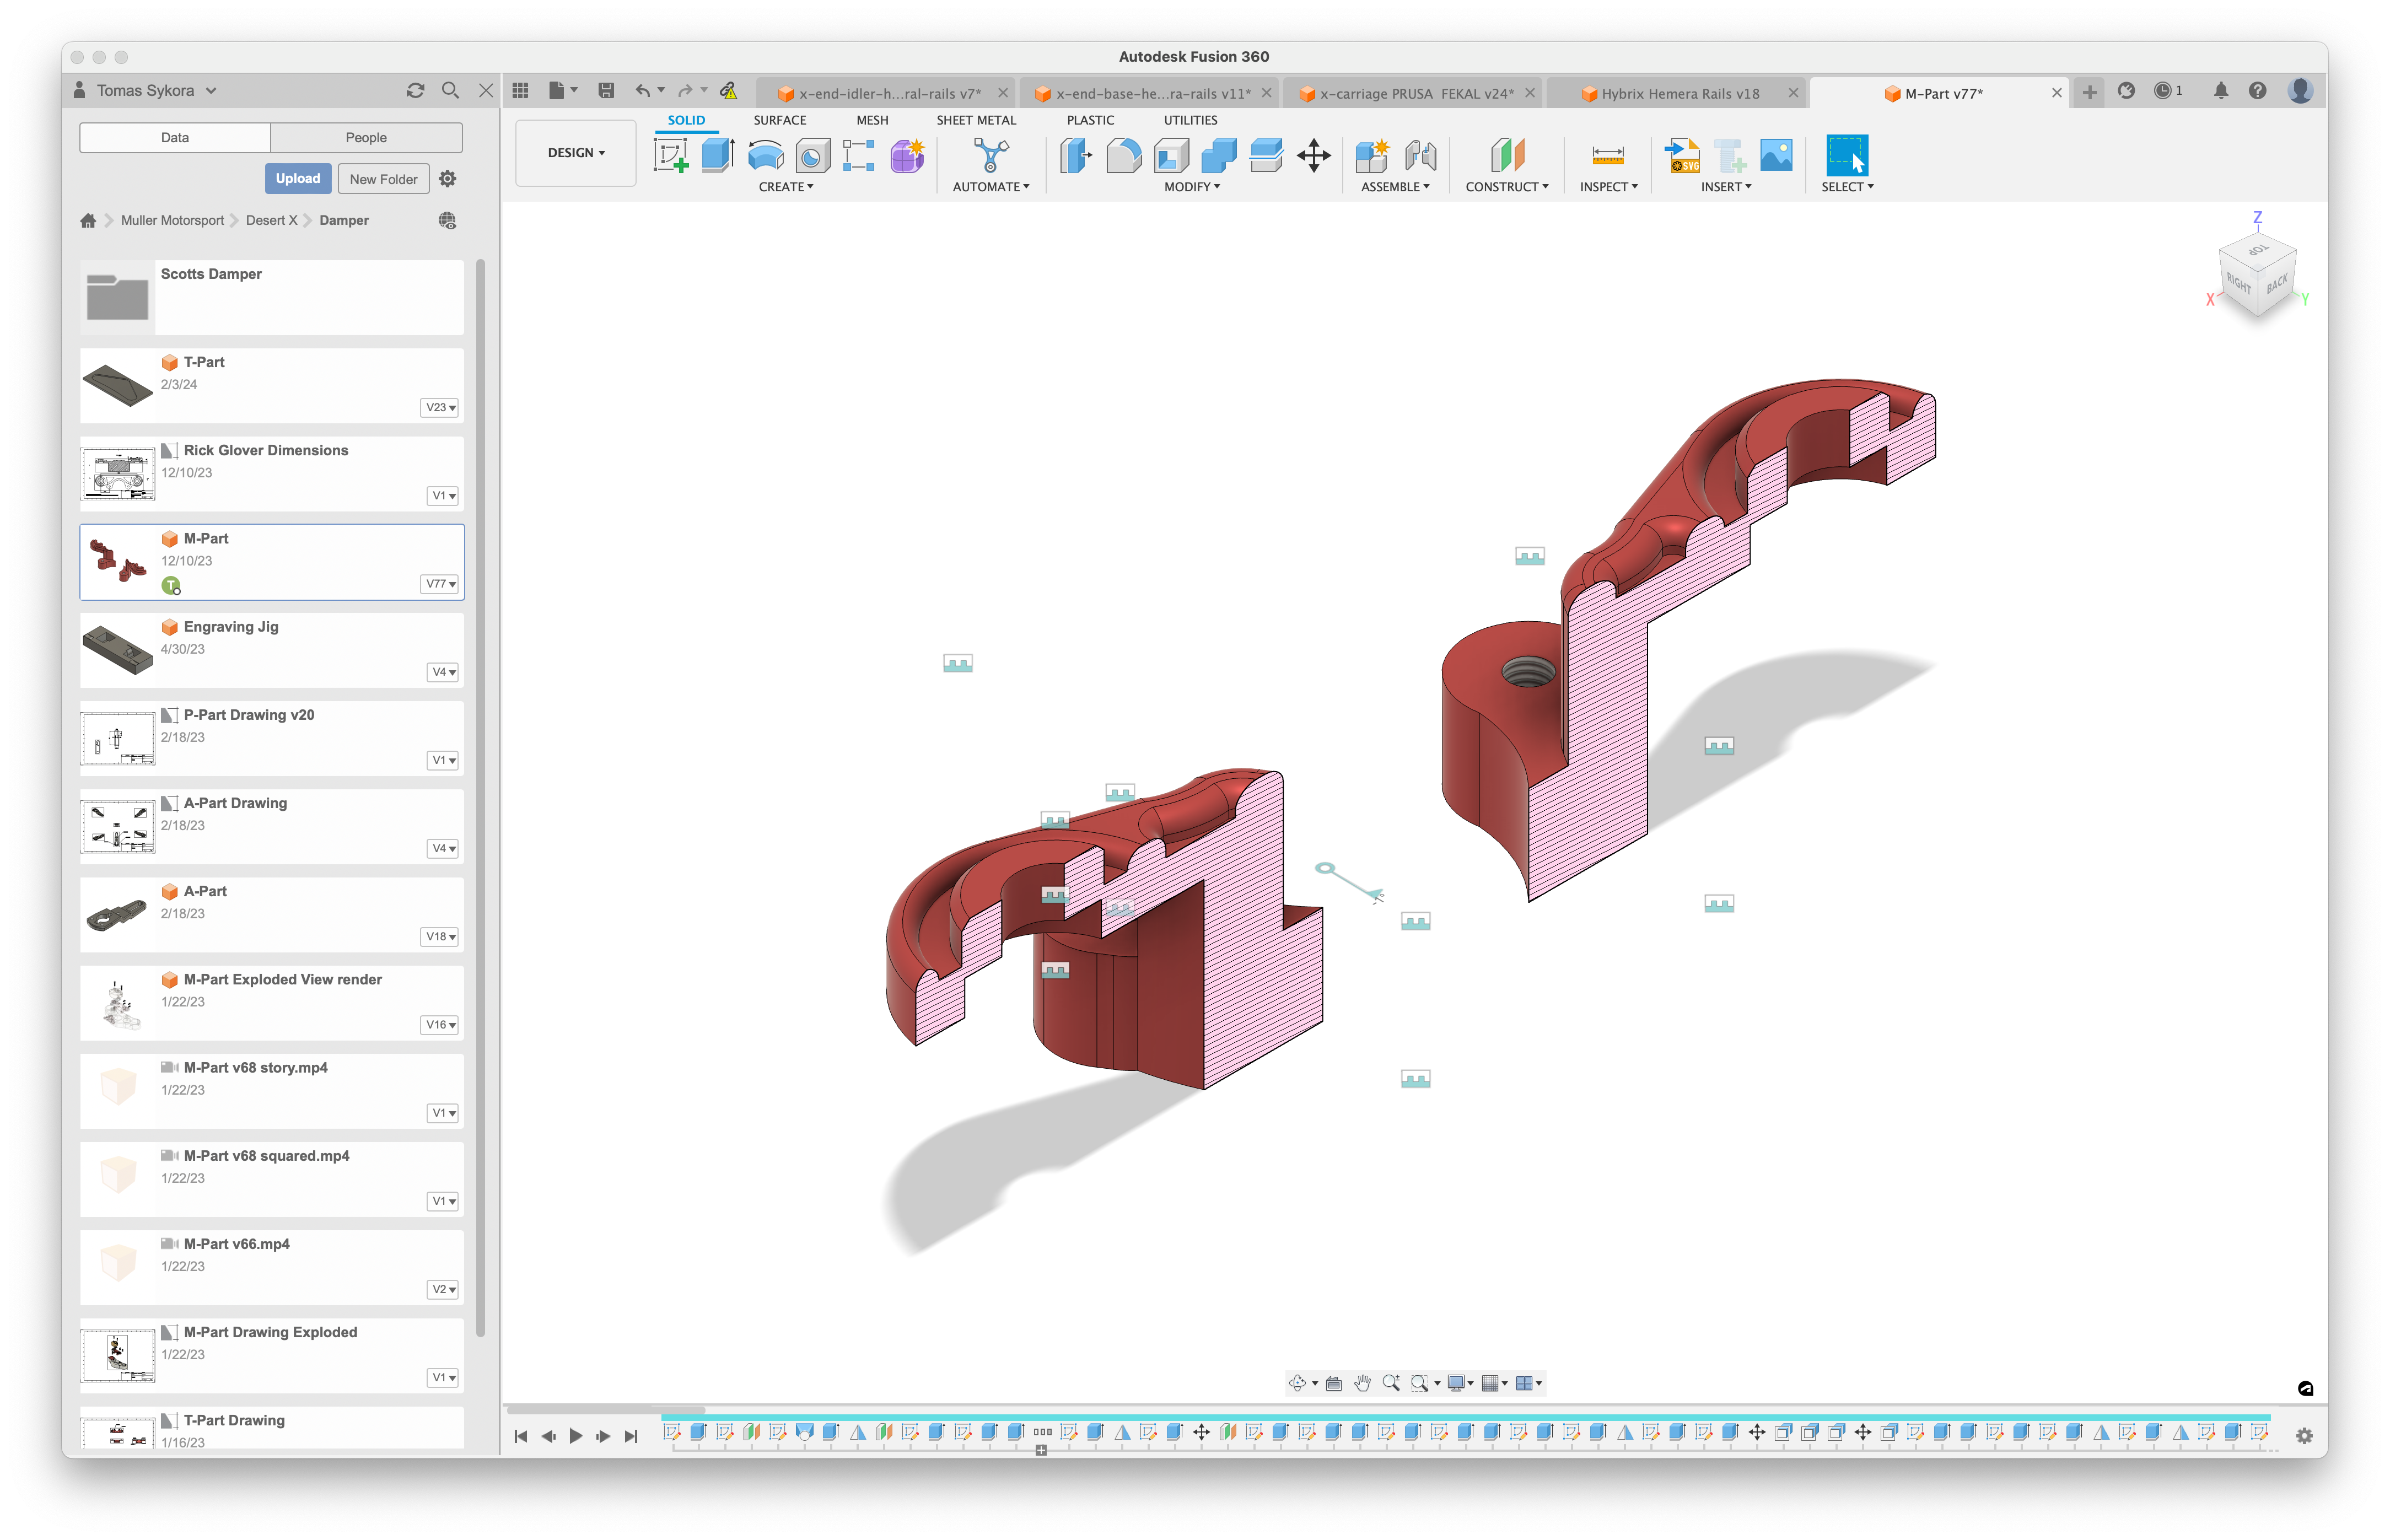
Section analysis (often called "cross-section analysis" in Czech) is a function that you can use in some CAD software applications, including Fusion 360. This function allows visualization and analysis of the internal structure of objects or components using a cross-section through the model.
Here’s what you can expect from section analysis in Fusion 360:
- Visualization of internal structure: Using the section analysis function you can create a cross-section through your 3D models. This allows you to see the internal structure and geometry of objects that would otherwise not be visible.
- Detailed analysis: Section analysis allows you to perform detailed analyses of geometric elements in your model. For example, you can measure distances, dimensions, and other parameters of internal elements.
- Assembly and interference checking: This function is useful when checking assemblies and detecting interferences between different parts of the model. Using a cross-section you can easily determine if individual parts collide with each other or if they’re properly aligned.
- Visualization of material properties: Some CAD applications, including Fusion 360, also allow displaying material properties in cross-section. This allows you to visualize different materials or material properties, such as density, strength, etc.
Using section analysis is a useful tool for detailed analysis and visualization of your 3D models and allows better understanding of their internal structure and geometry.
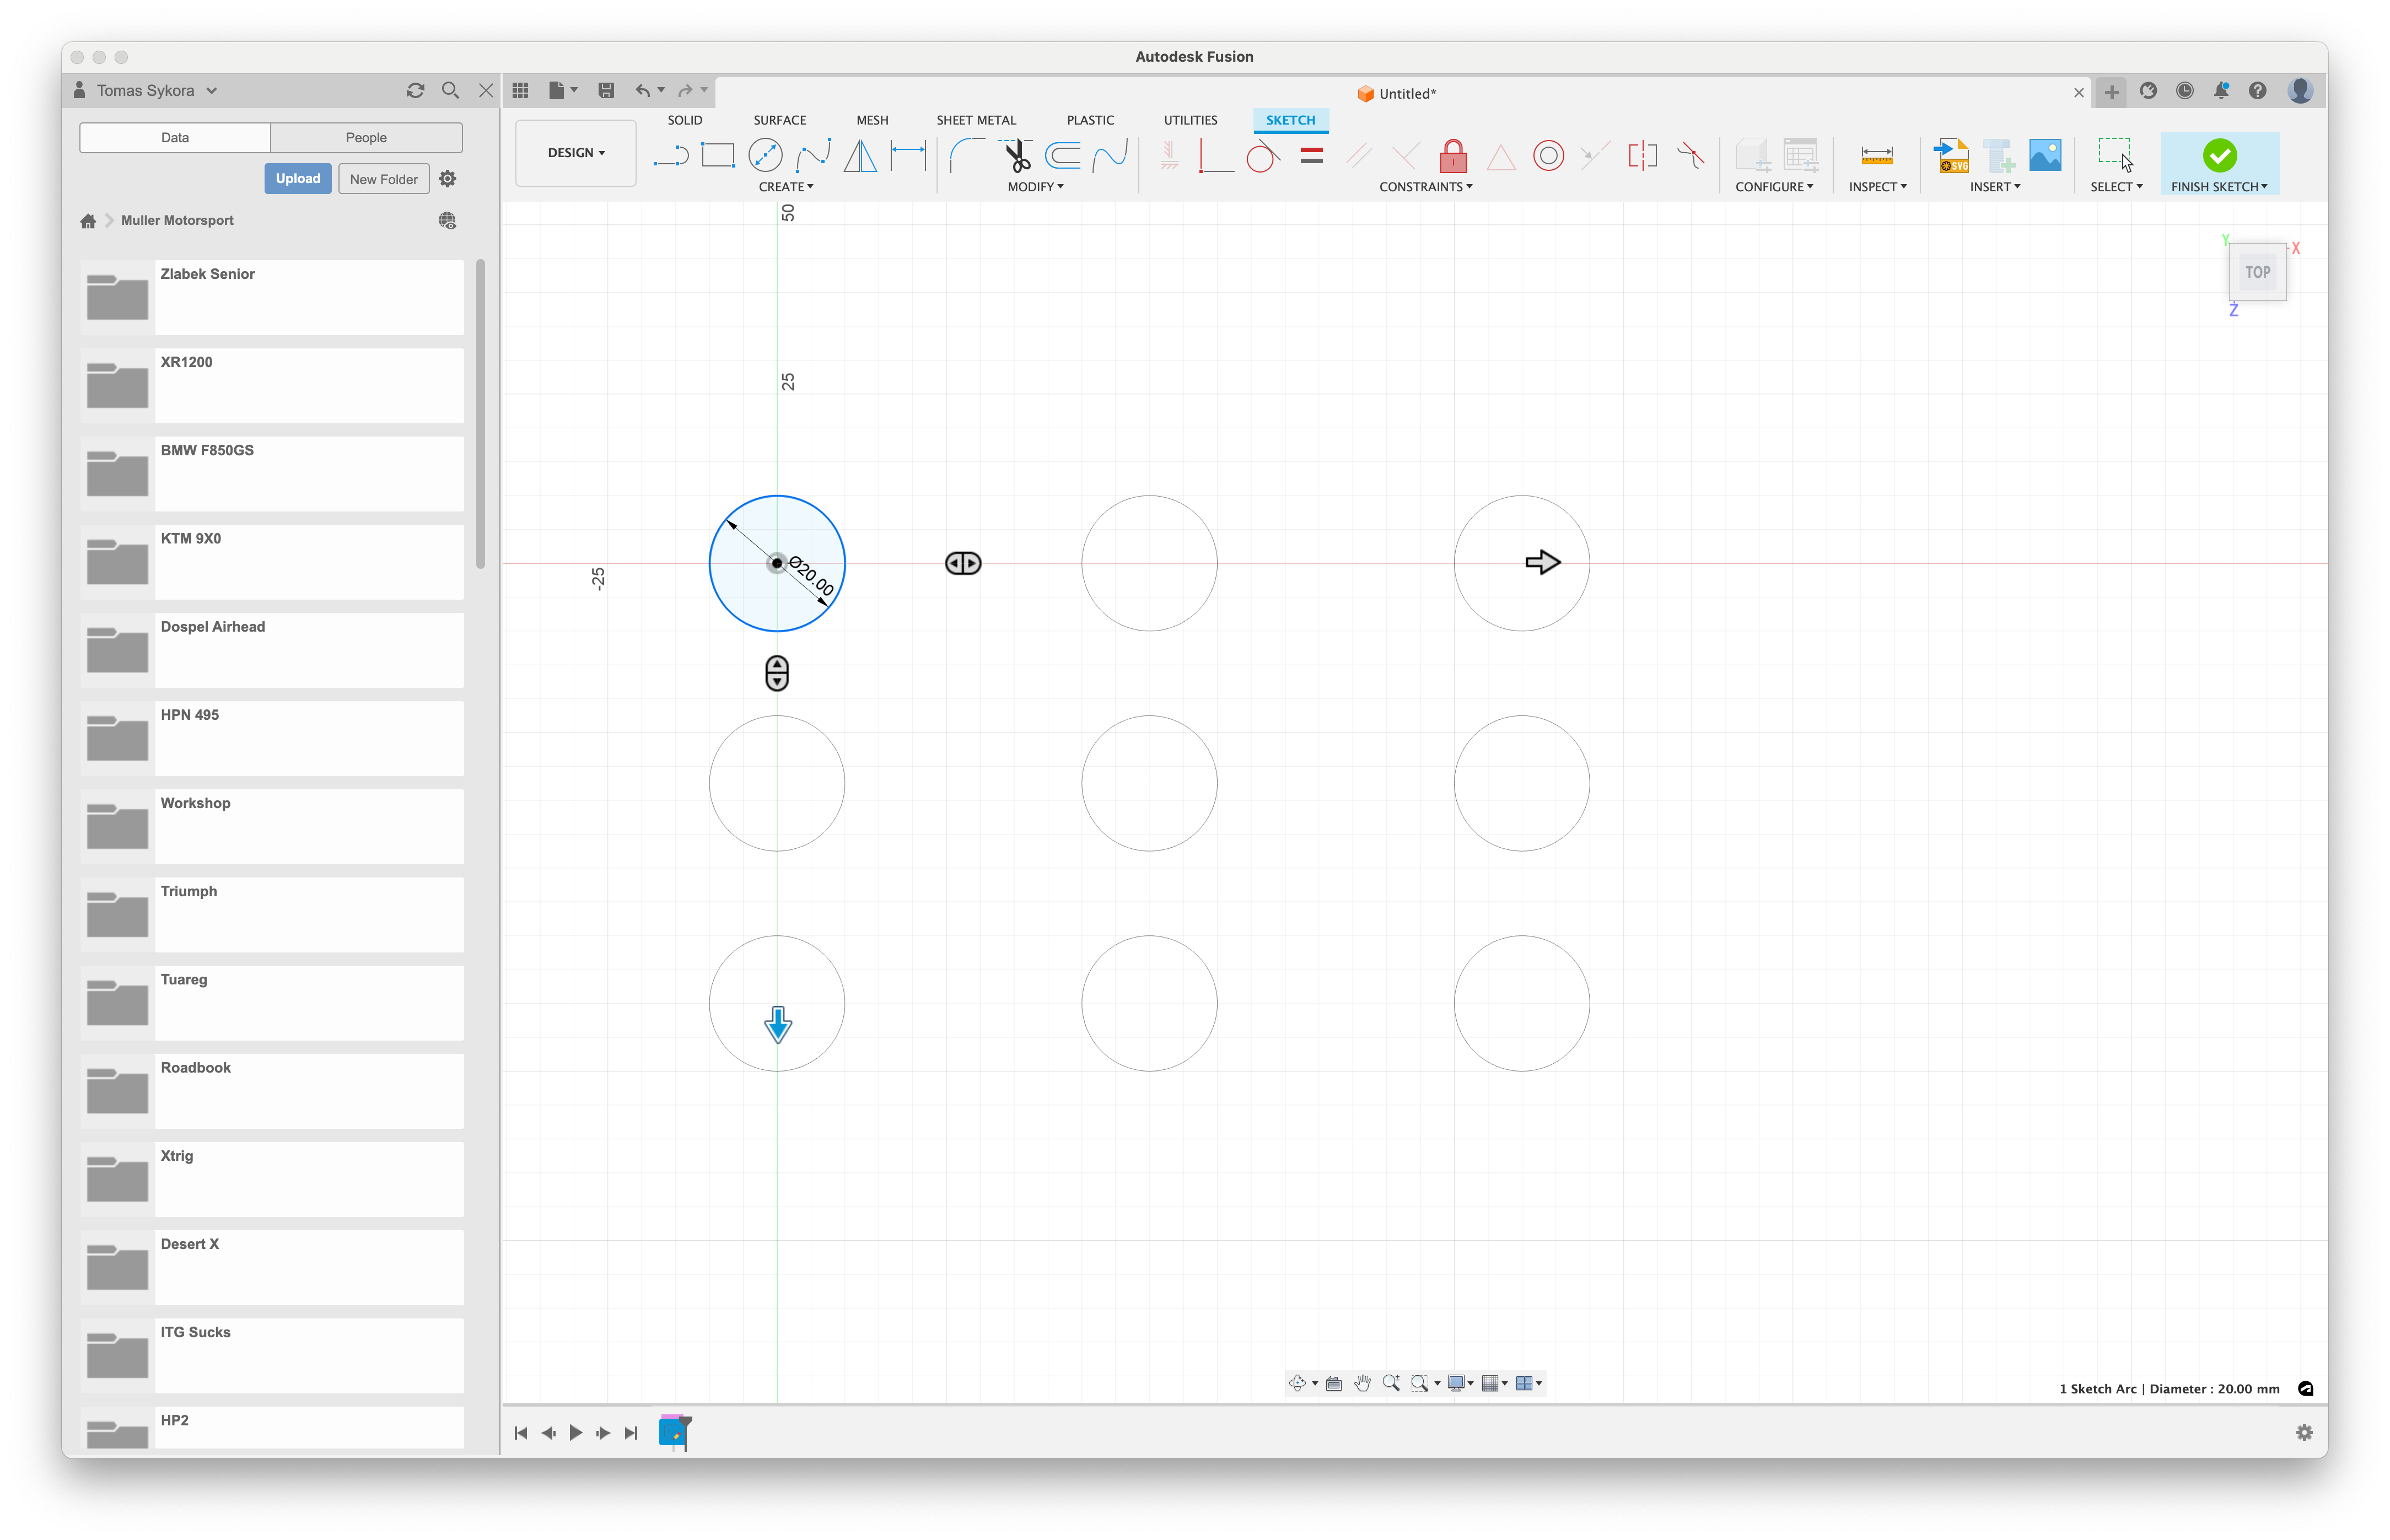
Rectangular Pattern
The "Rectangular Pattern" function in Fusion 360 allows repeating an element or set of elements in the form of a rectangular pattern. Here’s a brief description of how it works:
- *Element selection: First select the element or set of elements you want to repeat in the pattern. This can be a geometric element in a sketch, 3D object, or entire component.
- *Running the command: After you have the required element selected, run the "Rectangular Pattern" command. This command can usually be found in the top panel or in the "Create" menu.
- *Setting parameters: After running the command you need to set the parameters of the rectangular pattern. This includes the number of replications in the X and Y directions, as well as the distance between individual replications in the X and Y directions. You can also define rotation angle and other options as needed.
- *Preview and confirmation: After entering the required parameters, a preview of the rectangular pattern is displayed. You can review how the element replications will be placed. If you’re satisfied with the preview, confirm the action and apply the rectangular pattern.
- *Completion: After confirmation, the rectangular pattern is applied to your selected element or set of elements. Fusion 360 automatically creates the required number of replications including set parameters.
This way you can easily and quickly repeat elements in the form of a rectangular pattern in your model in Fusion 360.
Exporting Files
Exporting files in .STL, .STEP formats and the entire project in Fusion 360 is a fairly easy process. Here’s a guide on how to do it:
Export .STL:
- Open the file in Fusion 360 that you want to export to .STL format.
- Click the "Make" button in the top panel and choose the "3D Print" option.
- In the "3D Print" tab, export setting options are displayed. Here you can adjust units, resolution, and other parameters according to your needs.
- After finishing settings, click the "OK" button and select the file save location. Fusion 360 exports your model to .STL format.
Export .STEP:
- Open the file in Fusion 360 that you want to export to .STEP format.
- Click the "File" button in the top panel and choose the "Export" option.
- Select the "STEP (*.step, *.stp)" format in the file type selection.
- Choose the file save location and confirm the export. Fusion 360 generates a file in .STEP format.
Export project:
- Open the project in Fusion 360 that you want to export.
- Click the "File" button in the top panel and choose the "Export" option.
- Select the "Fusion Archive (*.f3d)" option in the file type selection.
- Choose the file save location and confirm the export. Fusion 360 generates an archive containing all related project files.
This way you can easily export models in .STL and .STEP formats and entire projects in Fusion 360.
External STEP File and Its Projection into Your Own Design
- Import STEP file:
- Go to the "Data Panel" tab in the upper right corner.
- Click the "Upload" button and select the external STEP format file you want to import into the project.
- After successful upload, the file appears in your file list.
- Opening file in Fusion 360:
- Click on the uploaded STEP file and select the "Open" option.
- The file opens in the center window of Fusion 360.
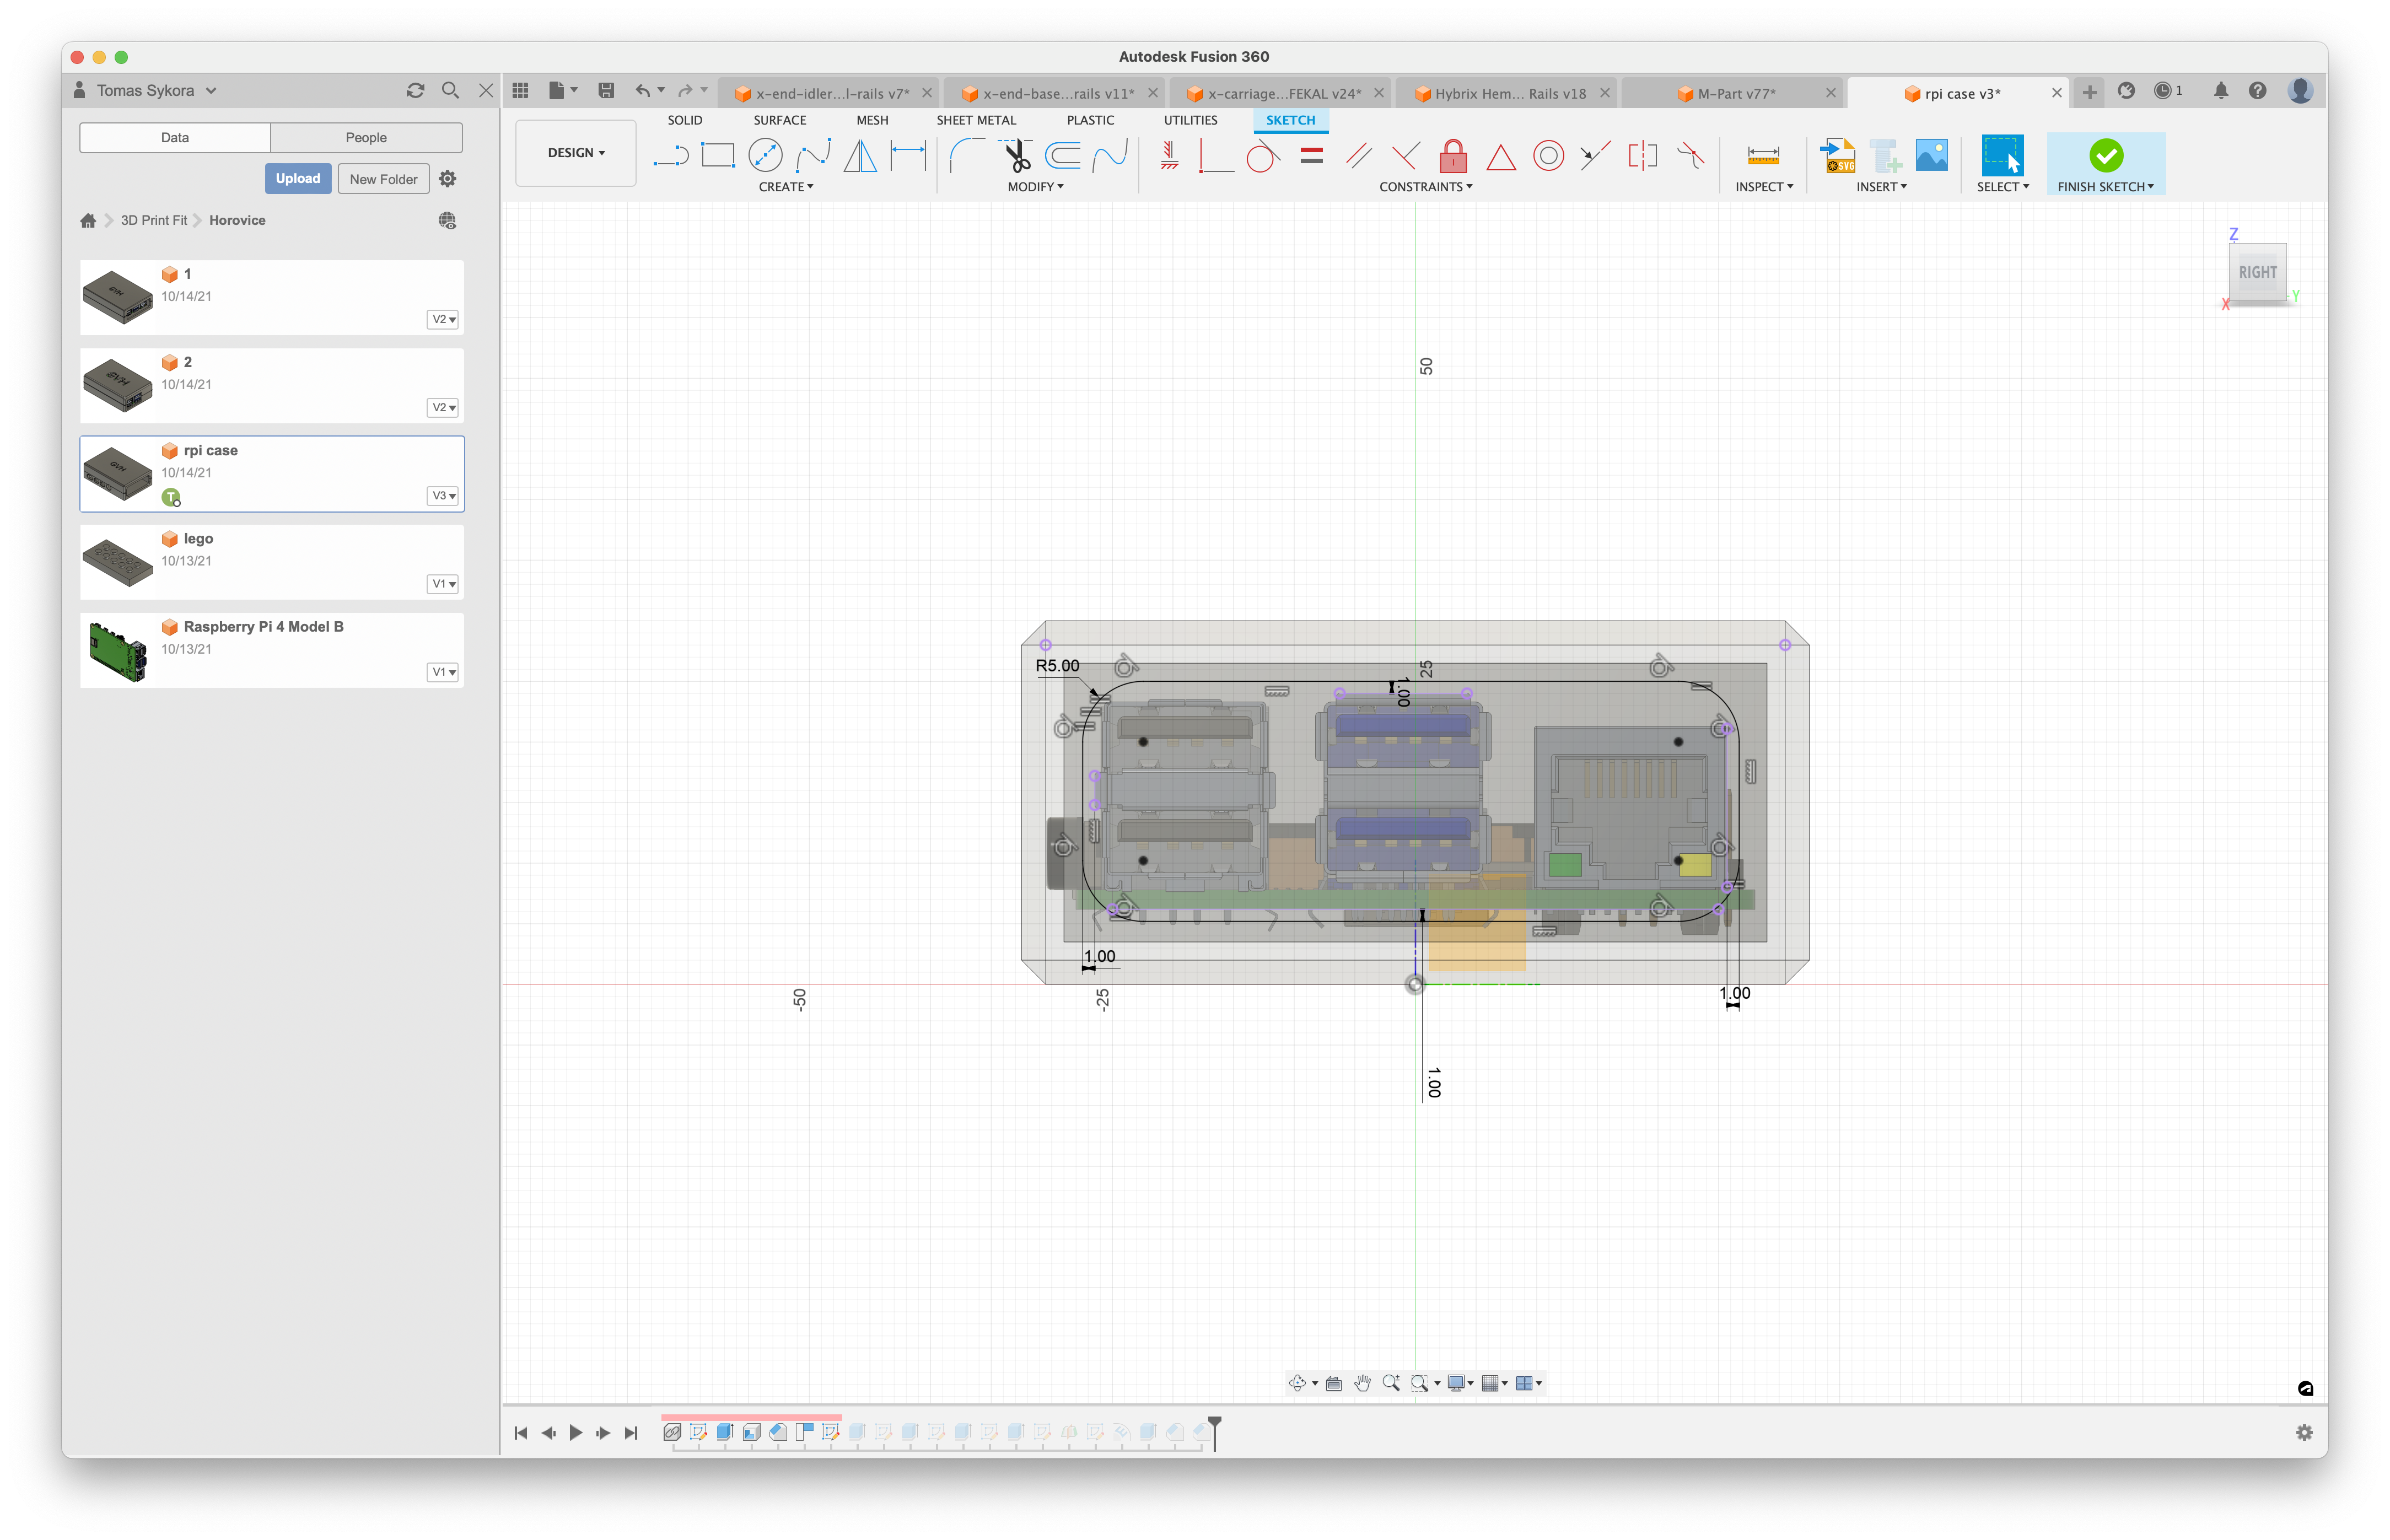
- Projection into sketch:
- Create a new sketch by clicking the "Sketch" button in the top panel.
- Select the plane on which you want to create a sketch.
- Choose the "Project / Include" tool in the top panel.
- Click the "Project" button and then select the object in 3D space from which you want to perform projection into the sketch.
- Confirm the selection by pressing Enter or double-clicking the mouse.
- After finishing projection you can work with obtained contours and elements as with a regular sketch.
Shortcuts
When working with sketches in Fusion 360, keyboard shortcuts are very useful for speeding up the creation and editing process of geometry. Here are some of the key keyboard shortcuts when working with sketches:
- S: Search for element in sketch.
- L: Activate the line drawing tool.
- C: Activate the circle drawing tool.
- R: Activate the rectangle drawing tool.
- E: Activate the sketch extrusion tool.
- Q: Activate the Press&Pull tool
- D: Activate the tool for adding dimensional constraints.
- P: Activate the tool for projecting elements into sketch.
