Printing: Multi-color Printing
You’ve surely noticed that our printers print with such material (in such color) as we load into them. There are various possibilities how to get rid of this limitation, or at least slightly circumvent it.
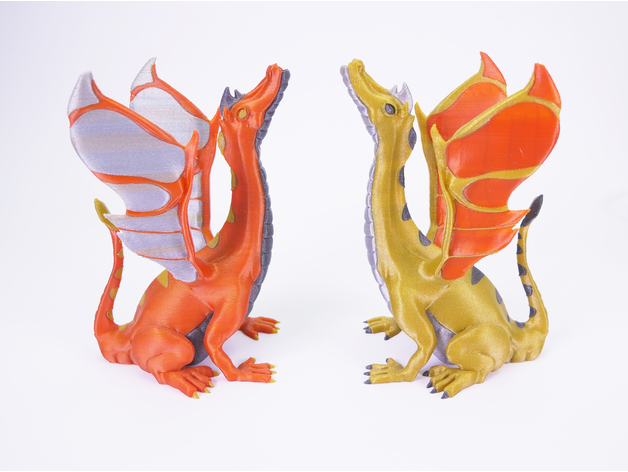
Why print from multiple materials at once? The first reason can be aesthetic.
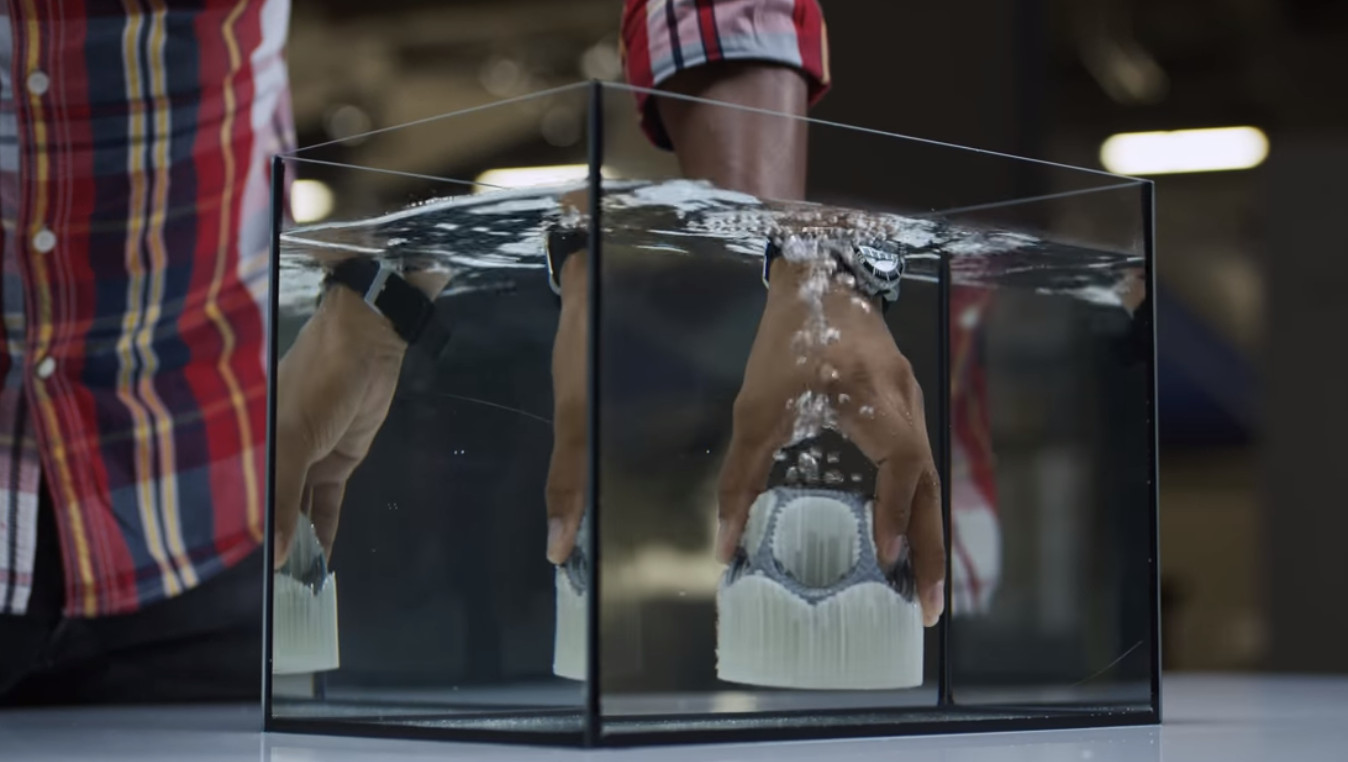
Another reason can be printing supports from a different material, for example one that dissolves in water (PVA) or in a common cleaning agent (HIPS).
Sometimes such materials can be more expensive and therefore only the interface (several layers) between the support and object is printed from them.
Multi-material and Multi-color Printing Options
Multiple Nozzles
One option for printing from two (or more) materials simultaneously is to use two (or more) nozzles.
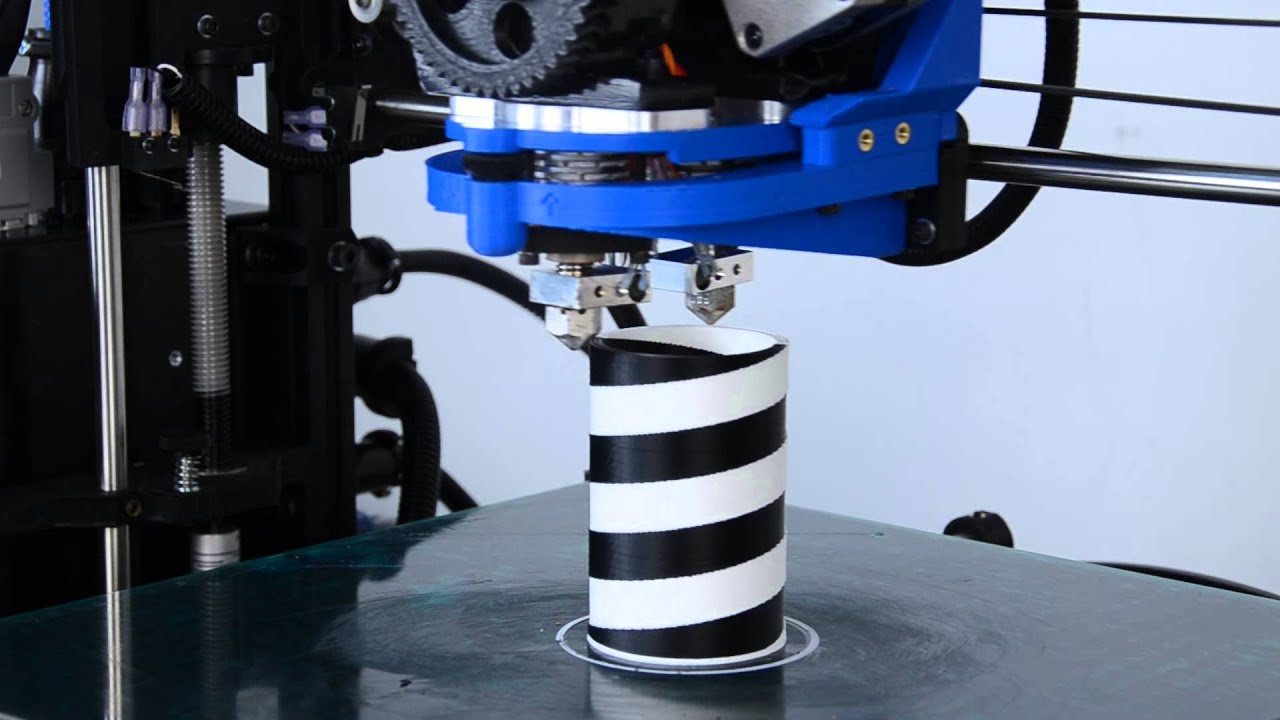
The print area then shrinks somewhat and the printer prints with one or the other nozzle as needed. The disadvantage is that the mutual position of the nozzles must be very precise and that plastic can leak from the nozzle that’s not currently being used (like when you preheat the printer before printing).
Multiple Extruders
Another option is to alternately push multiple different plastics into one nozzle.
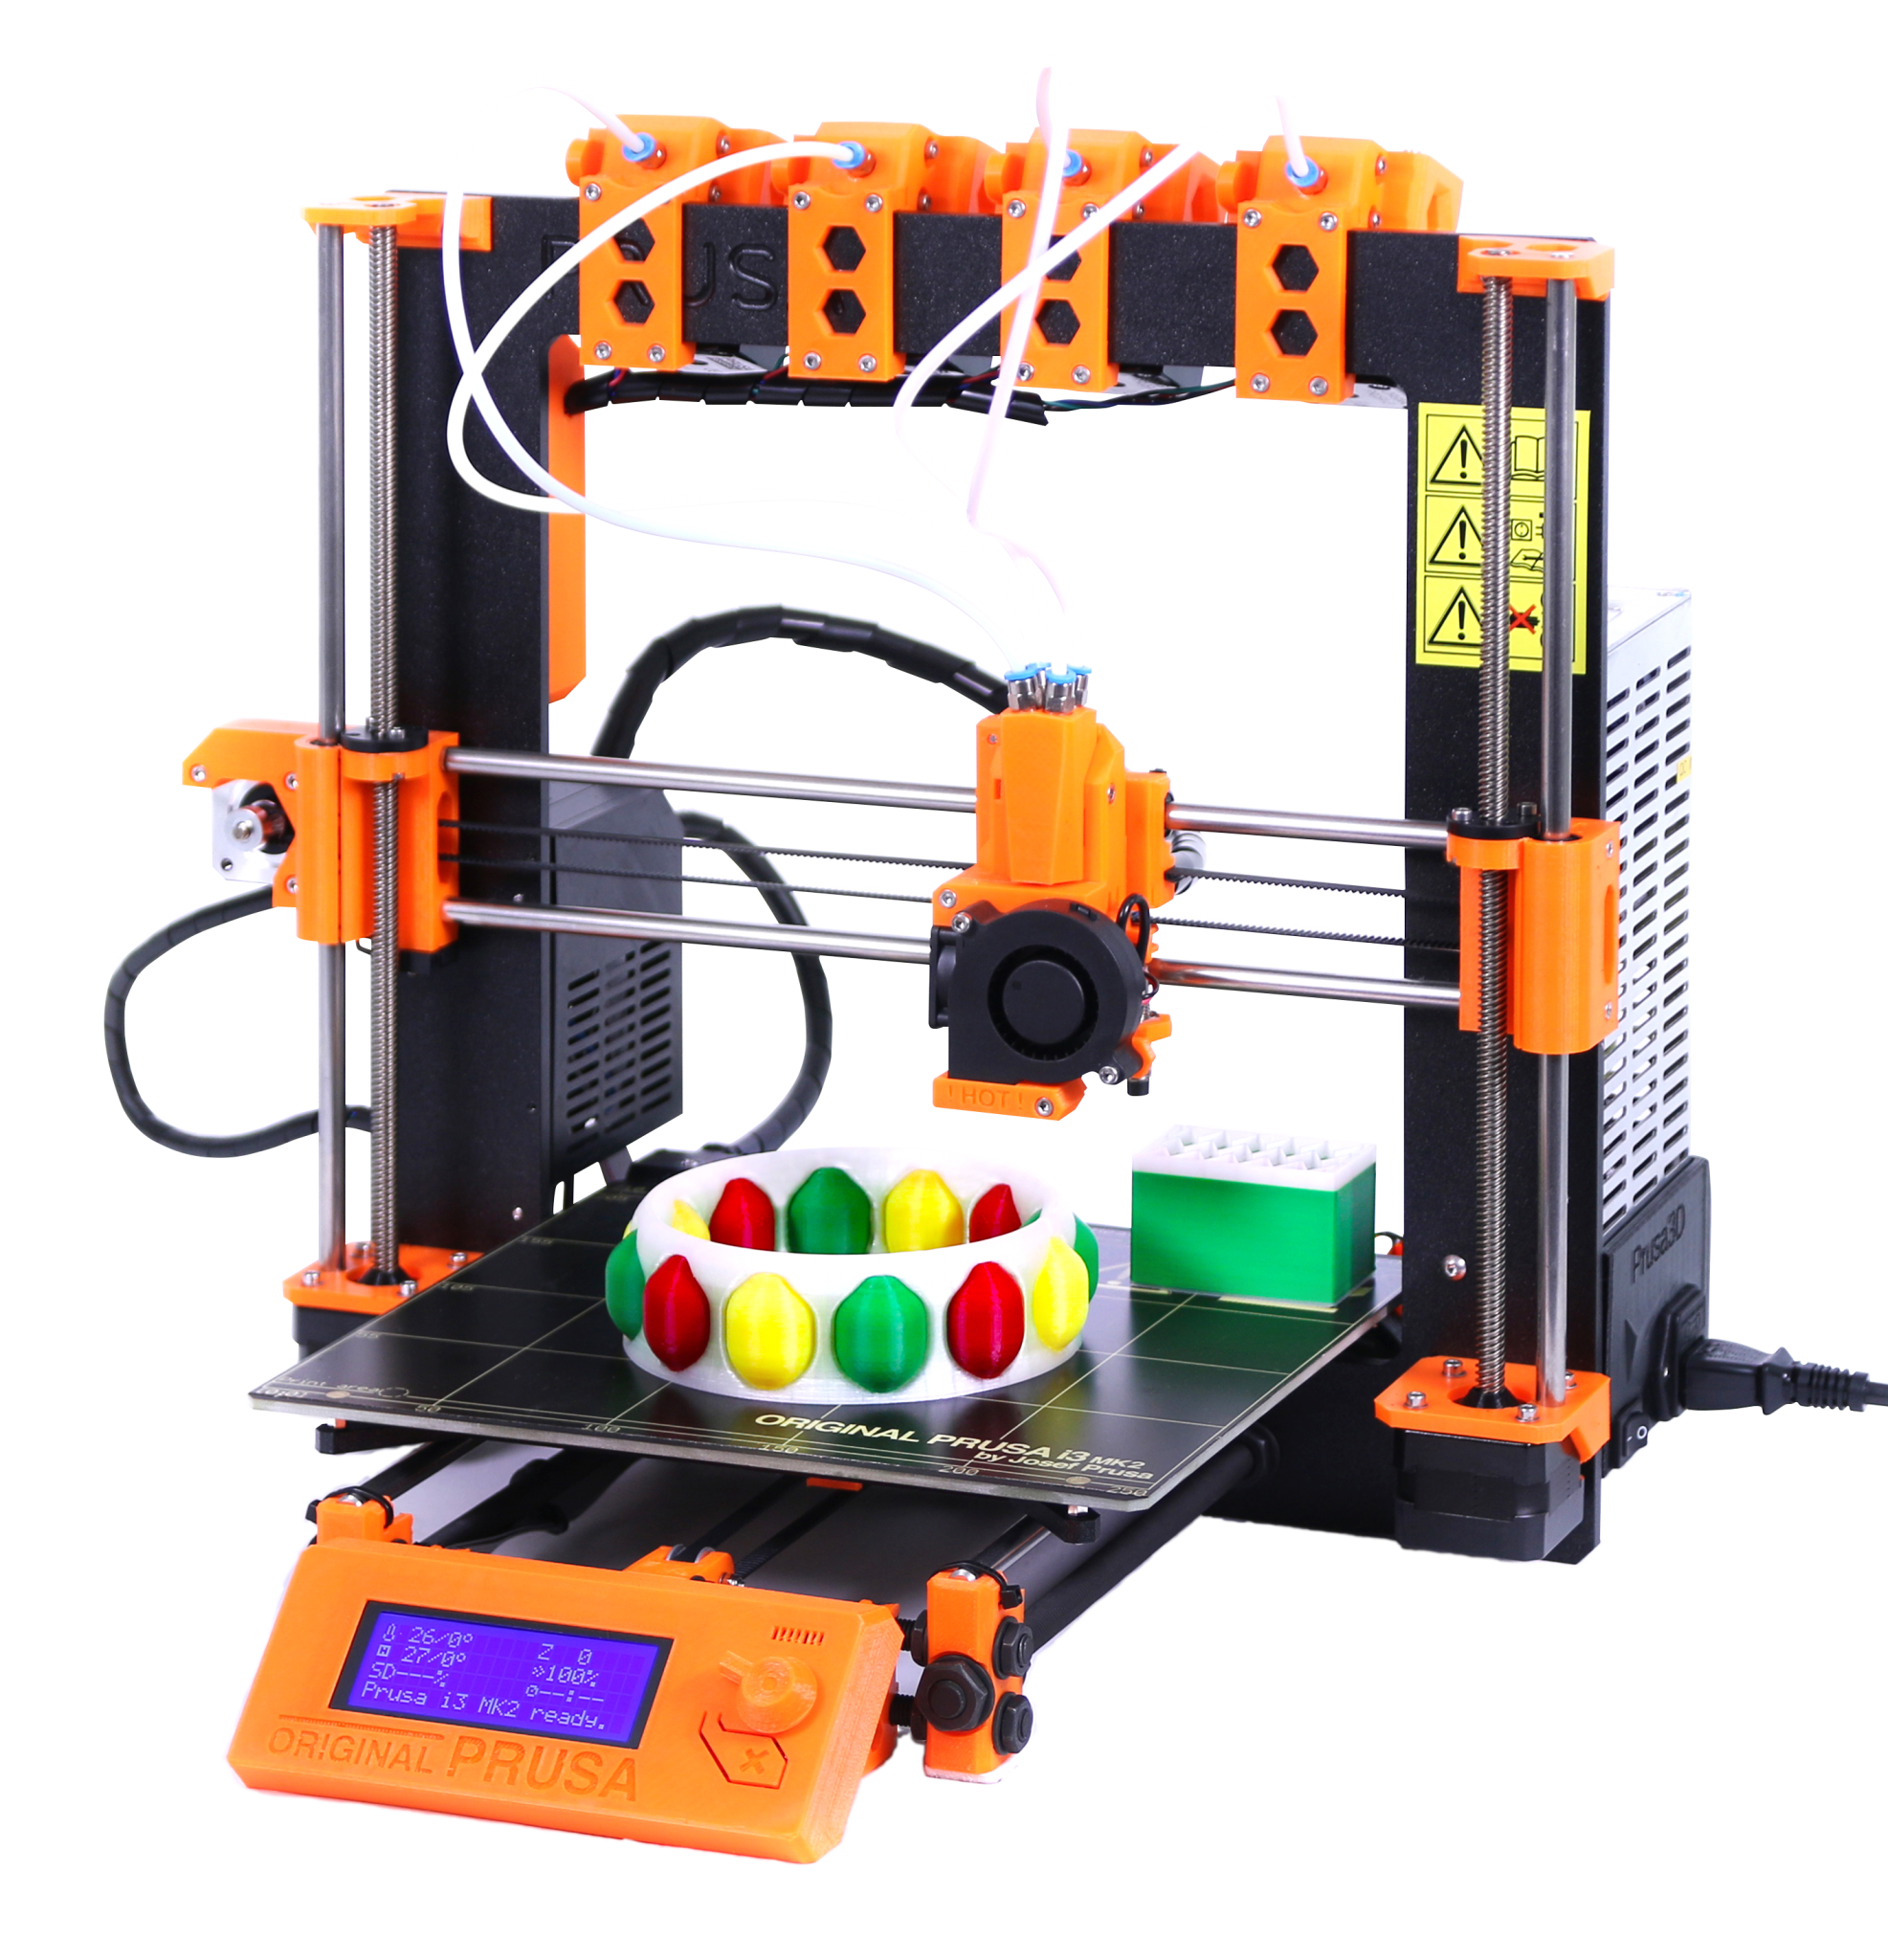
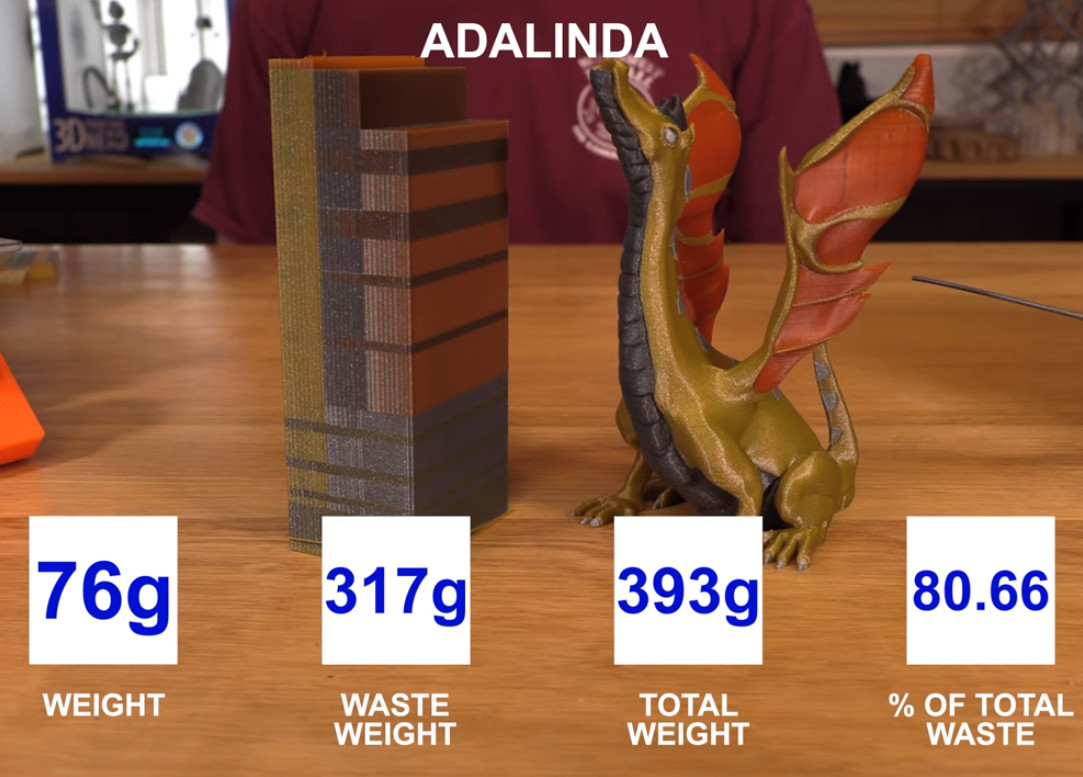
When changing material in one nozzle, excess old plastic must be extruded somewhere. This is usually done into a waste object, which can be very financially wasteful.
Even with One Print Head You Can Put on a Great Show
If we have a printer with only one extruder and one nozzle available (as in the BI-3DT course), multi-material printing is almost unavailable or at least very difficult for us. However, there is one type of multi-material printing that we can perform with a bit of skill, and that’s division along the layer:

Multi-color Printing Options
There are several options for performing multi-color printing.
Shared Information (for all options)
Důležité:
For today’s exercise, download both general configuration files for OrcaSlicer (for Voron and Hybrix). Links can be found in the configuration section of the printing tutorial.
Varování:
Follow all safety rules from the printing exercise. Especially don’t eat filament and don’t touch the hot printer nozzle.
Splitting the GCode File
Basic idea: We’ll split the GCode into multiple files so we can change filament between them. We assume printing a traffic cone from the image above.
- We’ll have GCode generated for the entire cone.
- We’ll find a suitable layer where we want one color to end and another to begin, we’ll split the Gcode into two files (see below).
- We’ll repeat the previous step as many times as colors change.
- We’ll add the
G28 X0 Y0command (home X and Y axes) to the beginning and end of each newly created GCode. - We’ll start printing the first file.
- When the first color finishes printing, we’ll change the material and start the next file.
- This way we’ll change material and print subsequent Gcode files until we finish printing the entire object.
Where to Split GCode?
To properly split a GCode file, you need to split it in the right place. The right place in our case is immediately after the command determining transition to the next layer. Here’s a piece of Gcode where we assume that everything from 5.1 mm height upward should be from a different material.
...
G1 X119.919 Y103.127 E0.03280
G1 X118.373 Y101.581 E0.11756
G1 X118.373 Y102.191 E0.03280
G1 X119.309 Y103.127 E0.07117
G1 X118.699 Y103.127 E0.03280
G1 X118.373 Y102.801 E0.02479
;BEFORE_LAYER_CHANGE 1
G92 E0.0
;5.1
G1 Z5.100 F12000.000 2
;AFTER_LAYER_CHANGE 3
;5.1
G1 X126.883 Y103.383 F12000.000
G1 F900
G1 X118.117 Y103.383 E0.45795
G1 X118.117 Y94.617 E0.45795
G1 X126.883 Y94.617 E0.45795
G1 X126.883 Y103.323 E0.45482
G1 X127.280 Y103.780 F12000.000
...- comment generated by the slicer, may not be in every Gcode, may differ between printer models
- this line is crucial – we split the file after it
- comment generated by the slicer, may not be in every Gcode, may differ between printer models
...
G1 X119.919 Y103.127 E0.03280
G1 X118.373 Y101.581 E0.11756
G1 X118.373 Y102.191 E0.03280
G1 X119.309 Y103.127 E0.07117
G1 X118.699 Y103.127 E0.03280
G1 X118.373 Y102.801 E0.02479
;BEFORE_LAYER_CHANGE
G92 E0.0
;5.1
G1 Z5.100 F12000.000 1
G28 X0 Y0 2- transition to new layer
- home on X and Y axes
G28 X0 Y0 1
;AFTER_LAYER_CHANGE
;5.1
G1 X126.883 Y103.383 F12000.000
G1 F900
G1 X118.117 Y103.383 E0.45795
G1 X118.117 Y94.617 E0.45795
G1 X126.883 Y94.617 E0.45795
G1 X126.883 Y103.323 E0.45482
G1 X127.280 Y103.780 F12000.000
...- home on X and Y axes (the nozzle is already at the correct height)
Inserting a GCode Command for Filament Change
For filament change you can use the Gcode command M600. This command pauses printing, moves the nozzle to the side, turns off the extruder motor, and informs the user that filament needs to be changed (often also with loud and unpleasant beeping). After changing the plastic, just press the button (either on the display or in the web interface), the print head returns, and printing continues. Instead of splitting the file into two, it’s enough to add one extra line to the Gcode; most modern slicers have a built-in function for this.
- Prepare your model for printing and settings
- In the preview, find the layer where you want to change the filament
- Right-click on the + icon and select
Add Pause - Export the GCode and print the model.
- The printer will stop at desire height change the filament manually and resume the print.
Assignment
Print any number (but at least one) of two-color laboratory logos. Choose printing settings as needed, but base them on the 0.2 NORMAL print profile. Arrange filament color exchange with classmates in the classroom, or ask instructors for an alternative color.
Důležité:
Explain to the instructor how you proceeded.
Grading: 3 points for completing the assignment and cleanup.